INSTALLATION
Before beginning to connect the various components to the receiver, turn off all devices, including the AVR 3550HD, and unplug their power cords. Don’t plug in any of the power cords until you have finished making all of your connections.
The receiver generates heat. Select a location that leaves several inches of space on all sides. Avoid completely enclosing the receiver inside an unventilated cabinet. Place components on separate shelves rather than stacking them directly on top of the receiver. Some shelf surface finishes are delicate. Try to select a location with a sturdy surface finish.
Step One – Connect the Speakers
Place your speakers as described in the Speaker Placement section.
Connect all of the loudspeakers to their corresponding speaker terminals on the AVR 3550HD. See Figure 17. Maintain the proper polarity by always connecting the positive and negative terminals on each speaker to the positive and negative terminals on the receiver. Use the Connection Color Guide on page 18 as a reference.
AVR 3550HD | C |
FR | FL | SR | SL |
| SBR | SBL |
|
Figure 17 – Speaker Connections
Step Two – Connect the Subwoofer
Connect the Subwoofer Output on the AVR 3550HD to the
When the system has two subwoofers for a
AVR 3550HD
SUB
Figure 18 – Subwoofer Connection
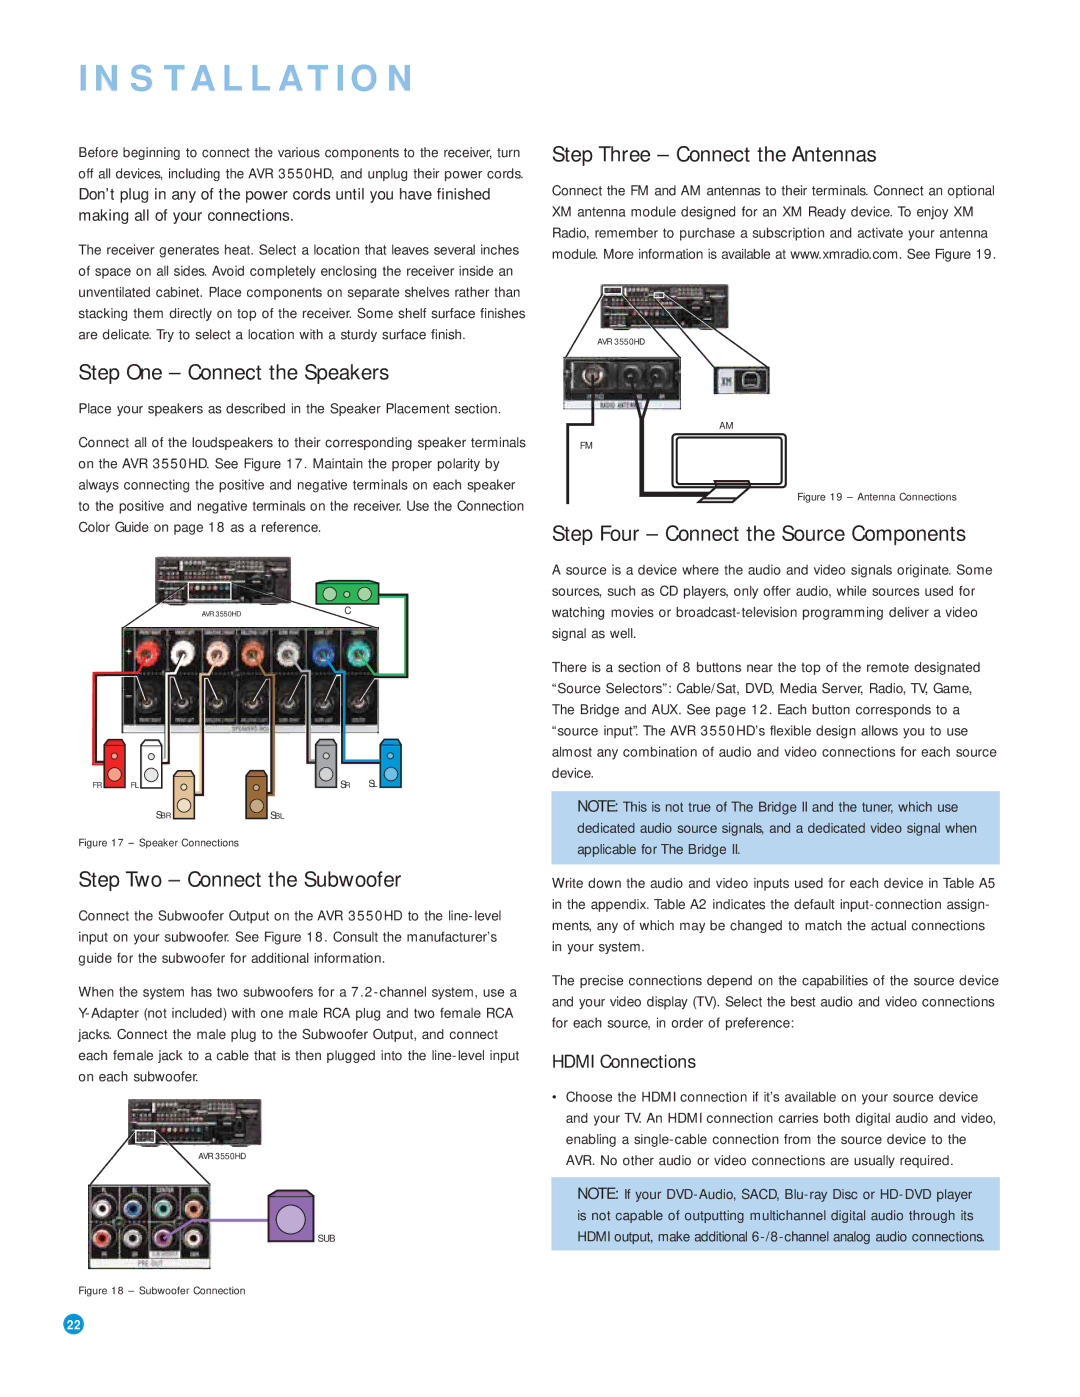
Step Three – Connect the Antennas
Connect the FM and AM antennas to their terminals. Connect an optional XM antenna module designed for an XM Ready device. To enjoy XM Radio, remember to purchase a subscription and activate your antenna module. More information is available at www.xmradio.com. See Figure 19.
AVR 3550HD
AM
FM
Figure 19 – Antenna Connections
Step Four – Connect the Source Components
A source is a device where the audio and video signals originate. Some sources, such as CD players, only offer audio, while sources used for watching movies or
There is a section of 8 buttons near the top of the remote designated “Source Selectors”: Cable/Sat, DVD, Media Server, Radio, TV, Game, The Bridge and AUX. See page 12. Each button corresponds to a “source input”. The AVR 3550HD’s flexible design allows you to use almost any combination of audio and video connections for each source device.
NOTE: This is not true of The Bridge II and the tuner, which use dedicated audio source signals, and a dedicated video signal when applicable for The Bridge II.
Write down the audio and video inputs used for each device in Table A5 in the appendix. Table A2 indicates the default
The precise connections depend on the capabilities of the source device and your video display (TV). Select the best audio and video connections for each source, in order of preference:
HDMI Connections
•Choose the HDMI connection if it’s available on your source device and your TV. An HDMI connection carries both digital audio and video, enabling a
NOTE: If your
22