1
2
Overexposure indicator shortcut !
There is also a
To use it, press and hold until the indicator is working as you would like (enabled or disabled).
Battery-saver mode
In this mode, the digital back is fully responsive, so you can take pictures but the screen is not lit up, thereby saving battery power.
You can enter the menu system while shooting in this mode (which activates the screen until you exit the menu system again) but the approval, zoom and navigator buttons have no effect.
You can also save battery power by turning down the brightness and/or contrast of the display using the entries of the MAIN MENU > SETTINGS > USER INTERFACE > DISPLAY menu. See Making Display Settings for details.
Other ways to save battery power include setting a display
>USER INTERFACE > Power Down to set a
>SETTINGS > USER INTERFACE > DISPLAY > Timeout to set a display
| 1 |
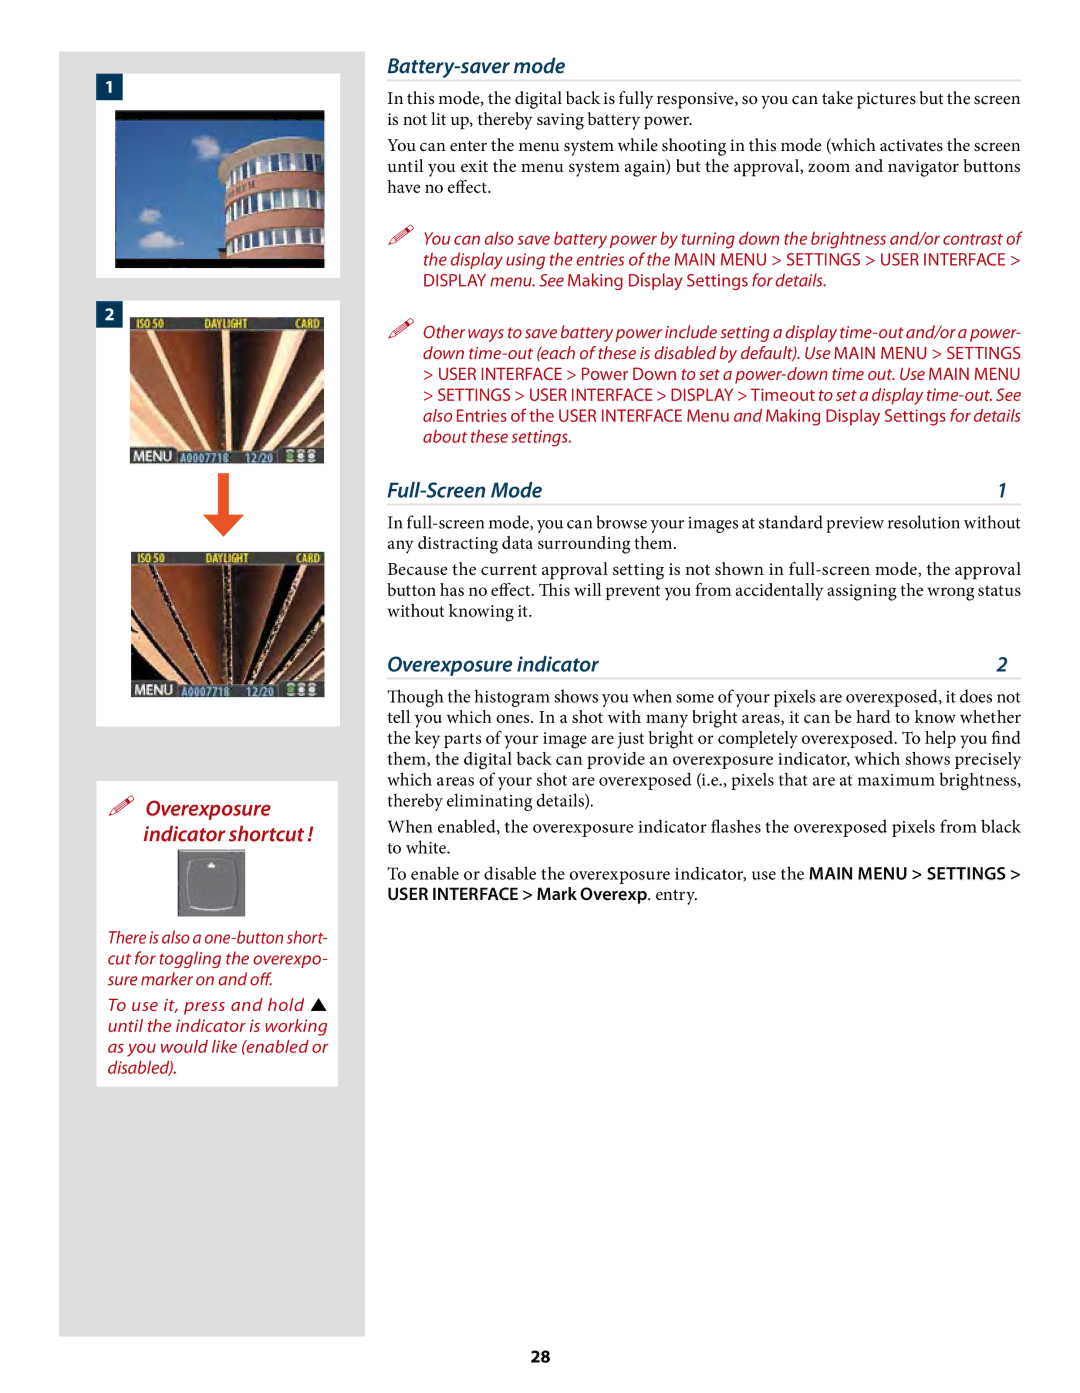
In
Because the current approval setting is not shown in
Overexposure indicator | 2 |
Though the histogram shows you when some of your pixels are overexposed, it does not tell you which ones. In a shot with many bright areas, it can be hard to know whether the key parts of your image are just bright or completely overexposed. To help you find them, the digital back can provide an overexposure indicator, which shows precisely which areas of your shot are overexposed (i.e., pixels that are at maximum brightness, thereby eliminating details).
When enabled, the overexposure indicator flashes the overexposed pixels from black to white.
To enable or disable the overexposure indicator, use the MAIN MENU > SETTINGS > USER INTERFACE > Mark Overexp. entry.
28
