4.Select “Back up My Computer” to back up your whole system or “Back up Selected files, folders and Driver”. If you want to backup “C:\”, select “Back up Selected files, folders and Driver”
5.If you want to backup one Drive, ex. “C:\”, select the drive by clicking the check box in front of the drive letter.
6.Decide the destination of the backup file.
7.Type a name for this backup job and click Start.
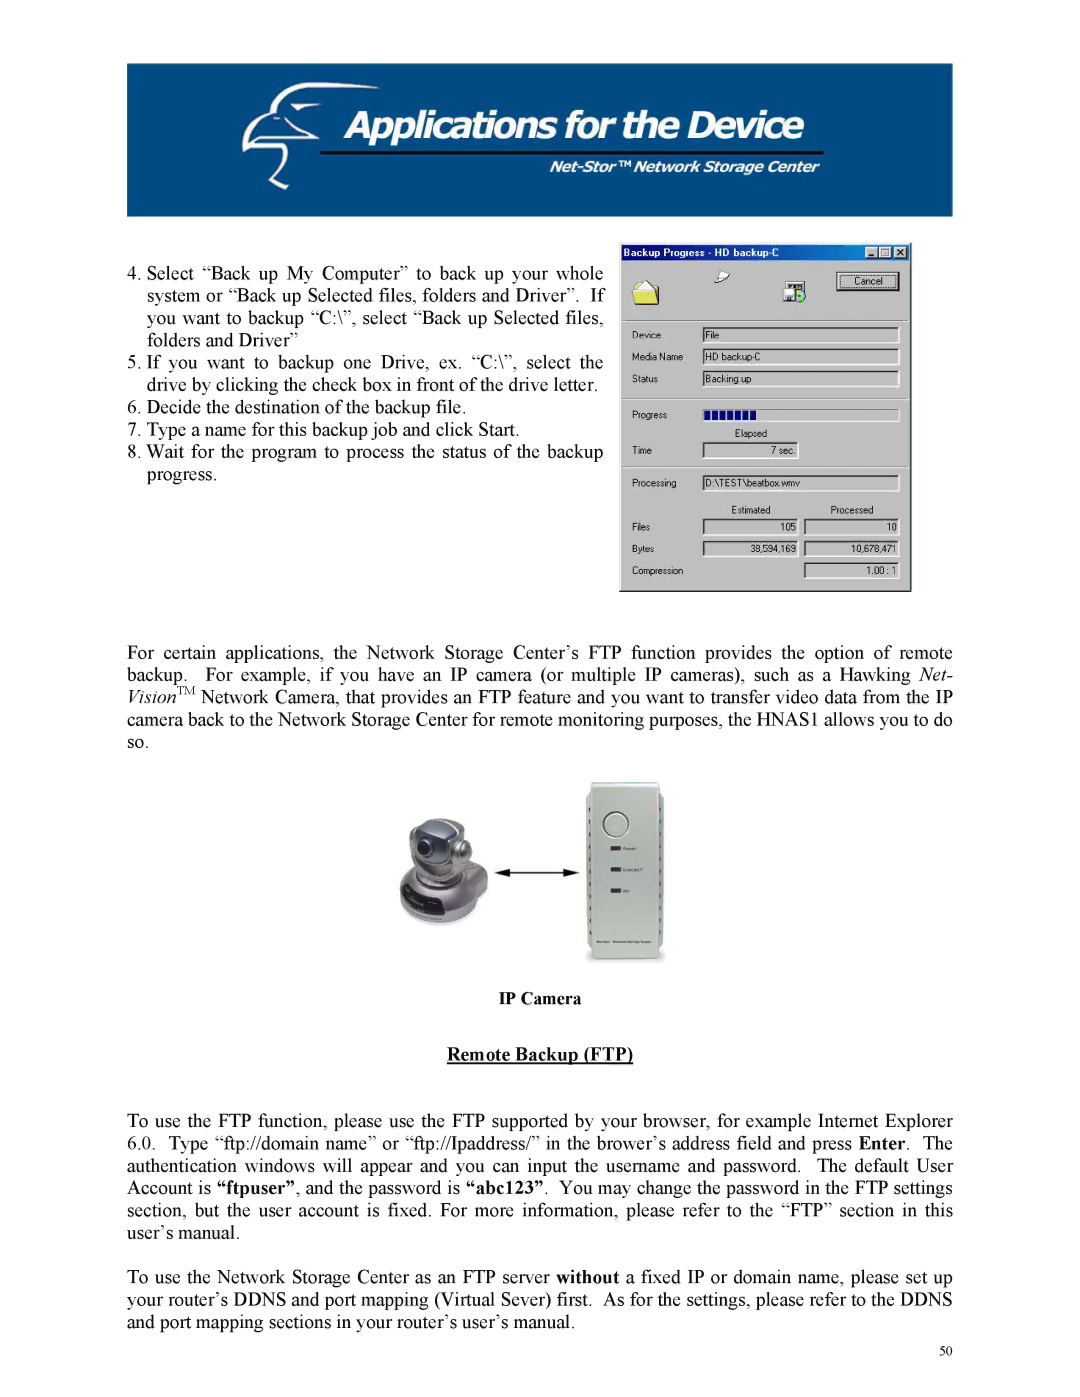
8.Wait for the program to process the status of the backup progress.
For certain applications, the Network Storage Center’s FTP function provides the option of remote backup. For example, if you have an IP camera (or multiple IP cameras), such as a Hawking Net- VisionTM Network Camera, that provides an FTP feature and you want to transfer video data from the IP camera back to the Network Storage Center for remote monitoring purposes, the HNAS1 allows you to do so.
IP Camera
Remote Backup (FTP)
To use the FTP function, please use the FTP supported by your browser, for example Internet Explorer
6.0.Type “ftp://domain name” or “ftp://Ipaddress/” in the brower’s address field and press Enter. The authentication windows will appear and you can input the username and password. The default User Account is “ftpuser”, and the password is “abc123”. You may change the password in the FTP settings section, but the user account is fixed. For more information, please refer to the “FTP” section in this user’s manual.
To use the Network Storage Center as an FTP server without a fixed IP or domain name, please set up your router’s DDNS and port mapping (Virtual Sever) first. As for the settings, please refer to the DDNS and port mapping sections in your router’s user’s manual.
50
