This section describes the web configuration procedures for the HNC300 and HNC320G.
Web Configuration
The HNC300 and HNC320G must be configured via their
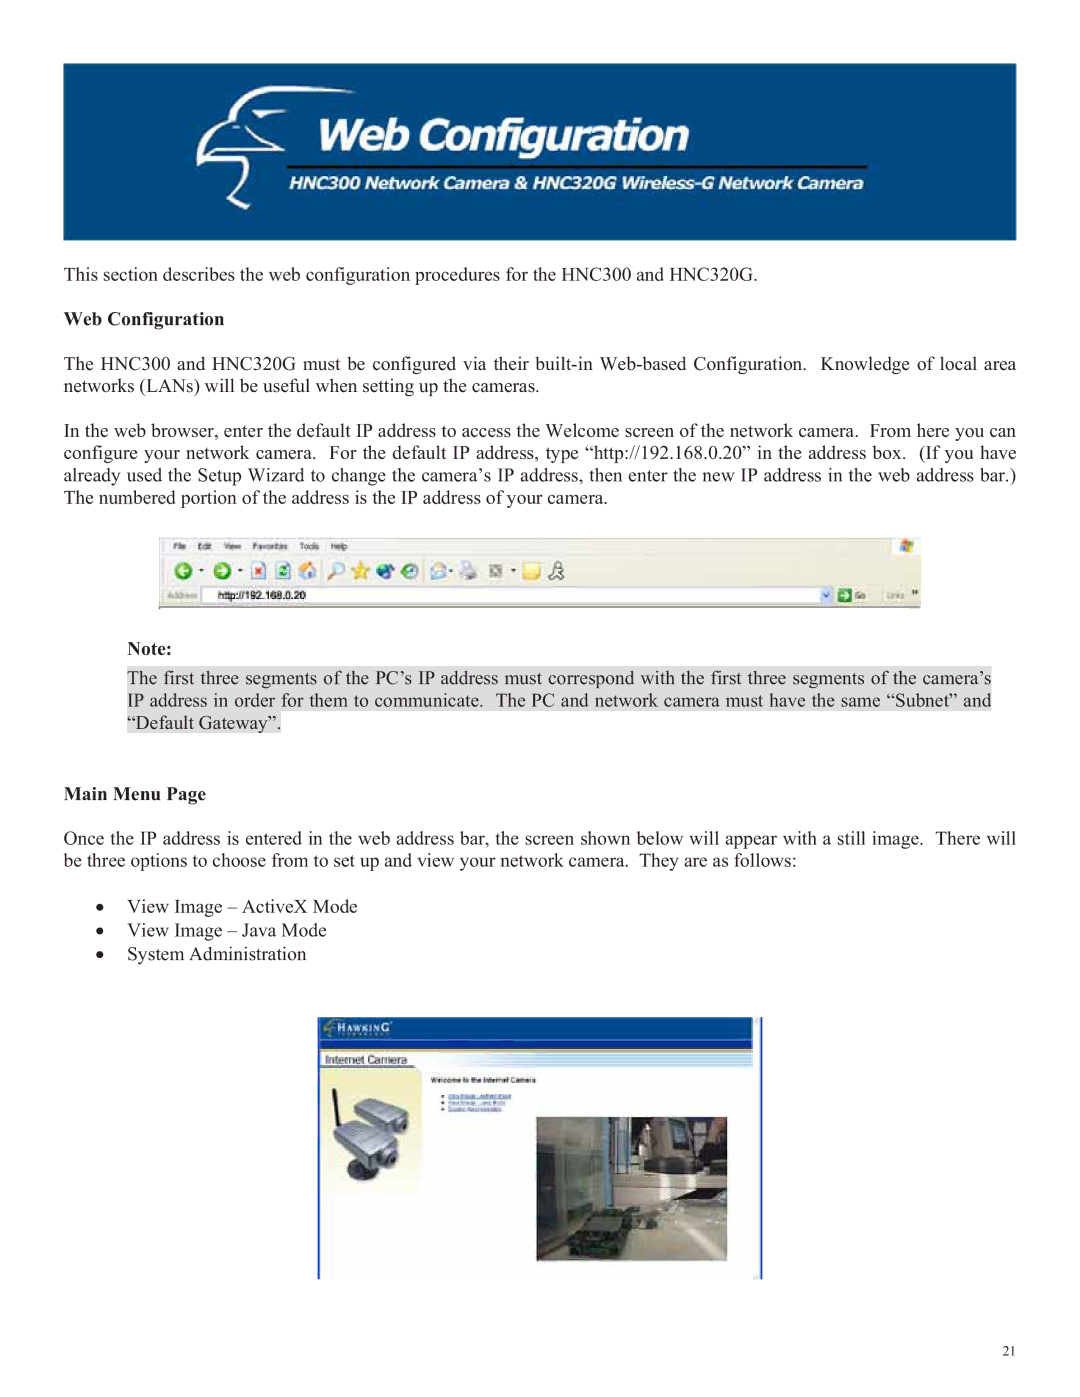
In the web browser, enter the default IP address to access the Welcome screen of the network camera. From here you can configure your network camera. For the default IP address, type “http://192.168.0.20” in the address box. (If you have already used the Setup Wizard to change the camera’s IP address, then enter the new IP address in the web address bar.) The numbered portion of the address is the IP address of your camera.
Note:
The first three segments of the PC’s IP address must correspond with the first three segments of the camera’s IP address in order for them to communicate. The PC and network camera must have the same “Subnet” and “Default Gateway”.
Main Menu Page
Once the IP address is entered in the web address bar, the screen shown below will appear with a still image. There will be three options to choose from to set up and view your network camera. They are as follows:
ξView Image – ActiveX Mode
ξView Image – Java Mode
ξSystem Administration
21