
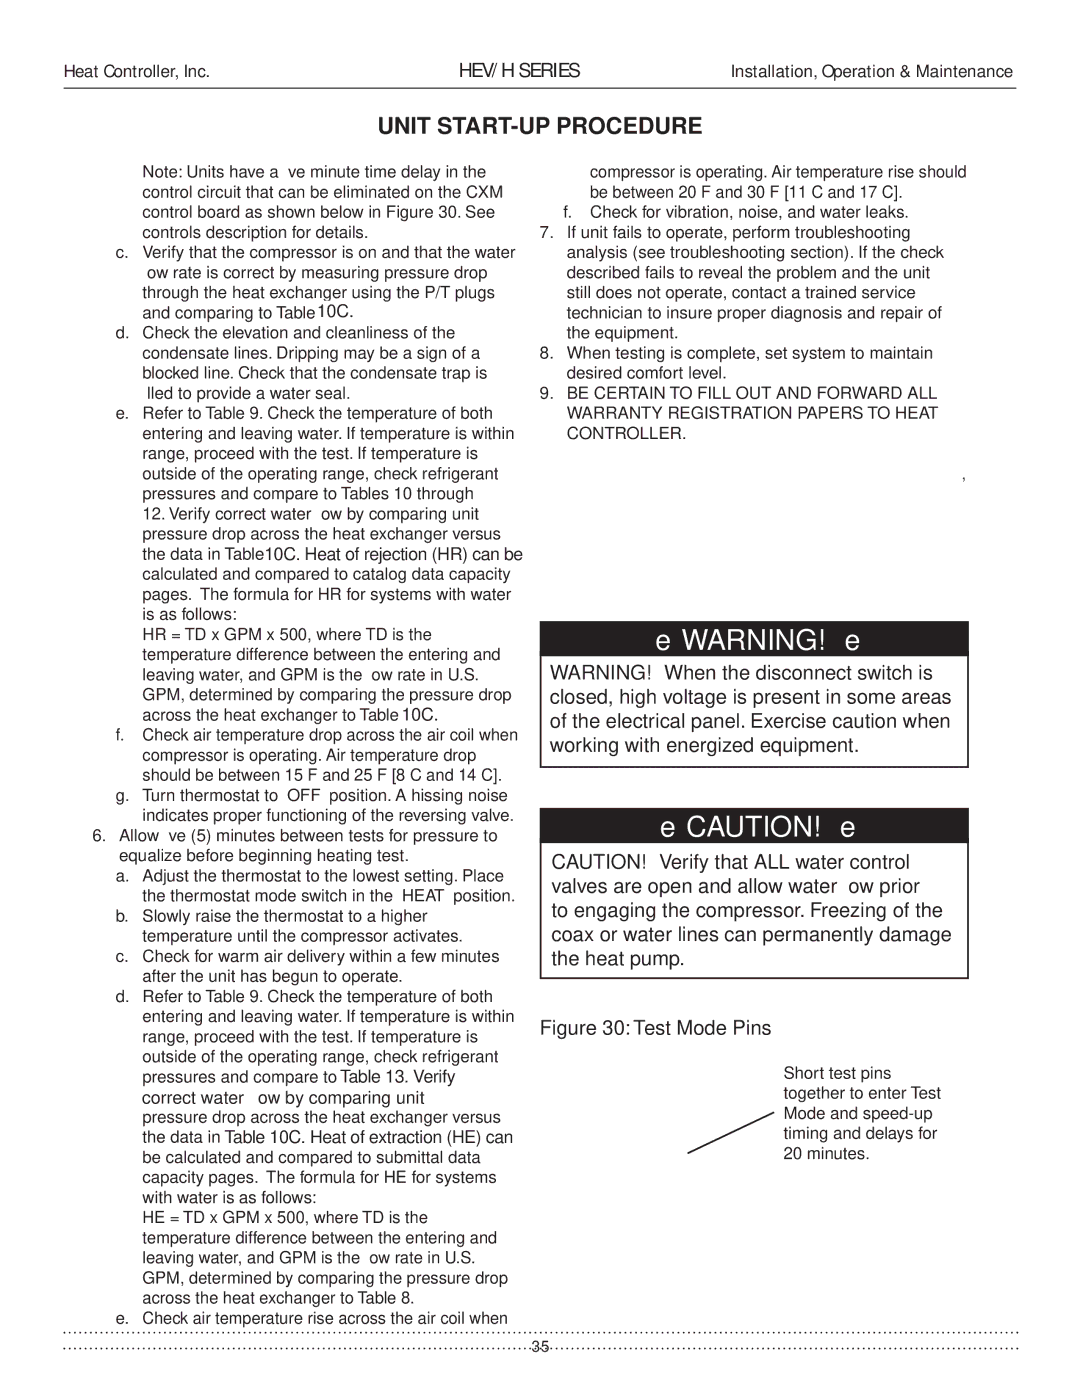
HEV/H specifications
The Heat Controller HEV/H series represents a significant advancement in heating technology, designed to provide efficient and effective climate control for both residential and commercial spaces. This innovative range of heat pumps combines cutting-edge features with user-friendly functionality to offer a reliable solution for modern heating needs.One of the standout features of the HEV/H series is its advanced inverter technology. This system allows the heat pump to adjust its output based on the specific heating requirements of the environment. By varying the compressor's speed, the HEV/H maintains a consistent temperature while significantly reducing energy consumption. This not only lowers utility bills but also reduces environmental impact, making it a more sustainable option compared to traditional heating methods.
The HEV/H series is equipped with a high-efficiency heat exchanger, which maximizes heat transfer and enhances overall performance. This component ensures that the system can operate effectively even in colder climates, providing reliable heating throughout the winter months. Additionally, the unit’s low noise operation is designed to maintain a peaceful environment, making it suitable for bedrooms, offices, and other noise-sensitive areas.
Another notable characteristic of the HEV/H series is its smart control features. Integrated with Wi-Fi connectivity, users can conveniently manage their heating settings remotely via a smartphone app. This feature allows for customized scheduling and temperature control, ensuring optimal comfort and convenience. Users can also receive real-time notifications on energy consumption and system performance, enhancing user engagement and control.
The HEV/H series also emphasizes durability and longevity. Constructed with high-quality materials, the units are designed to withstand the rigors of daily use while requiring minimal maintenance. The incorporation of advanced filtration systems helps to improve indoor air quality by capturing dust and allergens, which is especially beneficial for individuals with allergies or respiratory issues.
In summary, the Heat Controller HEV/H series exemplifies modern heating technology with its combination of efficiency, control, and user-friendly features. Its inverter technology, high-efficiency heat exchangers, smart connectivity, and durable construction make it an outstanding choice for anyone seeking to enhance their indoor climate while being conscious of energy usage and environmental impact. Whether for a home or business, the HEV/H series is poised to deliver exceptional heating solutions tailored to diverse needs.