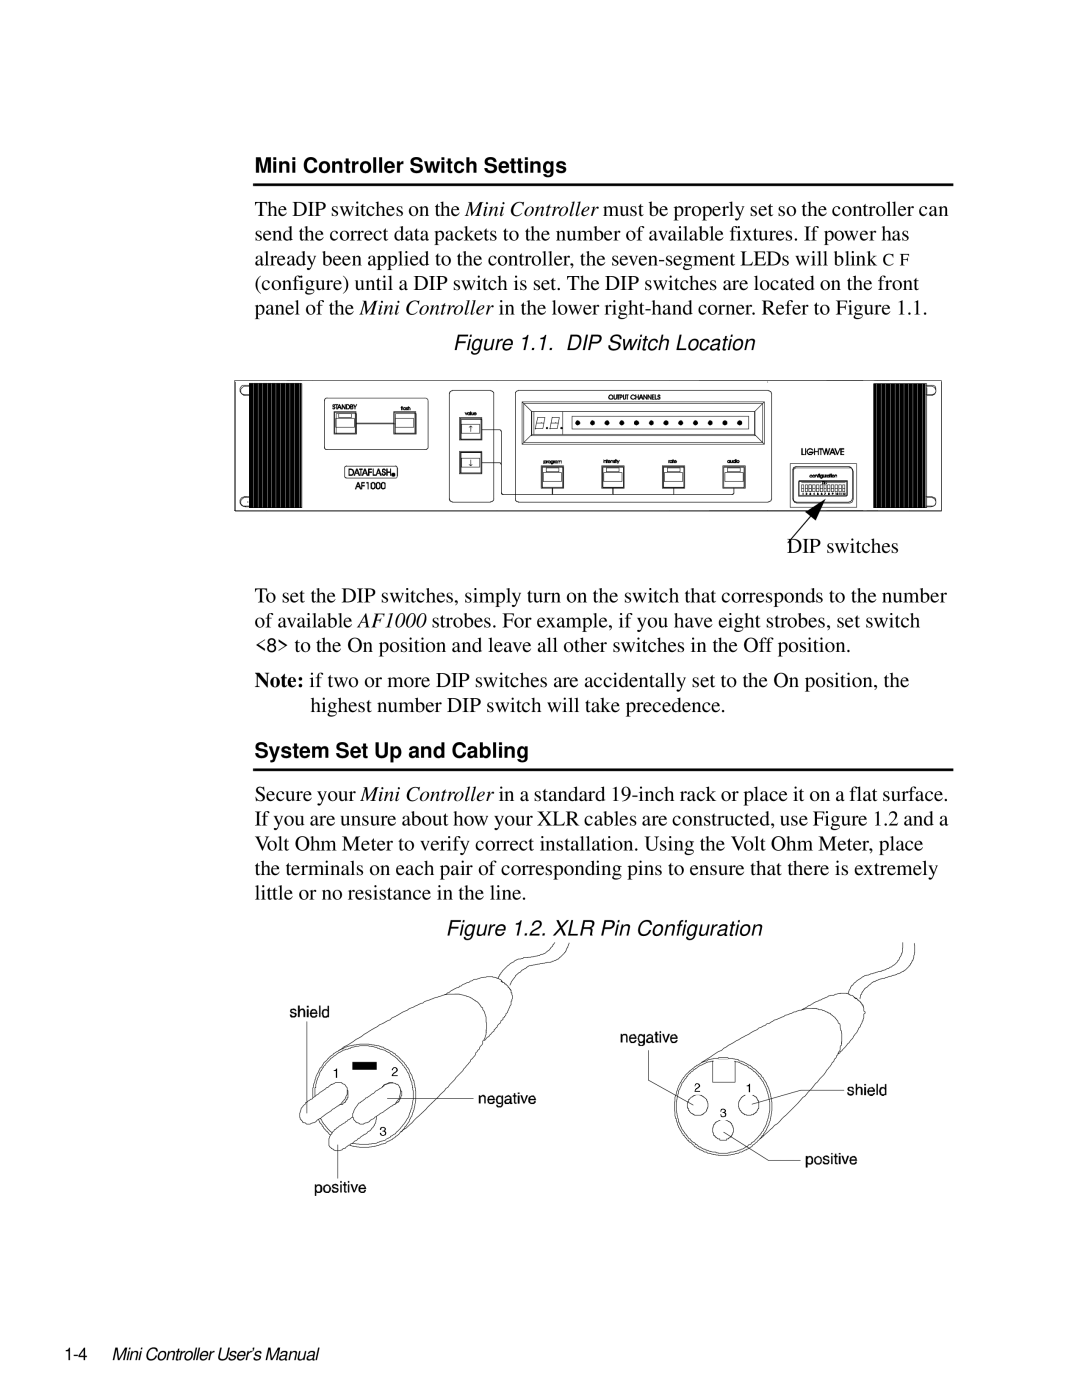
AF1000 specifications
The High End Systems AF1000 is an innovative and powerful fixture designed for the entertainment industry, particularly for live events and performances. Known for its versatility and advanced features, the AF1000 combines cutting-edge technology with user-friendly operation, making it a favorite among lighting professionals.One of the standout features of the AF1000 is its high output capabilities. The fixture utilizes a state-of-the-art LED light source that delivers exceptional brightness while maintaining outstanding color fidelity. This results in vibrant colors and well-defined beams that can fill large venues with ease. With a wide color spectrum and various color mixing options, designers can craft stunning visual experiences tailored to their specific needs.
The AF1000 is equipped with an advanced optical system that offers precise control over beam shaping and focusing. This optical quality allows for sharp images and projections, making it ideal for intricate gobo patterns and effects. The fixture includes a variety of lens options, giving users the flexibility to adjust the beam angle according to the requirements of the show.
Another significant characteristic of the AF1000 is its extensive moving capabilities. The fixture features both pan and tilt functionality, allowing for dynamic movement across the stage. The smooth operation and responsive control enable lighting designers to create intricate light shows that enhance the overall atmosphere of any event.
Technologically, the AF1000 boasts integrated DMX control, allowing it to be easily integrated into existing lighting setups. Its compatibility with various control protocols ensures seamless communication with other lighting fixtures and controllers. Additionally, the fixture supports RDM (Remote Device Management), providing users with the ability to monitor and configure settings remotely, increasing efficiency during setups and performances.
The AF1000 is also built with durability in mind. Constructed from robust materials, it is designed to withstand the rigors of touring and high-demand environments. The innovative cooling system ensures the fixture operates at optimal temperatures, preventing overheating and enhancing longevity.
In summary, the High End Systems AF1000 stands out in the realm of professional lighting with its high output, advanced optical systems, dynamic movement capabilities, and robust construction. Its combination of cutting-edge technology and user-centric design makes it a powerful tool for lighting professionals, ensuring that it remains a top choice for high-profile events and productions.

