19LD4550U
19LD4550C
22LD4550C
22LD4550U
the “IMPORTANT SAFETY INSTRUCTIONS” and “SAFETY PRECAUTIONS”
USERS MANUAL
Please keep this users manual for future reference
IMPORTANT SAFETY INSTRUCTIONS
Contents
SAFETY PRECAUTIONS
SUPPLIED ACCESSORIES
WATCHING TV / PROGRAMME CONTROL
PICTURE CONTROL
SOUND CONTROL
OPTION CONTROL
WARRANTY
PARENTAL CONTROL / RATINGS
TELETEXT
IMPORTANT SAFETY INSTRUCTIONS
About This Manual
INTRODUCTION
Trademark Credits
About Software
SOME DOS AND DONTS ON THE SAFE USE OF EQUIPMENT
SAFETY PRECAUTIONS
ABOVE ALL
NEVER guess or take chances with electrical equipment of any kind
SAFETY PRECAUTIONS
About the Symbols
Important for United Kingdom
SAFETY PRECAUTIONS continued
Do not cover or block any ventilation holes on the product
SAFETY PRECAUTIONS continued
PRECAUTIONS
How to clean the Colour LCD Television screen panel of the unit
OVERVIEW
SUPPLIED ACCESSORIES
Front Panel Controls
PREPARATION
Connect a component video/audio device to these jacks
Back Panel Information
Stand Installation
Only 26/32
Only 19/22
Detaching Stand Only 26/32
Only 26/32
Only 19/22
Wall Mounting
Only 26/32
HD Receiver Setup
EXTERNAL EQUIPMENT SETUP
Connecting with a component cable
Signal
Connecting a set-top box with an HDMI
Connecting with a HDMI to DVI cable
box to the HDMI IN1DVI or HDMI IN 2 jack
Connect one end of an optical cable to
Digital Audio Out Setup
the TV Digital Audio Optical Output
port
DVD Setup
When connecting with a component cable
Component Input ports
Connecting with a S-Video cable
Connecting with a Euro Scart cable
Connecting the HDMI cable
HDMI IN 1DVI or HDMI IN 2 jack on the
HDMI IN
VCR or DVD Setup
Connecting with a RF cable
Wall Jack Antenna
Connecting with a Euro Scart cable
Connecting with a S-Video cable
AV 1 AV
Insertion Of CI Module
Other A/V Source Setup
To view the encrypted pay services in digital TV mode
This feature is not available in all countries
Connecting with a D-sub 15 pin cable
PC Setup
AUDIO IN RGB/DVI
Connecting with a HDMI to DVI cable
Supported Display Resolution
Auto Configure RGB PC mode only
Auto configure
Select Auto Config
Adjustment for screen Position, Size, Phase
Select H. Position, V. Position, Phase, Size or
Resolution
Select Resolution
Selecting Resolution
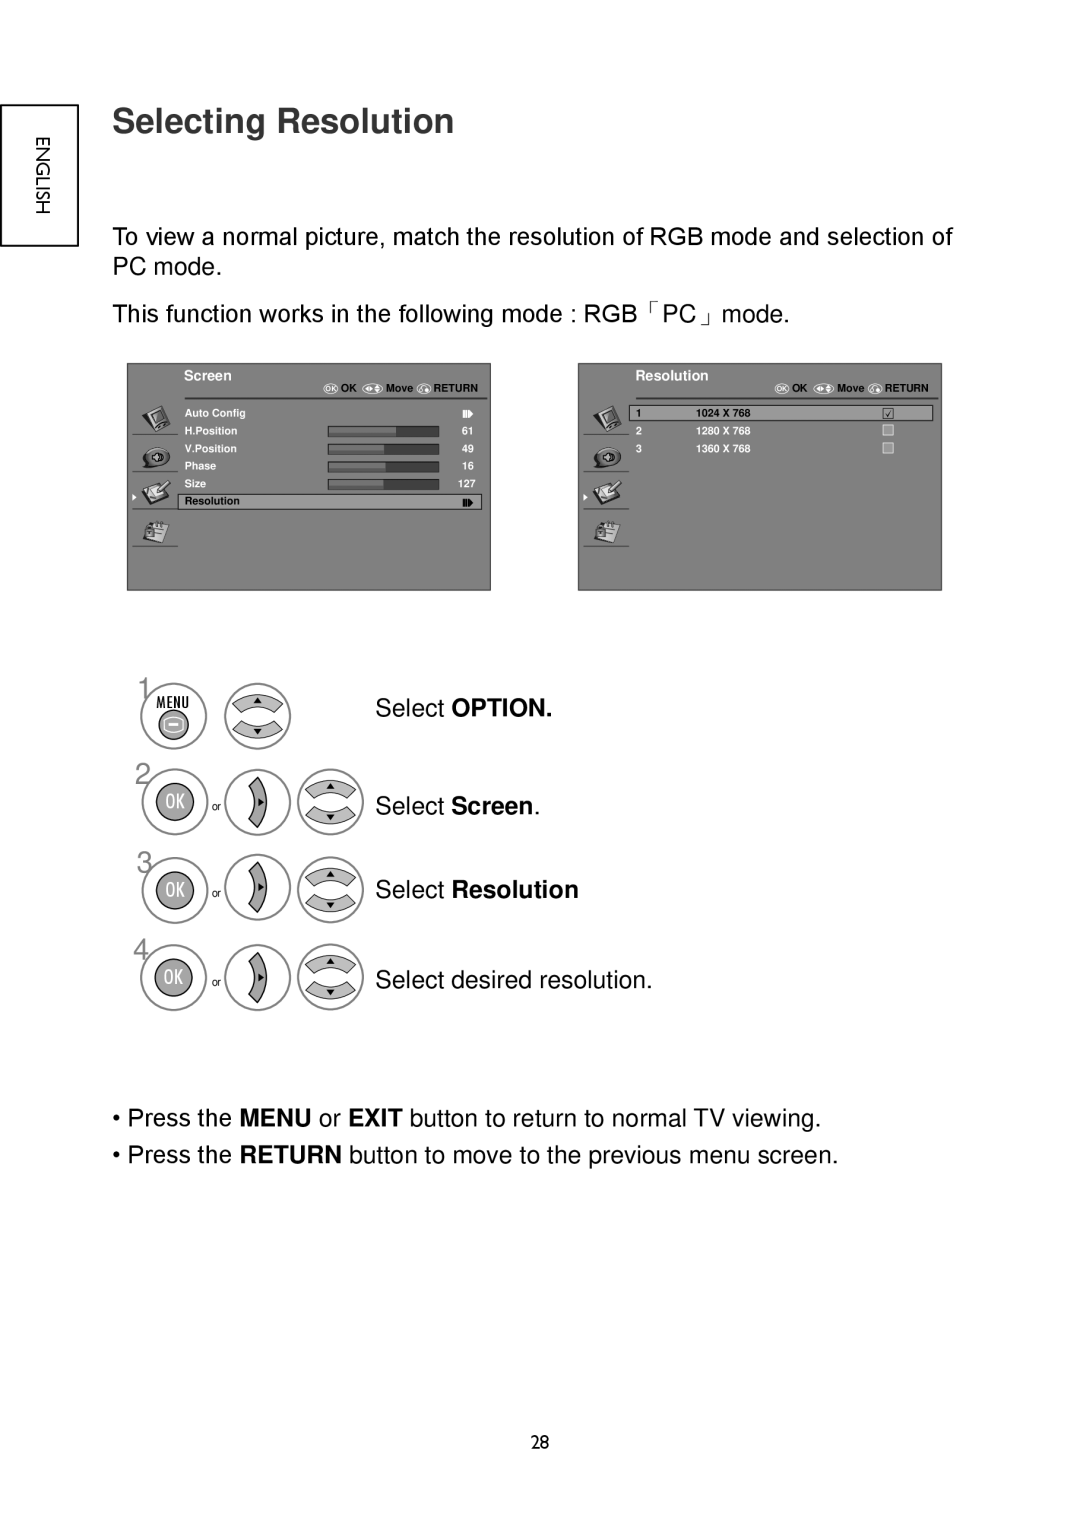
WATCHING TV / PROGRAMME CONTROL
Remote Control Key Functions
Installing Batteries
Turning On The TV
Volume Adjustment
Programme Selection
Initializing setup
Select Country
Quick Setup
SETUP
Menus Selection And Adjustment
1 MENU
AUDIO
Select Auto Tuning
Auto Programme Tuning
Select 1st Audio Language or 2nd Audio Language
Audio Language Selection In Digital Mode Only
Select SETUP
Manual Programme Tuning In Digital Mode
Start Tuning
Select Manual Tuning
Manual Programme Tuning In Analog Mode
Select SETUP
Programme Skip
Select Programme
Select OK
Select Programme
Assigning Programme Fine TuneIn Analog Mode
Displaying Channel List
Selecting The Channel List
Channel List
Selecting a Programme in the Channel List
Select Input List
Input List
Picture Size Aspect Ratio Control
PICTURE CONTROL
Original
Zoom1
Zoom2
Picture Mode-Preset
Preset Picture Settings
OK or Select Picture Mode
Select PICTURE
Select Colour Temperature
Colour Temperature Normal/Warm/Cool
Picture Mode-User option
Manual Picture Adjustment
OK or Select Picture Mode on User
Select Temperature, Backlight and Advanced Control
Flesh Tone
Picture Improvement Technology
Adaptive Luma Control
Noise Reduction
User
Picture Mode
Dynamic
Nature
Sound Setting Adjustment -User Mode
SOUND CONTROL
Select a Frequency band
Preset Sound Settings-Sound Mode
Select Sound Mode
Select Clear Voice, Standard, Music, Cinema, Sport, Game or User
Balance
Select Auto Volume
Auto Volume Level
Select AUDIO
Select On or Off
Selecting Digital Audio Out
Select Digital Audio Out
Select Dolby Digital or PCM
TV Speakers On/ Off Setup
Select AUDIO
Select TV Speaker
Select Audio Description
Audio Description on/off Setup
OPTION CONTROL
Menu Language Selection
Select Menu Language
TIME SETTING
Time Zone Setup
Select Time Zone
Zone
Clock Setup
Time
Clock
Clock
Auto On/Off Timer Setting
Sleep Timer Setting
Select Diagnostics
Diagnostics
Select OPTION
Common InterfaceCI
Select Common Interface
Disply CI card Information
PARENTAL CONTROL / RATINGS
Set Password & Lock System
Input a 4-digit password
Block Programme
Parental Control Program Block
Key Lock
This feature is not available in all countries
Switch On/Off
TELETEXT
Simple Text
Special Teletext Functions
REVEAL
HOLD
Initializing Reset to original factory settings
APPENDIX
Select OPTION
Troubleshooting
The TV does not operate properly
The video function does not work
The audio function does not work
There is a problem in PC mode. Only PC mode applied
This guarantee does not affect your statutory rights
WARRANTY
Thank you for purchasing this Hitachi Television
3. the product serial number has not been removed or altered
Consumer Business Group Shin-Otemachi Bldg 5f, 2-1, Otemachi 2-Chome