Selecting Digital Audio Out
This function allows you to select your preferred Digital Audio Output.
The TV can only output DOLBY Digital if a channel is broadcast with Dolby Digital audio.
When Dolby digital is available, selecting Dolby Digital in the Digital Audio Out menu will set SPDIF output to Dolby Digital.
If Dolby Digital is selected in the digital audio out menu when dolby digital is not available, SPDIF output will be PCM.
Even if both Dolby Digital and Audio language have been set in a channel which broadcast Dolby Digital Audio, only Dolby Digital will be played.
English
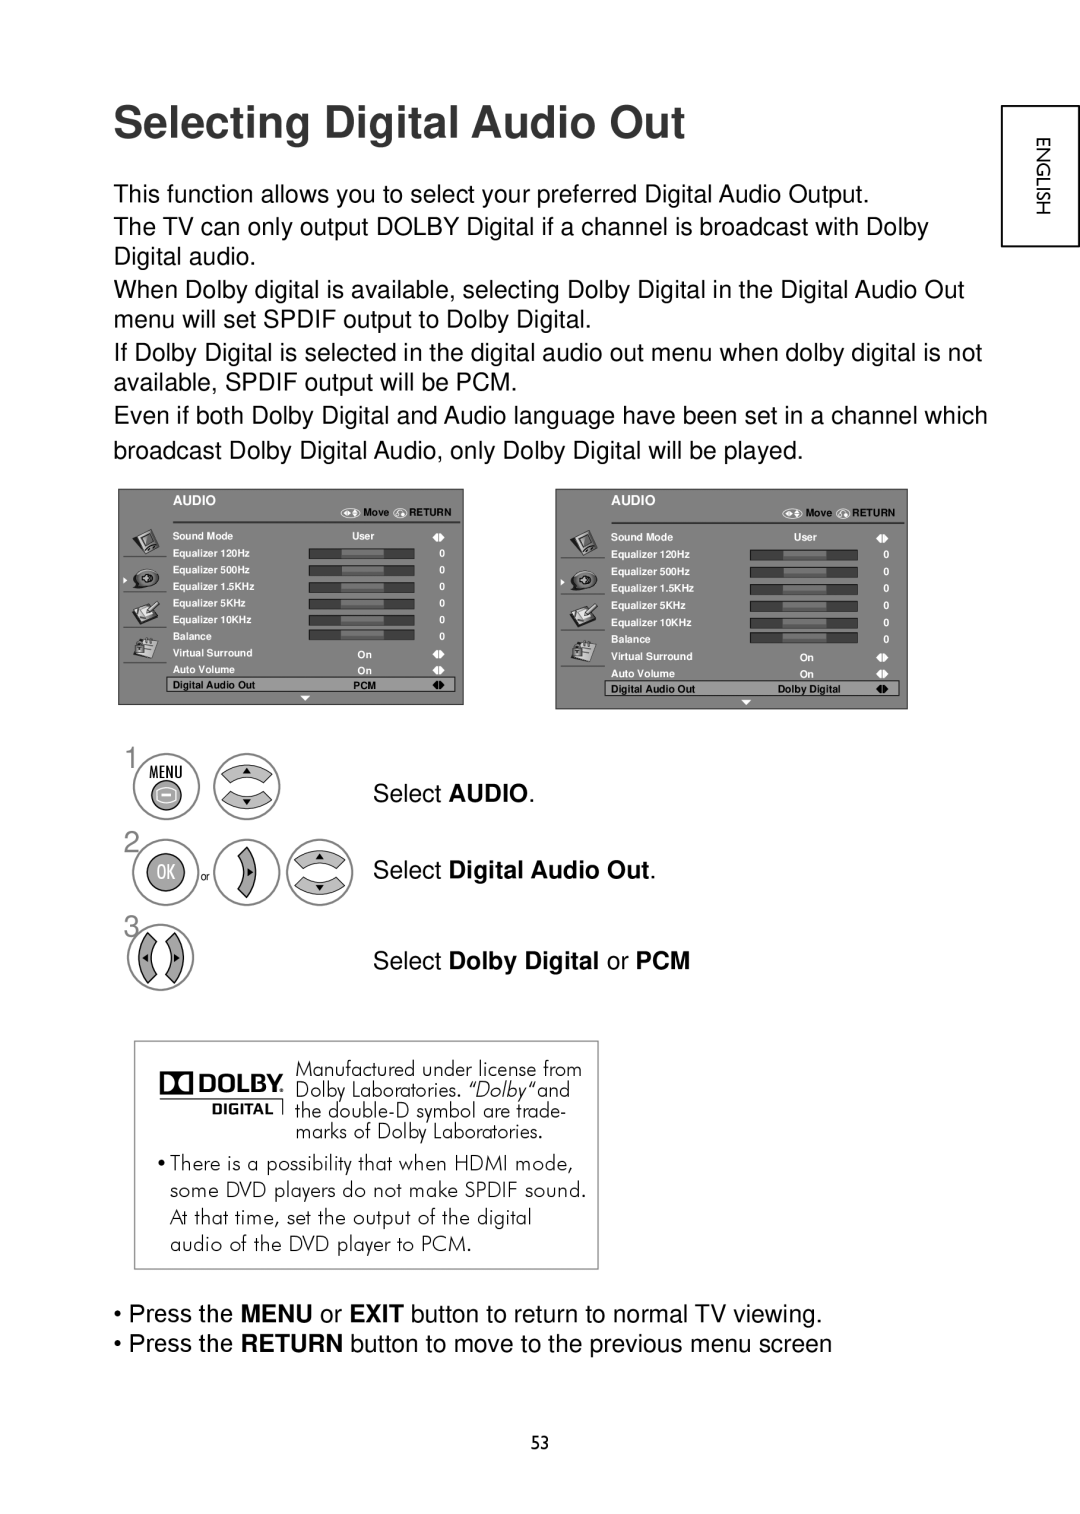
AUDIO | Move | RETURN |
| ||
Sound Mode | User |
|
Equalizer 120Hz |
| 0 |
Equalizer 500Hz |
| 0 |
Equalizer 1.5KHz |
| 0 |
Equalizer 5KHz |
| 0 |
Equalizer 10KHz |
| 0 |
Balance |
| 0 |
Virtual Surround | On |
|
Auto Volume | On |
|
Digital Audio Out | PCM |
|
AUDIO | Move | RETURN |
| ||
Sound Mode | User |
|
Equalizer 120Hz |
| 0 |
Equalizer 500Hz |
| 0 |
Equalizer 1.5KHz |
| 0 |
Equalizer 5KHz |
| 0 |
Equalizer 10KHz |
| 0 |
Balance |
| 0 |
Virtual Surround | On |
|
Auto Volume | On |
|
Digital Audio Out | Dolby Digital |
|
1 MENU | Select AUDIO. |
| |
2 | Select Digital Audio Out. |
OK or | |
3 | Select Dolby Digital or PCM |
|
Manufactured under license from Dolby Laboratories. “Dolby “and the
•There is a possibility that when HDMI mode, some DVD players do not make SPDIF sound. At that time, set the output of the digital audio of the DVD player to PCM.
•Press the MENU or EXIT button to return to normal TV viewing.
•Press the RETURN button to move to the previous menu screen
53