English
Preset Picture Settings
Picture Mode-Preset
You can adjust the best picture appearance from preset value in picture mode..
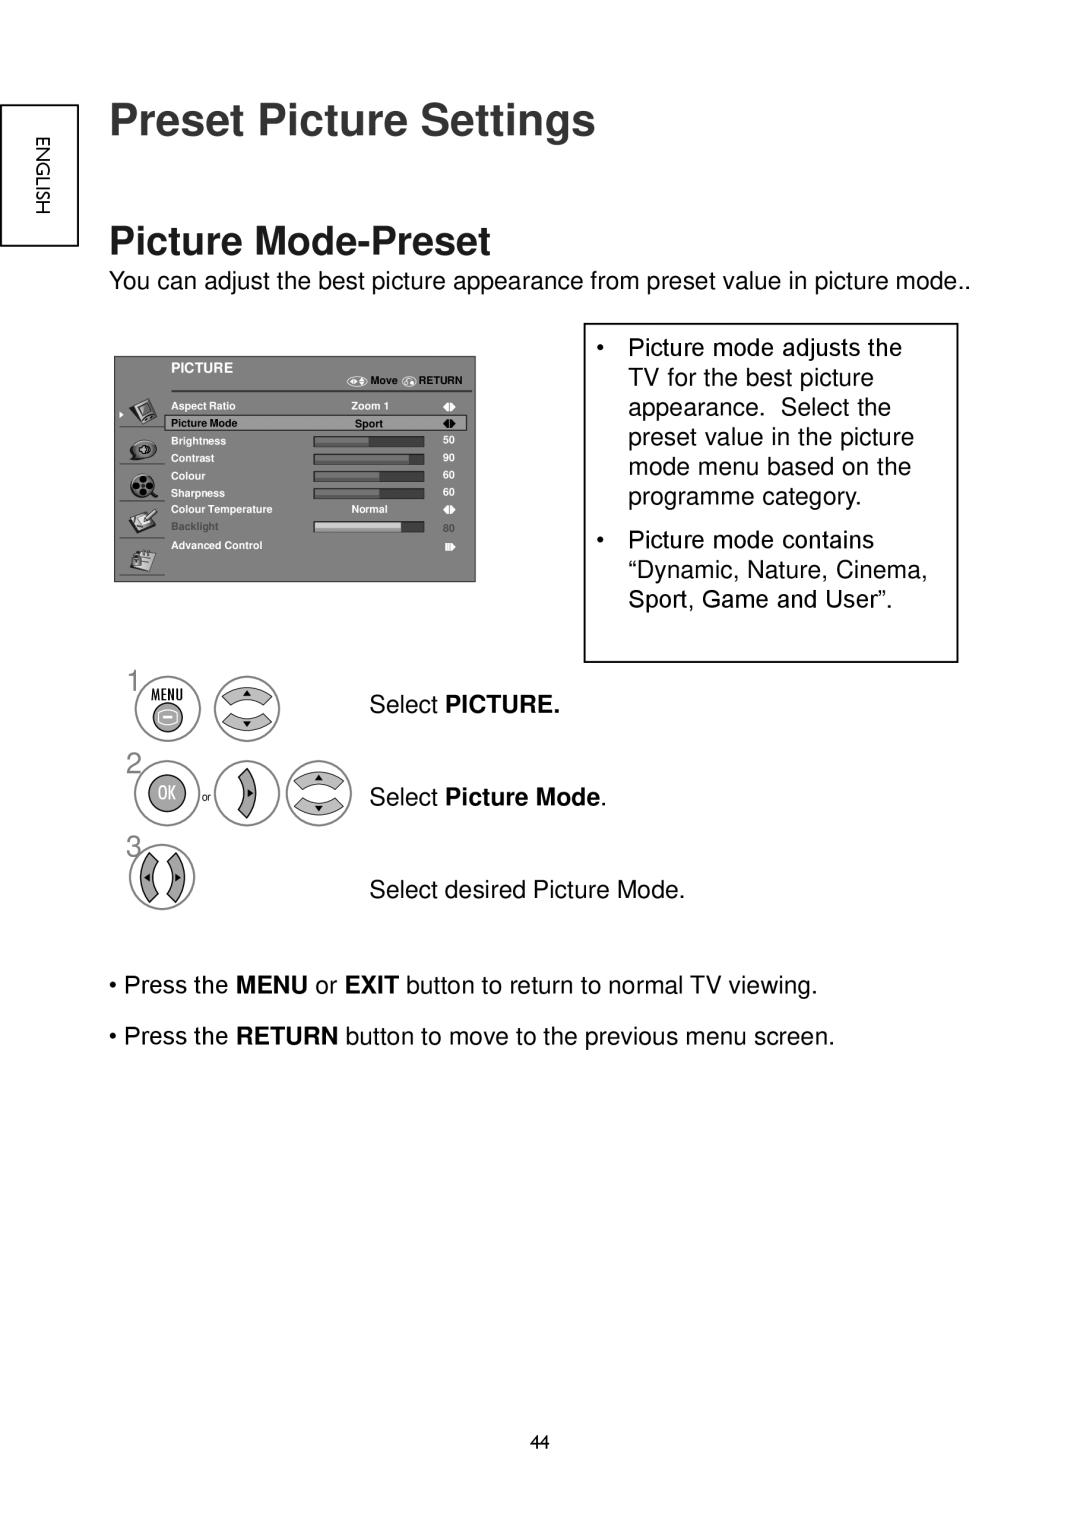
PICTURE | Move | RETURN |
| ||
Aspect Ratio | Zoom 1 |
|
Picture Mode | Sport |
|
Brightness |
| 50 |
Contrast |
| 90 |
Colour |
| 60 |
Sharpness |
| 60 |
Colour Temperature | Normal |
|
Backlight |
| 80 |
Advanced Control |
|
|
1 MENU | Select PICTURE. |
|
•Picture mode adjusts the
TV for the best picture appearance. Select the preset value in the picture mode menu based on the programme category.
•Picture mode contains
“Dynamic, Nature, Cinema,
Sport, Game and User”.
2
3
OK or 
 Select Picture Mode.
Select desired Picture Mode.
•Press the MENU or EXIT button to return to normal TV viewing.
•Press the RETURN button to move to the previous menu screen.
44