6. Programming Macro Buttons
15.Press MAIN.
16.Press CABLE. (Back to the this device to enter the appropriate channel.)
17.Press 1, then 3, then 5. (Then press the ENT button if your cable device requires it.)
18.Press CH UP to save the macro.
19.Press MAIN twice.
Press M1 to test your macro.
It should turn on your Audio device (receiver for example), then your TV, then your Cable box, then change the input to Cable on your receiver, then change the Channel on your Cable box to 135.
Note: You can end your macro on any page you like, including the MAIN page. We deliberately ended our macro on the Cable page before we saved it, since that is where we wanted to be at the end of our macro.
7. Programming Punch Through Functions
You can use the audio receiver volume control in a different mode (for example, Audio receiver Volume Up and Volume Down and Mute in Satellite mode) using the volume punch through feature. You can also have channel punch through (Channel Up, Channel Down) as well as eight VCR (or DVD) transport buttons (Play, Stop, Fast Forward and Rewind,
1.Go to the SETUP mode by pressing the MAIN and ENTER buttons simultaneously for three seconds.
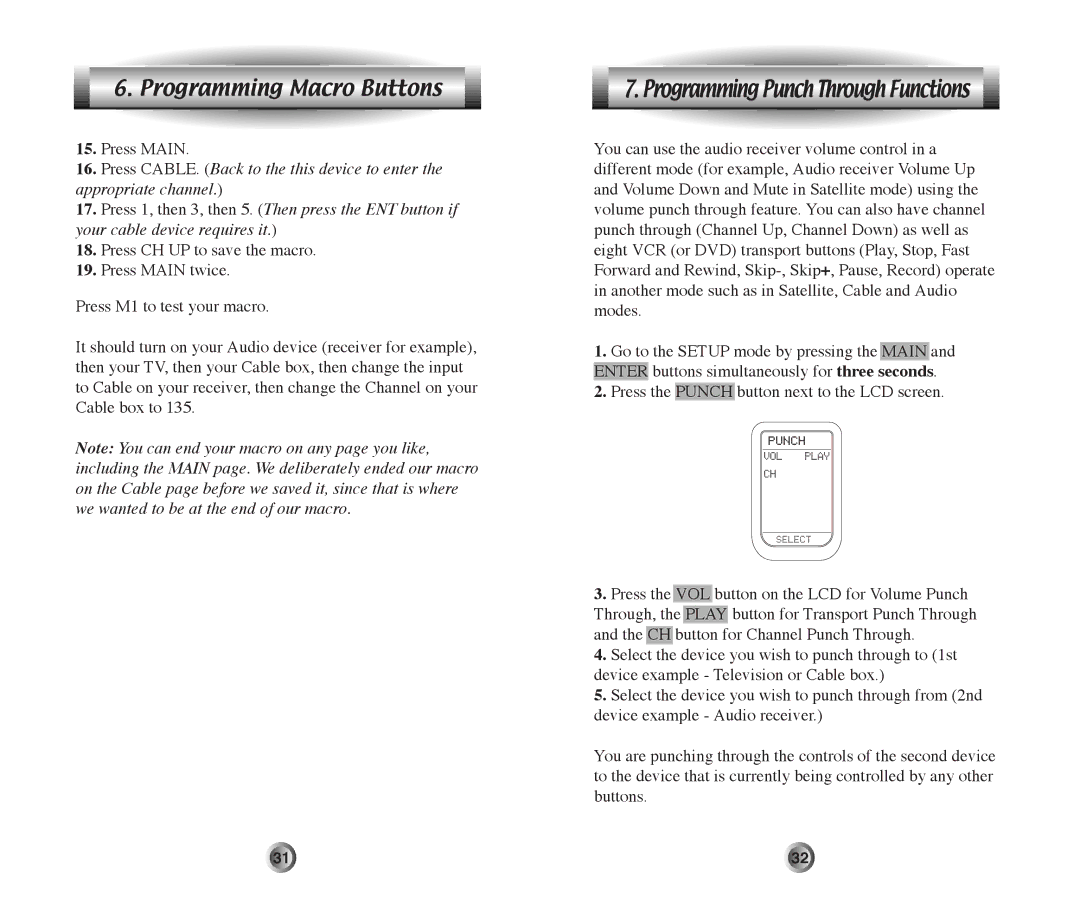
2.Press the PUNCH button next to the LCD screen.
3.Press the VOL button on the LCD for Volume Punch Through, the PLAY button for Transport Punch Through and the CH button for Channel Punch Through.
4.Select the device you wish to punch through to (1st device example - Television or Cable box.)
5.Select the device you wish to punch through from (2nd device example - Audio receiver.)
You are punching through the controls of the second device to the device that is currently being controlled by any other buttons.
31 | 32 |
