2. Batteries
A. Battery Installation
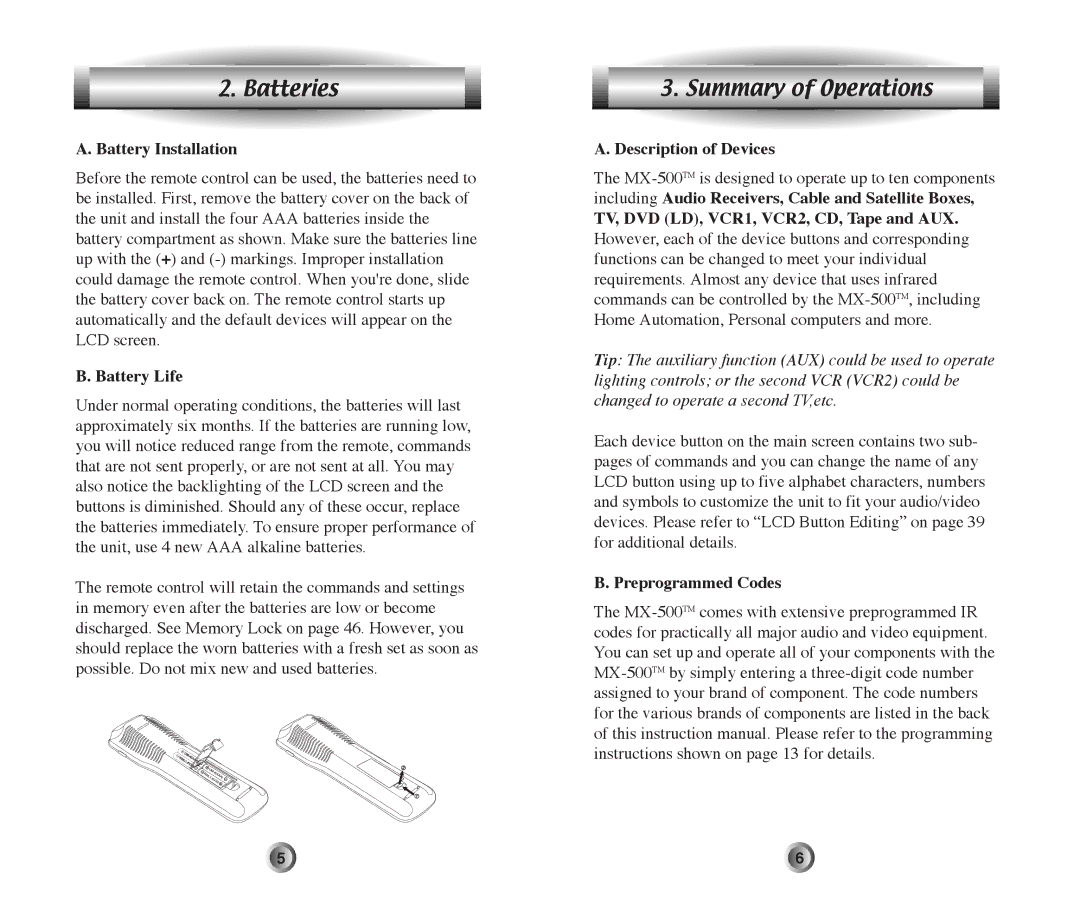
Before the remote control can be used, the batteries need to be installed. First, remove the battery cover on the back of the unit and install the four AAA batteries inside the battery compartment as shown. Make sure the batteries line up with the (+) and
B. Battery Life
Under normal operating conditions, the batteries will last approximately six months. If the batteries are running low, you will notice reduced range from the remote, commands that are not sent properly, or are not sent at all. You may also notice the backlighting of the LCD screen and the buttons is diminished. Should any of these occur, replace the batteries immediately. To ensure proper performance of the unit, use 4 new AAA alkaline batteries.
The remote control will retain the commands and settings in memory even after the batteries are low or become discharged. See Memory Lock on page 46. However, you should replace the worn batteries with a fresh set as soon as possible. Do not mix new and used batteries.
3. Summary of Operations
A. Description of Devices
The
including Audio Receivers, Cable and Satellite Boxes,
TV, DVD (LD), VCR1, VCR2, CD, Tape and AUX.
However, each of the device buttons and corresponding functions can be changed to meet your individual requirements. Almost any device that uses infrared commands can be controlled by the
Tip: The auxiliary function (AUX) could be used to operate
lighting controls; or the second VCR (VCR2) could be changed to operate a second TV,etc.
Each device button on the main screen contains two sub- pages of commands and you can change the name of any LCD button using up to five alphabet characters, numbers and symbols to customize the unit to fit your audio/video devices. Please refer to ÒLCD Button EditingÓ on page 39 for additional details.
B. Preprogrammed Codes
The
5 | 6 |
