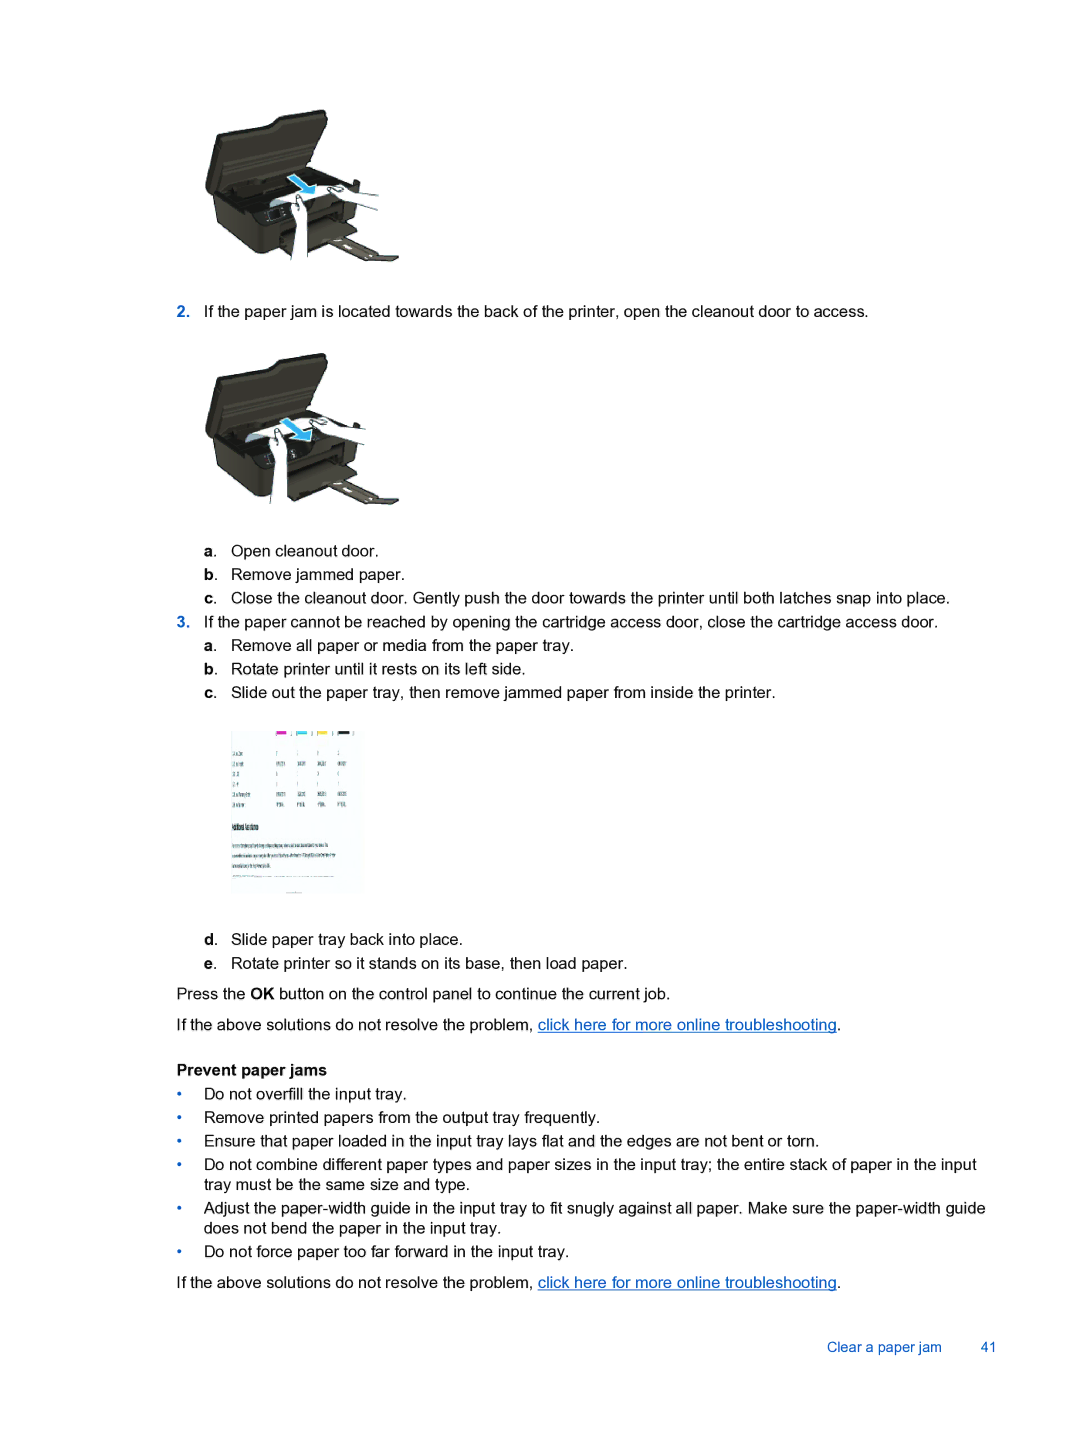
2.If the paper jam is located towards the back of the printer, open the cleanout door to access.
a. Open cleanout door.
b. Remove jammed paper.
c. Close the cleanout door. Gently push the door towards the printer until both latches snap into place.
3.If the paper cannot be reached by opening the cartridge access door, close the cartridge access door. a. Remove all paper or media from the paper tray.
b. Rotate printer until it rests on its left side.
c. Slide out the paper tray, then remove jammed paper from inside the printer.
d. Slide paper tray back into place.
e. Rotate printer so it stands on its base, then load paper.
Press the OK button on the control panel to continue the current job.
If the above solutions do not resolve the problem, click here for more online troubleshooting.
Prevent paper jams
•Do not overfill the input tray.
•Remove printed papers from the output tray frequently.
•Ensure that paper loaded in the input tray lays flat and the edges are not bent or torn.
•Do not combine different paper types and paper sizes in the input tray; the entire stack of paper in the input tray must be the same size and type.
•Adjust the
•Do not force paper too far forward in the input tray.
If the above solutions do not resolve the problem, click here for more online troubleshooting.
Clear a paper jam | 41 |
