UserÕs Guide
HP Customer Care
HP Customer Care by Phone
For Windows
Acknowledgments
Table of Contents
Table of Contents
Introduction
Congratulations on the Purchase of Your
Special Features of Your HP Inkjet Printer
Finding More Information
Setting Up Your Printer
You are running Windows 98 on your computer
Setting Up Your Printer with a Parallel Printer Cable
Unpack Your Printer
Close the top cover
Connect Parallel Cable
Make sure both the printer Computer are turned off
Plug the other end into Computer, and tighten the screws
Plug in the Power
Insert Print Cartridges
6410005
Load Paper in Your Printer
Put the paper into the in tray, print
Print Side Down
Side down For More Information
Install the Printer Software
Before You Begin
Make sure both the printer and the computer are turned on
¥ For Windows 95, 98 and NT 4.0, do the following
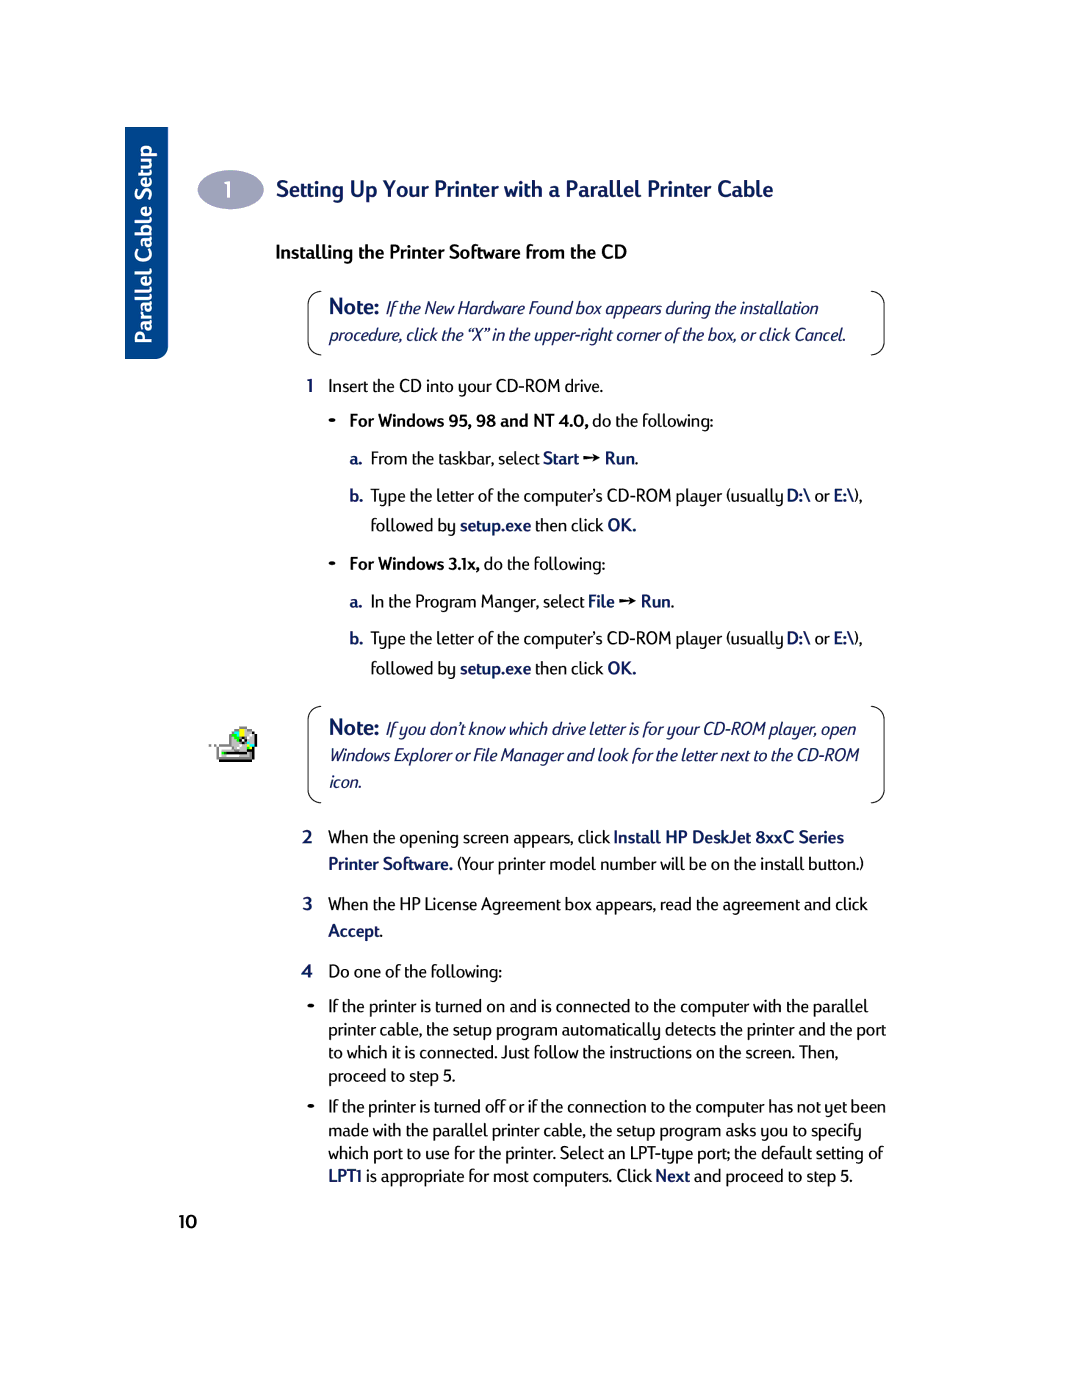
Installing the Printer Software from the CD
Insert the CD into your CD-ROM drive
¥ For Windows 3.1x, do the following
Follow the instructions on the screen
Proceed to ÒAlign the Inkjet Print CartridgesÓ on
Setting Up Your Printer with a USB Cable
USB Unpack Your Printer
Open the top cover. Remove both
USB Plug in the Power
USB Insert Print Cartridges
Close the top cover
USB Load Paper in Your Printer
Print Side Down
USB Install the USB Printer Software
USB Connect USB Cable
Plug the other end into any USB port on the computer
Setting Up Your Printer with a USB Cable
USB Install the Printer Software
When prompted, restart Windows
Setting Up Your Printer with a USB Cable
Align the Inkjet Print Cartridges
Print a
Closing Software Programs
Additional Setup Information
If You have Problems Installing
For Windows 95, 98 or NT
Click Close and exit the Control Panel
Setting the HP DeskJet Printer as the Default
From the taskbar select Start Settings Printers
Insert Disk 1 into the disk drive
Printer Software
From your software program, try this
2Using Your Printer Software
Finding the HP Print Settings Box
Or try this
Click a tab and then click a setting
About the HP Print Settings Box
Setup Tab
Select the appropriate settings. Choose
Click OK to save your settings
Features Tab
Services Tab
Color Tab
Uninstalling the Printer Software
For Windows 95, 98 and NT
For Windows
Creative Printing
Paper Basics
Choosing Paper
Inkjet Papers
Photo Papers
Specialty Products
Paper that Might Not Work
Working with Color
Adjusting Color
Grayscale setting
Turning Off Color
What if the printed colors donÕt match the screen colors?
What if the colors arenÕt as vivid as they should be?
How to Print on Different Paper Sizes
Customizing Your Print Jobs
After you are done printing
How to Print on Both Sides of the Paper
Book Option
Tablet Option
What if both pages printed on one side of the paper?
What if the ink smeared?
How to Flip a Document
How to Print Several Pages Per Sheet
Working With Photos
Printing Photos
Selecting the Best Photo Paper
How to Print a Single Envelope
Printing Envelopes
Follow your software instructions
How to Print a Stack of Envelopes
Slide both of the paper adjusters out
About Small Envelopes
What if the printer wonÕt pick up the envelope?
Printing Labels
Print the labels
Printing Cards
Printing Non-standard Size Cards
What if you want your cards to print sideways?
Printing on Transparencies
Flip up the OUT tray for a better view of the in tray
Print the transparency
What if the quality isnÕt what you were expecting?
Printing Posters
Printing Banners
Get the banner paper ready for the printer
Push the in tray back Print the banner
What if the banner paper jams in the printer?
What if the text is fuzzy after printing a banner?
Printing Iron-On Transfers
HereÕs how you do it
Using and Caring for Your Inkjet Print Cartridges
Using Inkjet Print Cartridges
Replacing an Inkjet Print Cartridge
Using and Caring for Your Inkjet Print Cartridges
With the printer turned on, open the top cover
Storing Inkjet Print Cartridges
Cleaning the Inkjet Print Cartridges
Procedure 1 Correcting Missing Lines or Dots
Aligning the Inkjet Print Cartridges
Procedure 2 Eliminating Ink Streaks
Click the Printer Services tab
Remove the Inkjet Print Cartridges
Turn the printer on and lift the printerÕs top cover
Clean the Inkjet Print Cartridge Cradle
Position yourself at eye level with the printer
Damage Resulting from Refilling the Inkjet Print Cartridges
Poor print quality
Potential damage
Finding the HP DeskJet Toolbox
For Windows 95, 98 and Windows NT
About the HP DeskJet Toolbox
Troubleshooting Tab
Printer Services Tab
For HP DeskJet 895C Series Printers Only Networking Tab
Basic Troubleshooting
What if no page came out of the printer?
Margin settings. If text is running off the edge
What if a blank page came out of the printer?
What if text or graphics are in the wrong place?
What if the print quality is poor?
Cartridges. If ink is smearing or is splotchy
What if something on the page is wrong or missing?
¥ YouÕve set the correct margins
What if youÕre having trouble printing a banner?
Pull the jammed paper out
Clearing a Paper Jam
If the paper jams in the back of the printer
Print your document again
HP Customer Care
Electronic Support Information
HP Customer Care Repair
HP Customer Care by Phone
¥ You have the following information available
Extended Warranty Options
After Ninety Days
¥ Consult your reseller to get extended coverage
Maintaining Your Printer
Increasing Printer Performance
Cards 3x5, 4x6, 5x8, and A6
A4-Sized Paper
B5-Sized Paper
Hagaki Postcards
Inkjet Print Cartridges for 810C, 812C
Power Adapter worldwide
Power Cords
C6409-60014
Printer UserÕs Guides
Ordering Information
Elsewhere in the world
¥ Germany Fax
ASpecifications
Black Text with Color Highlights Print Speed
Specifications
Media Weight
Required For Windows NT
System Requirements
Supported Operating Systems
Required For Windows 3.1x, 95 or
Check the computerÕs packaging
Check the amount of RAM installed in your computer
For Windows 95, 98 and NT
Check the size of your hard disk drive
For Windows
For DOS version 6.x and higher
Click System Info
What is USB?
How can I determine if my computerÕs USB port is enabled?
Double-click the System icon
Frequently Asked Questions About USB Universal Serial Bus
How can I increase printing speed?
DUsing Your HP DeskJet 895C Series Printer on a Network
About Sharing Your Printer on a Network
Locally Shared
Setting Up Your Printer on a Network
Network-Connect
Printing Across a Network
Troubleshooting for the Network-Connected Printer
Printing from DOS Applications
About the HP DeskJet Control Panel for DOS
About DOS Printer Drivers
What is a printer driver?
How do I install DOS printer drivers?
How can I get a printer driver?
Printer Driver
To install the DOS control panel from the CD
Installing the HP DeskJet Control Panel for DOS
Before you install the DOS control panel
To install the DOS control panel from the floppy disks
Help in the HP DeskJet Control Panel for DOS
Selecting Print Settings
If you encounter problems with the installation
Use the HP DeskJet Control Panel for DOS to
Supported Character Sets
Lines of Text Per
Printer Commands and Control Codes
Number of Lines/Characters in Landscape Orientation
Internal Printer Fonts
Installing Additional Symbol Sets
\A\DIR
Hebrew
Available Symbol Sets and Fonts
See the appropriate language option in the following list
Arabic
Baltic
100
Greek
Thai
Regulatory Notices
101
Limited Warranty Statement
102
Index
103
Index
104
105
Jams, See paper jams
106
Paper, See banners, cards, iron-on transfers, labels
107
108
For transparencies 48 iron-on transfers 54 list
Environmental Attributes of the DeskJet Printer
C6413-90009