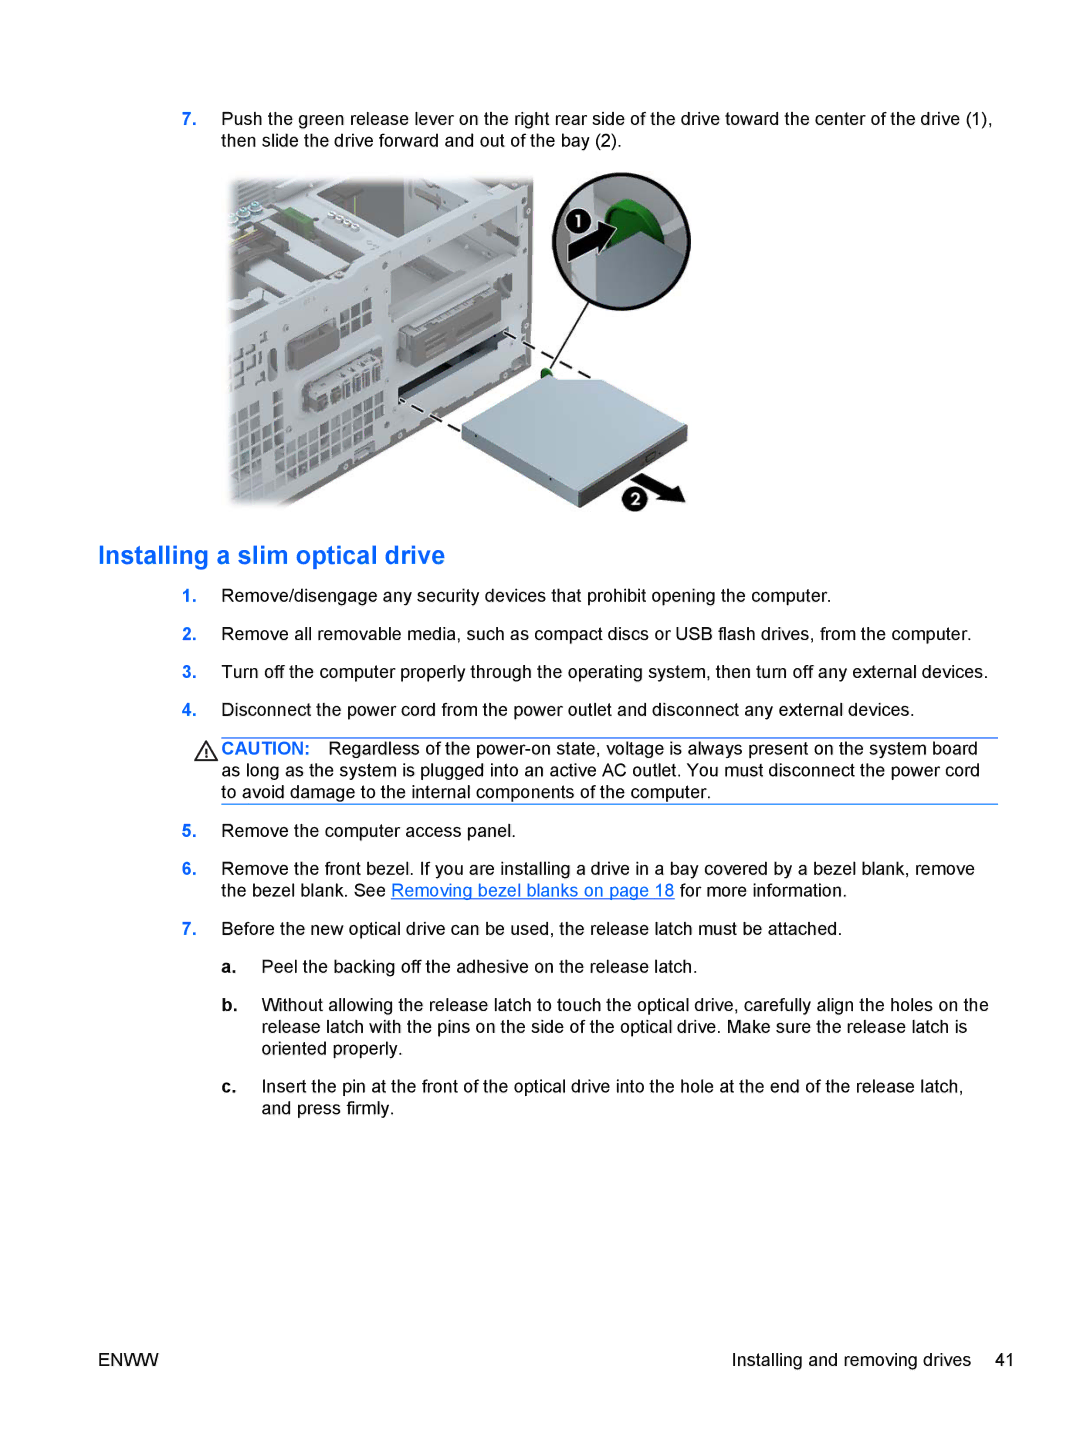
7.Push the green release lever on the right rear side of the drive toward the center of the drive (1), then slide the drive forward and out of the bay (2).
Installing a slim optical drive
1.Remove/disengage any security devices that prohibit opening the computer.
2.Remove all removable media, such as compact discs or USB flash drives, from the computer.
3.Turn off the computer properly through the operating system, then turn off any external devices.
4.Disconnect the power cord from the power outlet and disconnect any external devices.
![]() CAUTION: Regardless of the
CAUTION: Regardless of the
5.Remove the computer access panel.
6.Remove the front bezel. If you are installing a drive in a bay covered by a bezel blank, remove the bezel blank. See Removing bezel blanks on page 18 for more information.
7.Before the new optical drive can be used, the release latch must be attached.
a.Peel the backing off the adhesive on the release latch.
b.Without allowing the release latch to touch the optical drive, carefully align the holes on the release latch with the pins on the side of the optical drive. Make sure the release latch is oriented properly.
c.Insert the pin at the front of the optical drive into the hole at the end of the release latch, and press firmly.
ENWW | Installing and removing drives 41 |