14CHAPTER 2: INSTALLING THE 3COM EMAIL FIREWALL
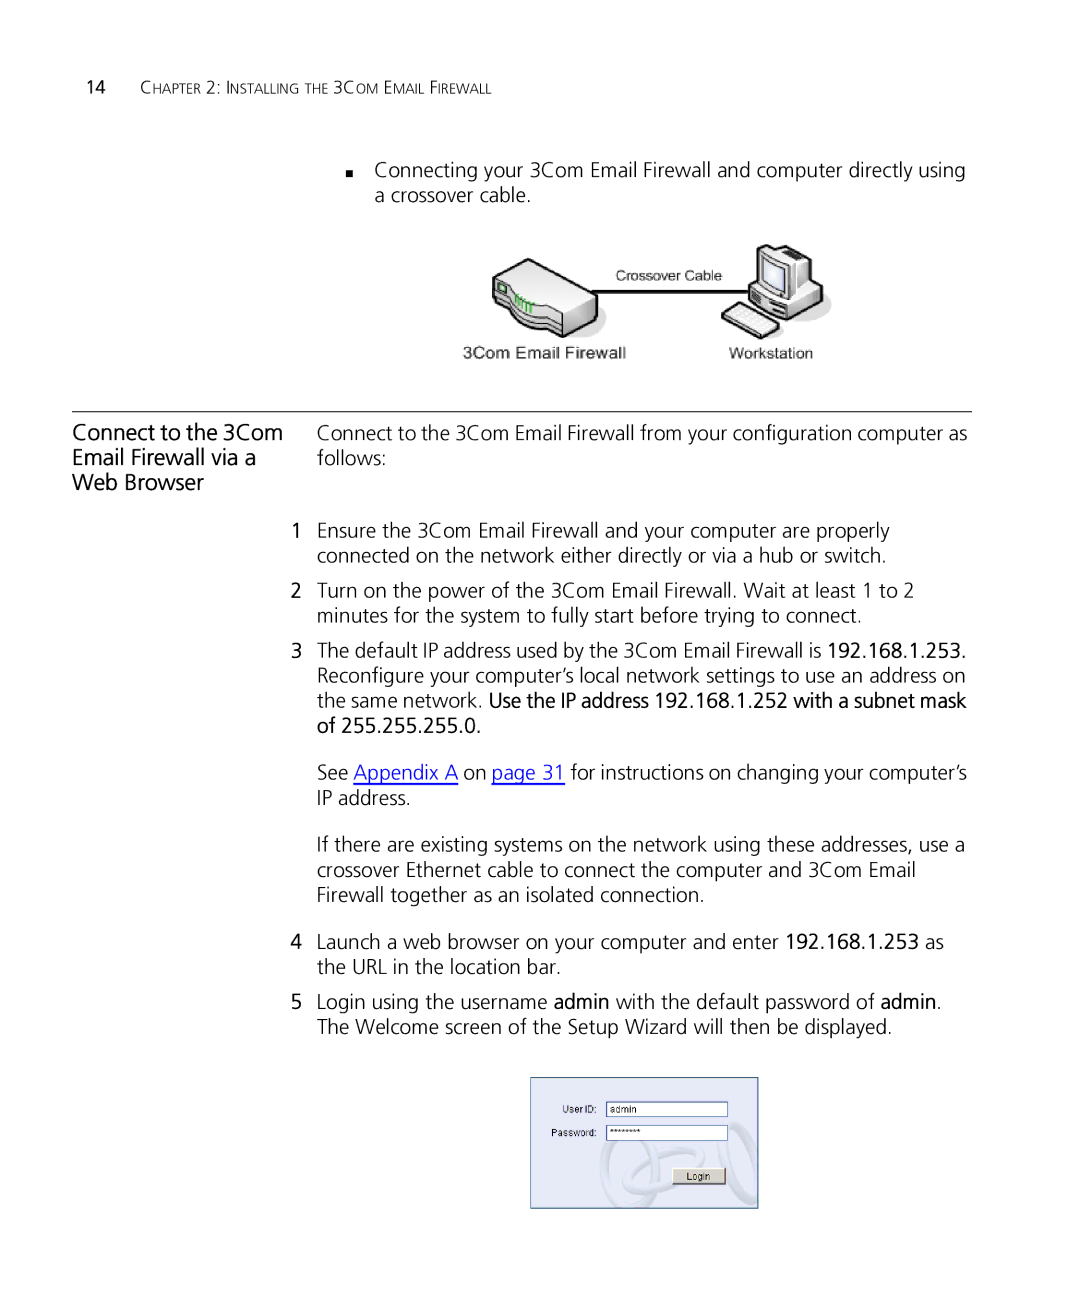
■Connecting your 3Com Email Firewall and computer directly using a crossover cable.
Connect to the 3Com Email Firewall via a Web Browser
Connect to the 3Com Email Firewall from your configuration computer as follows:
1Ensure the 3Com Email Firewall and your computer are properly connected on the network either directly or via a hub or switch.
2Turn on the power of the 3Com Email Firewall. Wait at least 1 to 2 minutes for the system to fully start before trying to connect.
3The default IP address used by the 3Com Email Firewall is 192.168.1.253. Reconfigure your computer’s local network settings to use an address on the same network. Use the IP address 192.168.1.252 with a subnet mask of 255.255.255.0.
See Appendix A on page 31 for instructions on changing your computer’s IP address.
If there are existing systems on the network using these addresses, use a crossover Ethernet cable to connect the computer and 3Com Email Firewall together as an isolated connection.
4Launch a web browser on your computer and enter 192.168.1.253 as the URL in the location bar.
5Login using the username admin with the default password of admin. The Welcome screen of the Setup Wizard will then be displayed.