Using the Licensing Wizard | 21 |
EN
Using the Licensing After completing the initial configuration with the Setup Wizard and
Wizardrestarting your 3Com Email Firewall, the License Wizard will guide you through the procedure to license your system.
The 3Com Email Firewall must be registered at esupport.3com.com before starting this procedure. See “Registering your 3Com Email Firewall” on page 9.
1Ensure the 3Com Email Firewall is connected to a network that can access the Internet. The 3Com Email Firewall will be using the new IP address that you set during the network configuration.
2Power on the 3Com Email Firewall. Wait at least 1 to 2 minutes for the system to start before trying to connect.
3Set the IP address of your configuration computer to an address used on the same network. See Appendix A on page 31 for detailed information on changing your computer’s IP Address.
4Launch a web browser on your computer and enter the new IP address of the 3Com Email Firewall as the URL in the location bar.
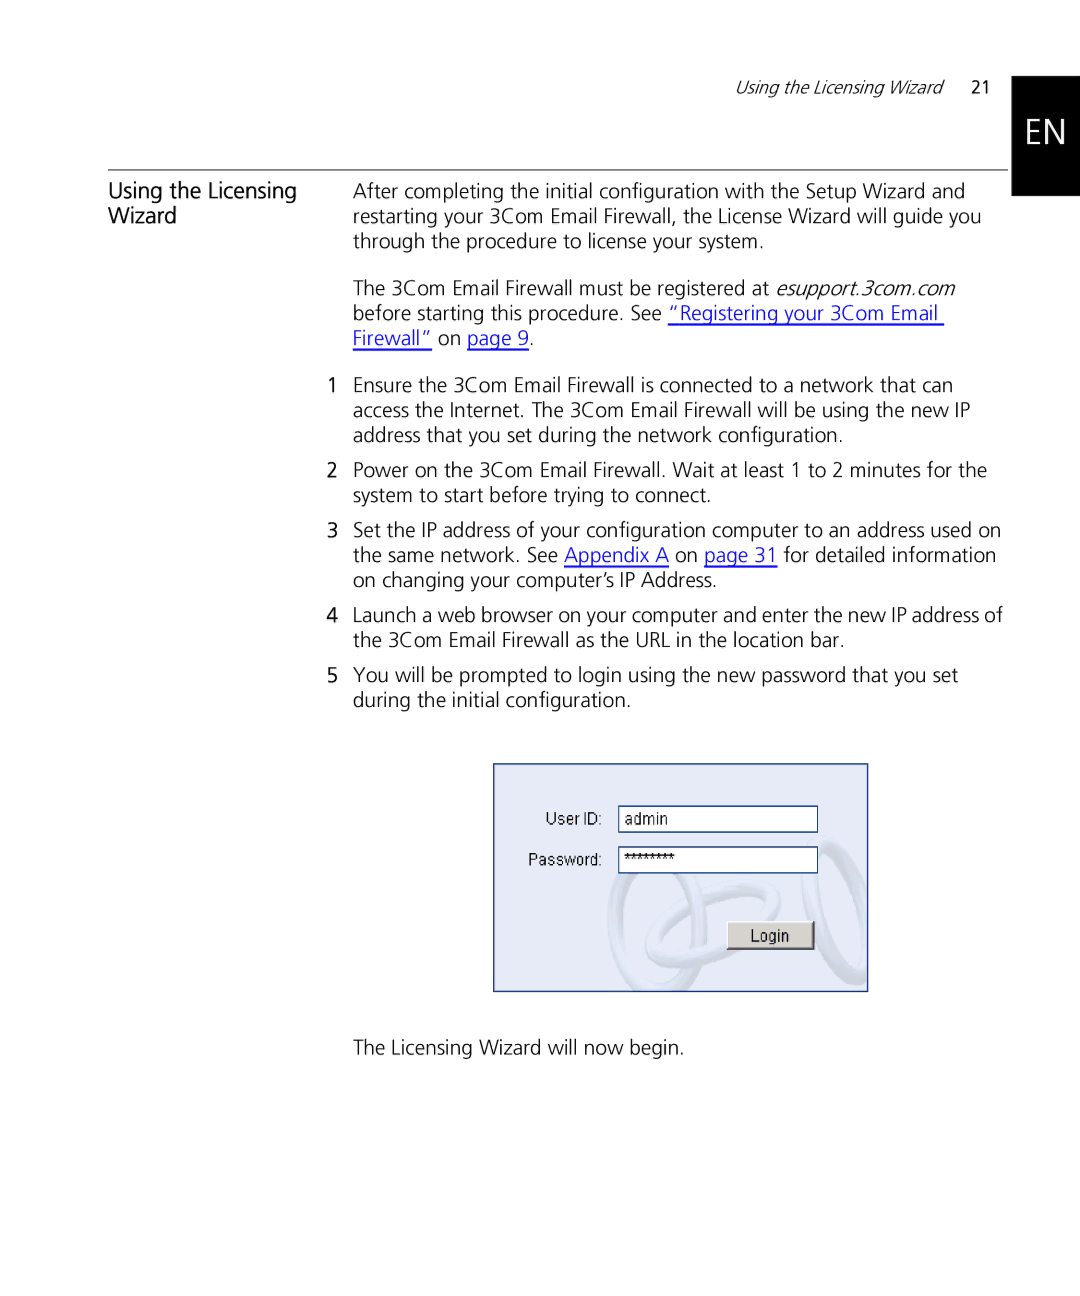
5You will be prompted to login using the new password that you set during the initial configuration.
The Licensing Wizard will now begin.