2 | INSTALLING THE 3COM EMAIL | EN |
| ||
| FIREWALL | |
When you have completed your
The installation includes the following steps:
■Connect the 3Com Email Firewall to a Network
■Connect to the 3Com Email Firewall via a Web Browser
■Using the Setup Wizard
■Using the Licensing Wizard
Connect the 3Com Install and connect the 3Com Email Firewall as follows:
Email Firewall to a
Network
1Unpack the 3Com Email Firewall, cables, and documentation.
2Connect the power cable from a power source to your 3Com Email Firewall.
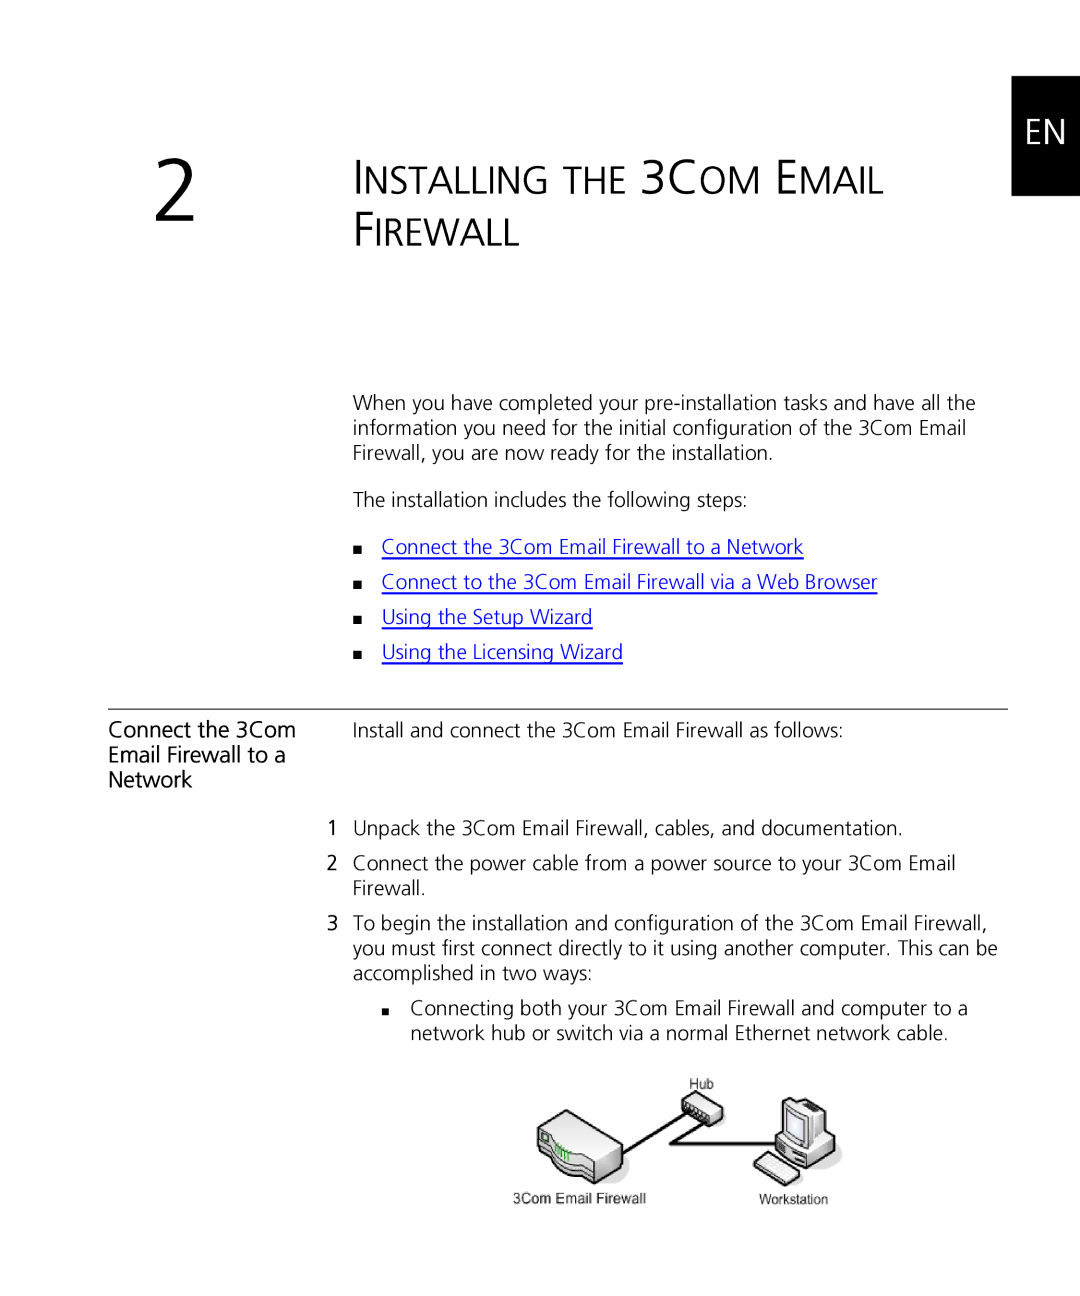
3To begin the installation and configuration of the 3Com Email Firewall, you must first connect directly to it using another computer. This can be accomplished in two ways:
■Connecting both your 3Com Email Firewall and computer to a network hub or switch via a normal Ethernet network cable.