HP iPAQ hw6500 Mobile Messenger series
User’s Guide
Additional warranty
Contents
Using ActiveSync
Managing Multiple Wireless Connections
Using GPS Navigation
Vii
Using Bluetooth
Viii
11Expansion Cards
13Managing the Battery
Environmental Notices
Specifications
Getting to Know Your HP iPAQ Mobile Messenger
HP iPAQ Software To Access Functions
Start Help Pocket PC Basics
Getting to Know Your HP iPAQ Mobile Messenger
Microsoft Pocket PC Functions Software
HP iPAQ Software To Access
Microsoft Pocket PC
Using the Stylus
Setting the Time for Home and Locations You Are Visiting
Setting the Date and Time
Setting the Date
Shortcut From the Today screen, tap the Clock icon
From the Start menu, tap Settings Personal tab Password
Setting a Password
Entering Owner Information
Time zone, time, and date
Performing a Soft Reset
Resetting the Unit
From the Start menu, tap Settings System tab Screen icon
Performing a Hard Reset
Aligning the Screen
Protecting the Screen
Routine Care
Traveling with Your HP iPAQ
Learning the Basics
Using the Today Screen
Navigation Bar
Command Bar
TodayPanel
Menu
Status Icons
Today Settings
Active data connection to Gprs network
Creating information
Pop-Up Menus
Tap OK after you finish creating a new item
Customizing the Today Screen
Select Use this picture as the background check box
Customizing the Application Buttons
From the Start menu, tap Settings Personal tab Buttons
Locking the Application Buttons
To change the Button assignment
Using the ContextMenu Key
Using Applications
Opening Applications
Minimizing Applications
Backup/Restore using iPAQ Backup
Installing Applications
From the Start menu, tap Programs iPAQ Backup
Backing Up Information
Backup/Restore Using ActiveSync
Using iPAQ File Store Folder
Click Backup Now or Restore Now
Connecting to a Computer
Using ActiveSync
Installing ActiveSync and Synchronizing with Your Computer
Using ActiveSync
Page
Using Microsoft Exchange ActiveSync
Using the Serial Infrared IR Connection
Copying Files
Changing Synchronization Settings
Microsoft ActiveSync Tools Options
Microsoft ActiveSync Click Explore
Backing up and Restoring
Installing Programs
Synchronizing Links
Requesting Meetings
Using ActiveSync to Send Receive E-mail
Learning Input Methods
Using the Thumb Keyboard
Keyboard Components
Using the Function and Shortcut Keys
Accent Characters
Special Keys
Sticky Keys
Key Function Description
Â Ä Å Ą Ã Ă Æ
Special Character Table Original Modified Character
Writing with the Stylus and the Letter Recognizer
Using the On-Screen Keyboard
Tap Letter Recognizer
Writing with the Stylus and Block Recognizer
Writing with the Stylus and Microsoft Transcriber
Tap Transcriber to display the Transcriber Intro screen
Tap Block Recognizer
Converting Writing to Text
Drawing and Writing on the Screen
Tap Tools Tap Recognize
Tap OK Learning Input Methods
Changing Word Suggestion Options
Page
SIM Card
Using the Phone Features
Inserting a SIM Card
Removing the SIM Card
Phone Features
Activating Your Phone Service
Your PIN
Phone Buttons and Icons
Press Enter to enable your PIN
1234
Phone Icons Definition
Powered on icon
Checking Your Connection Signal Strength
Signal strength icon
As the signal strength diminishes. The phone icon
Turning the Phone On and Off
On flight mode
Automatic Frequency Band Selection
On the Today Screen, tap
HP Profiles
Setting a Profile
To set a profile
Making and Receiving Phone Calls
Switching a Profile
Answering a Call
Making a Call
Ending a Call
Making a Call from Contacts
Copying Contacts to a SIM
Making a Call Using Speed Dial
Creating a Speed Dial Entry
Creating a Speed Dial Entry From Contacts
Setting Ring Tones
Adjusting Phone Volume
Making a Call From Call History
Making a Conference Call
From the Start menu, tap Settings System tab Add Ring Tone
Enabling Speakerphone Mode
Changing Ring Tones
Changing Keypad Tone
Using Call Waiting
Using Voicemail
Taking Notes During a Call
Putting a Call on Hold
Blocking Calls
Displaying Caller ID
Forwarding Calls
Changing the System Volume
Changing the Phone Settings
Change the Ringer Volume
Using International Roaming
Changing Service Settings
Viewing Available GSM/GPRS/EDGE Networks
Ring tone list
From the Start menu, tap Settings Phone Network tab
Changing Network Settings
Manually Selecting a Network
Modifying the GSM/GPRS Network Settings
Configuring Your HP iPAQ for Your SIM Card
Editing Network Properties
Editing an Internet Connection
Editing MMS Multimedia Messages Settings
WAP Information
Tap Next
Creating a New Connection
Editing WAP Information Settings
Tap Finish
TTY Functionality for the Hearing-Impaired
Failed Automatic SIM Detection
Enabling TTY Support
Making a Phone Call Using the TTY HP iPAQ
From the Start menu, tap Phone Tools Options TTY tab
To disable TTY support
Deactivating TTY Audio Mode
Disabling TTY Support
Using the iPAQ Wireless Manager
Managing Multiple Wireless Connections
IPAQ Wireless icon
Settings Buttons
Power Buttons
Data Connectivity Icons
Managing Data Connections
Making Data Connections
Using GSM/GPRS/EDGE Connections
Impact of Data Connection When a Phone Call is Received
Manually Configuring your Gprs connection on your HP iPAQ
Creating a GPRS/EDGE Connection
Connecting to the Gprs Network
Setting Up a WAP Browser
Viewing WAP Pages
Setting Up VPN Server Connections
Connecting to a Private Network
Setting Up Proxy Server Settings
Under My Work Network, tap Add a new VPN server connection
Entering an Internet Address
Managing Your E-mail
From the Start menu, tap Internet Explorer Address Bar
Tap the Go icon
Using a Favorites List
From the Start menu, tap Internet Explorer
Getting Acquainted
Using GPS Navigation
Getting Started with GPS Navigation
Using HP iPAQ Quick GPS Connection Utility
Setting Up Your HP iPAQ
Setting Up Internet Access on Your HP iPAQ
Verifying Date and Time on Your HP iPAQ
Settings Connections Quick GPS Connection icon
Access your Quick GPS Connection status by tapping Start
Downloading the Quick GPS Connection Data File
Starting GPS Navigation
Select USA and Canada or Europe and tap Next
Downloading a Map
Page
Tap X to close the application
Programs Get a Map & Voucher
Change preferences Turn off 3D display
Tap Done
Accessing the Internet on Your HP iPAQ
Tap Start Internet Explorer
Page
Viewing the Main Screen
Explanation
Operating the Main Screen
Option Function
Using the Menu
Option
Setting a Destination
Selecting a Favorite Address
Adding a Favorite
Tap Add favorite
Done
Using the Map Browser
Using the Route Summary Screen
Scale bar Indicates scale ratio to screen display
Switching to a Schematic View
Using the Browsers
Selecting Locations
Use the following procedure to select an item on
Navigate to... screen
Selecting a Favorite
Selecting your Home Location
Selecting a Recent Destination
Selecting your GPS Position
Finding an Address
Selecting a Point of Interest
Tap the Navigate to... icon, then tap Point of interest
Tap in the middle of the screen to display the Menu
Setting Your Preferences
Tap the Change preferences
Definition of Preference Icons Icon Preferences
GPS Navigation Tips
Setting Your Vocal Preference
Page
Getting Acquainted with Bluetooth
Using Bluetooth
Understanding Terms
Supported Services
Turning On Bluetooth
Working with Bluetooth Settings
Opening Bluetooth Settings
Enabling Bluetooth Services
Setting Accessibility Properties
Automatically Enabling Services
Tap Bluetooth Settings Services tab
Services box, select the service you want to enable File
Secure Connections using a Passkey or Bond
Under Services, tap File Transfer
Setting a Shared Folder
Understanding Profiles
Creating a Profile
Tap Bluetooth Settings General tab Profile icon
Saving Bluetooth Configuration Settings A Profile
Tap OK to save the changes and close Bluetooth Services
Activating a Profile
Opening Bluetooth Manager
Working with Bluetooth Manager
Pairing Devices
Locating and Selecting a Device
Unpairing Devices
Connecting to Other Devices
Identifying the Communications Port
Tap Tools Paired devices
Tap New High Quality Audio setup Next
Manager Tap New Hands-free/Headset setup Next
Establishing a Headset Connection
Establishing a Headphone or Stereo Speakers Connection
Serial Service
Click on the Local Services tab, and then click Add
Type a name for the serial service, and then select
Startup Automatically
To establish an ActiveSync connection
Setting Up an ActiveSync Partnership on Your HP iPAQ
Using Dial-Up Networking Service
Dial-Up Networking Service
Tap New Explore a Bluetooth device Next
Establishing a Serial Connection
Joining a Personal Area Network
Working with Files
On the Alternate device
Sending Files
Creating a File Transfer Connection
Creating a Folder on a Remote Device
Receiving a File from a Remote Device
Setting Up Your Business Card Information
Using Business Card Exchange
Tap the My business card vCard icon
Sending, Exchanging, or Requesting Business Cards
Opening a Connection
Closing a Connection
Viewing Connection Status
Viewing Connection Information
Working with Connections
Bluetooth Manager Tap View Tap List or Icon
Bluetooth Manager
Tap OK Using Bluetooth
Deleting a Shortcut
Using the Camera Features
Using the Camera Features
Camera Components
HP Photosmart Icons Definition
Taking a Photo
From the Start menu, tap Programs HP Photosmart
To take a photo
Ending Your Photo Session
Adjusting the Camera Settings
Taking a Video Clip
To exit the camera application, tap the Close button Screen
To make changes to the camera settings
Resolution
White Balance
Color
Configuring Instant Review
Setting Up Other Features
Using the Self-Timer
Flicker Filter
Configuring Video Format
Configuring File Settings
Using HP Image Zone
Viewing a Photo Full-Screen
Viewing Thumbnail Photos
Recording Sound With a Picture
To view a photo
Viewing a Slideshow
Command bar, tap Tools Settings Slideshow tab
View Slideshow
Printing Photos
Mailing a Picture
Exiting HP Image Zone
HP Image Transfer
Using the Camera Features
Tips for Taking Better Pictures
Expansion Cards
Expansion Cards
Installing a Secure Digital SD Expansion Card
Removing a Secure Digital SD Expansion Card
Viewing the Content of Memory Cards
From the Start menu, tap Programs File Explorer
Using Folders
Using Messaging
Using Messaging
Understanding Messaging
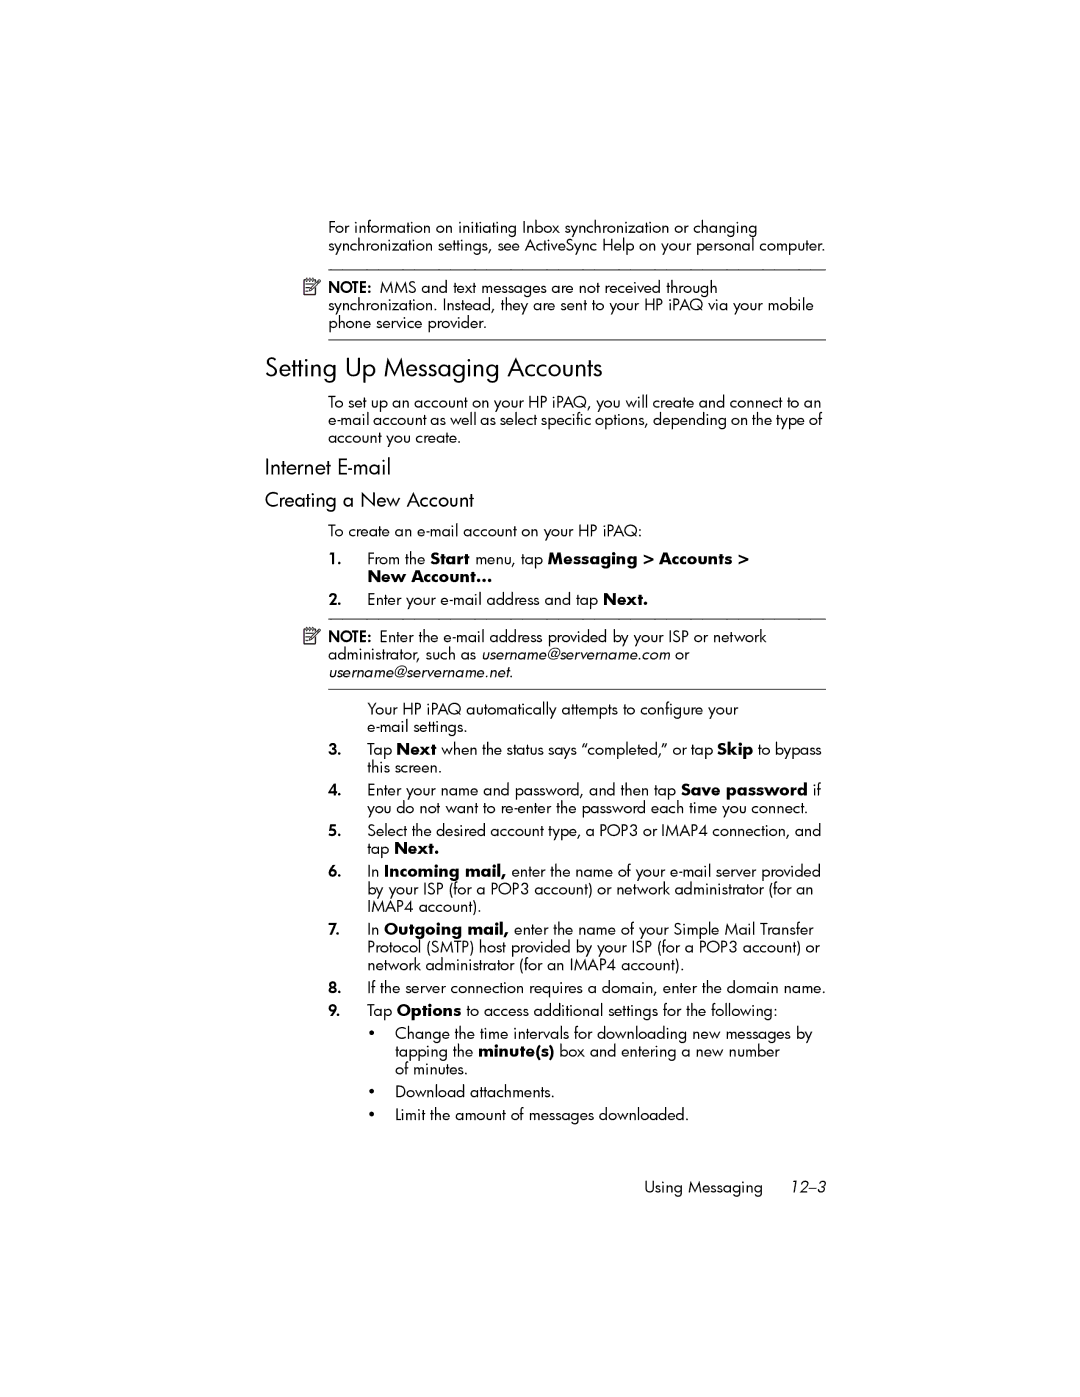
Synchronizing Inbox
Internet E-mail
Setting Up Messaging Accounts
Creating a New Account
To create an e-mail account on your HP iPAQ
Changing Options
Connecting to an E-mail Account
Deleting an Account
Meeting Requests
Receiving Attachments
Creating or Changing a Signature
Text Messaging
To create or change an account signature
Multimedia Messaging Service MMS
Using Messaging
Services Voicemail and SMS Get Settings
Composing and Sending Messages
Sending Text Messages
Replying to or Forwarding a Message
Receiving Text Messages
Tap Send
Messages as well
Sending MMS Messages
To create an MMS slide
Creating MMS Slides
From the Start menu, tap Messaging Accounts MMS New
Downloading Messages
Viewing MMS Messages
Downloading Messages From a Server
Sending MMS Slides
When finished, tap Accounts Disconnect
Managing the Battery
Inserting the Battery
Removing the Battery
Battery Saving Tips
Charging the Battery
Charging with the AC Adapter
Charging Over a USB Connection
Charging with the HP iPAQ Cradle and AC Adapter
To enable USB charging
Changing the Backlight Settings
From the Start menu, tap Settings System tab Backlight
Disabling the Application Buttons
Maximizing Battery Life and Checking Battery Charge Levels
Checking Your Battery
Managing the Battery
Self-Test Diagnostics
Troubleshooting
Common Problems
From the Start menu, tap Settings System tab Self Test
Backlight icon
Solution
Tap Start Settings Personal tab Password to be sure
ActiveSync
Problem Solution
For more information on Microsoft ActiveSync, refer to
Tried to synchronize
Phone
Expansion Cards
Bluetooth Settings
Bluetooth
GPS Navigation
For more information on GPS, refer to , Using GPS
Federal Communications Commission Notice
Regulatory Notices
Modifications
Cables
European Union Regulatory Notice
Canadian Notice
Avis Canadien
GHz wireless communication
Battery Warning Equipment Warning
Airline Travel Notice
Regulatory Wireless Notice
Wireless Notices
Health and Safety Information
Medical Electronic Equipment
Singaporean Wireless Notice
Canadian Regulatory Wireless Notice
GSM900 0.234 W/kg 10g DCS1800 0.391 W/kg 10g
Taiwanese Wireless Notice
Taiwan Battery Recycling Notice
Battery Warning
Environmental Notices
Environmental Notices
Entsorgung von Altgeräten aus privaten Haushalten in der EU
Tarnybba parduotuvurioje gijote gamin
Domestici. È responsabilità dellutente smaltire le
Prstri. Atsevišnolietoto
Environmental Notices
Environmental Notices
System Specifications
Specifications
System Feature Description
Specifications C-1
GSM / Gprs / Edge
Specifications C-2
Excludes height of 3mm joystick Specifications C-3
Physical Specifications
HP iPAQ hw6500 Mobile Messenger series Metric
Operating Environment
Specifications C-4
Environment Metric
378871-031