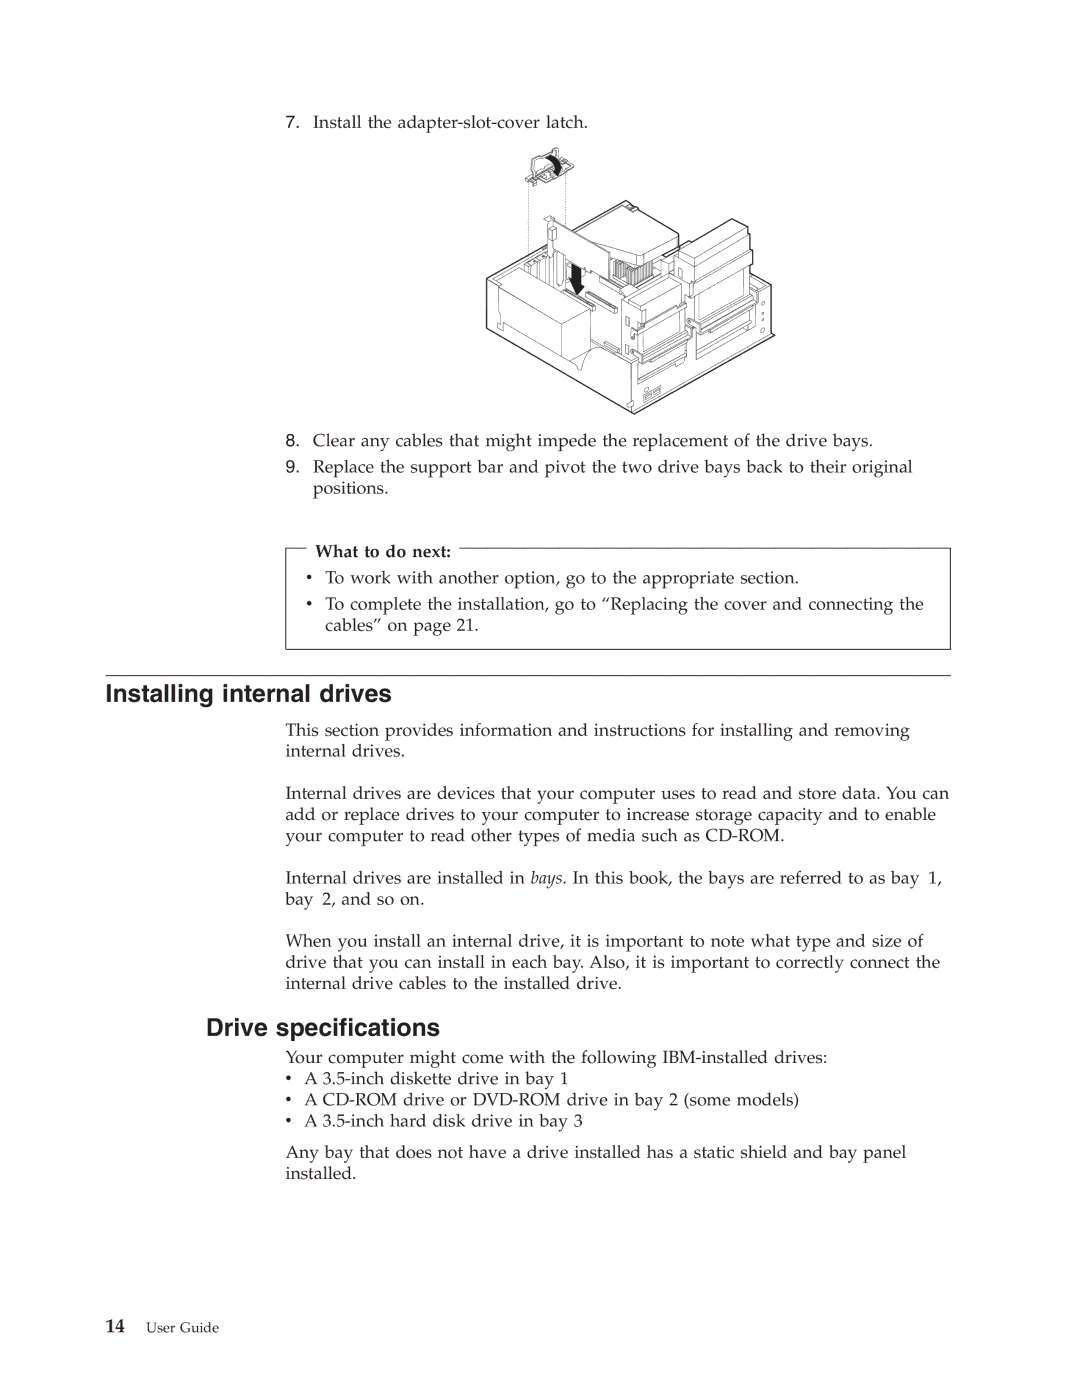
7.Install the
8.Clear any cables that might impede the replacement of the drive bays.
9.Replace the support bar and pivot the two drive bays back to their original positions.
What to do next:
vTo work with another option, go to the appropriate section.
vTo complete the installation, go to “Replacing the cover and connecting the cables” on page 21.
Installing internal drives
This section provides information and instructions for installing and removing internal drives.
Internal drives are devices that your computer uses to read and store data. You can add or replace drives to your computer to increase storage capacity and to enable your computer to read other types of media such as
Internal drives are installed in bays. In this book, the bays are referred to as bay 1, bay 2, and so on.
When you install an internal drive, it is important to note what type and size of drive that you can install in each bay. Also, it is important to correctly connect the internal drive cables to the installed drive.
Drive specifications
Your computer might come with the following
vA
vA
vA
Any bay that does not have a drive installed has a static shield and bay panel installed.
14User Guide