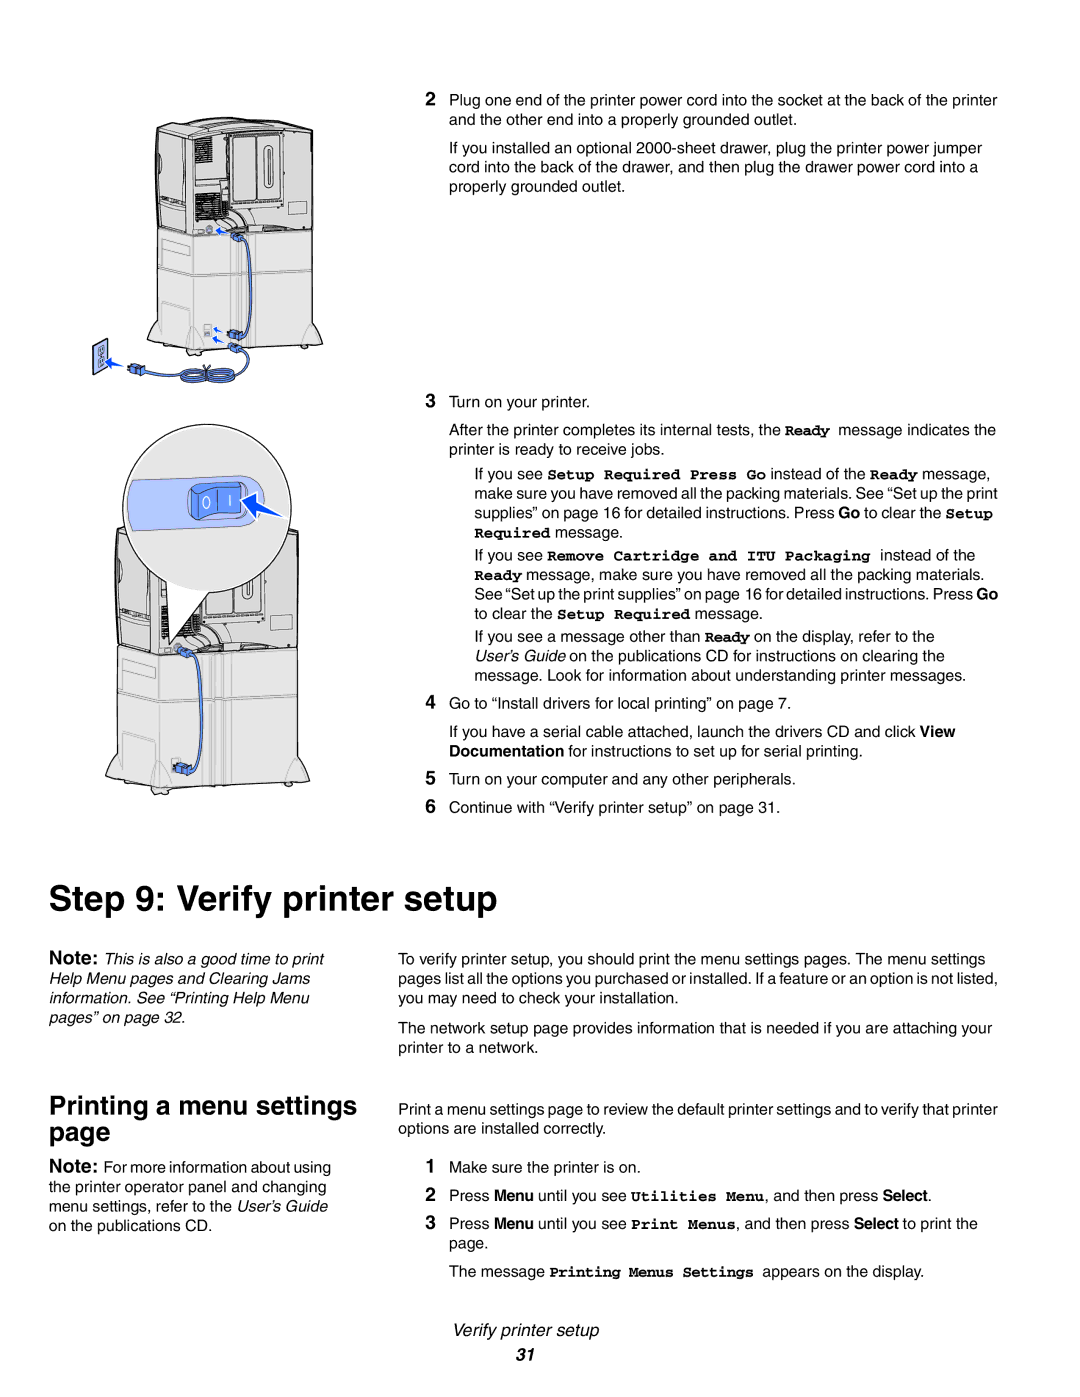
2Plug one end of the printer power cord into the socket at the back of the printer
and the other end into a properly grounded outlet.
If you installed an optional
3Turn on your printer.
After the printer completes its internal tests, the Ready message indicates the printer is ready to receive jobs.
If you see Setup Required Press Go instead of the Ready message, make sure you have removed all the packing materials. See “Set up the print supplies” on page 16 for detailed instructions. Press Go to clear the Setup Required message.
If you see Remove Cartridge and ITU Packaging instead of the Ready message, make sure you have removed all the packing materials. See “Set up the print supplies” on page 16 for detailed instructions. Press Go to clear the Setup Required message.
If you see a message other than Ready on the display, refer to the User’s Guide on the publications CD for instructions on clearing the message. Look for information about understanding printer messages.
4 Go to “Install drivers for local printing” on page 7.
If you have a serial cable attached, launch the drivers CD and click View
Documentation for instructions to set up for serial printing.
5 Turn on your computer and any other peripherals.
6Continue with “Verify printer setup” on page 31.
Step 9: Verify printer setup
Note: This is also a good time to print Help Menu pages and Clearing Jams information. See “Printing Help Menu pages” on page 32.
Printing a menu settings page
Note: For more information about using the printer operator panel and changing menu settings, refer to the User’s Guide on the publications CD.
To verify printer setup, you should print the menu settings pages. The menu settings pages list all the options you purchased or installed. If a feature or an option is not listed, you may need to check your installation.
The network setup page provides information that is needed if you are attaching your printer to a network.
Print a menu settings page to review the default printer settings and to verify that printer options are installed correctly.
1Make sure the printer is on.
2Press Menu until you see Utilities Menu, and then press Select.
3Press Menu until you see Print Menus, and then press Select to print the page.
The message Printing Menus Settings appears on the display.
Verify printer setup
31