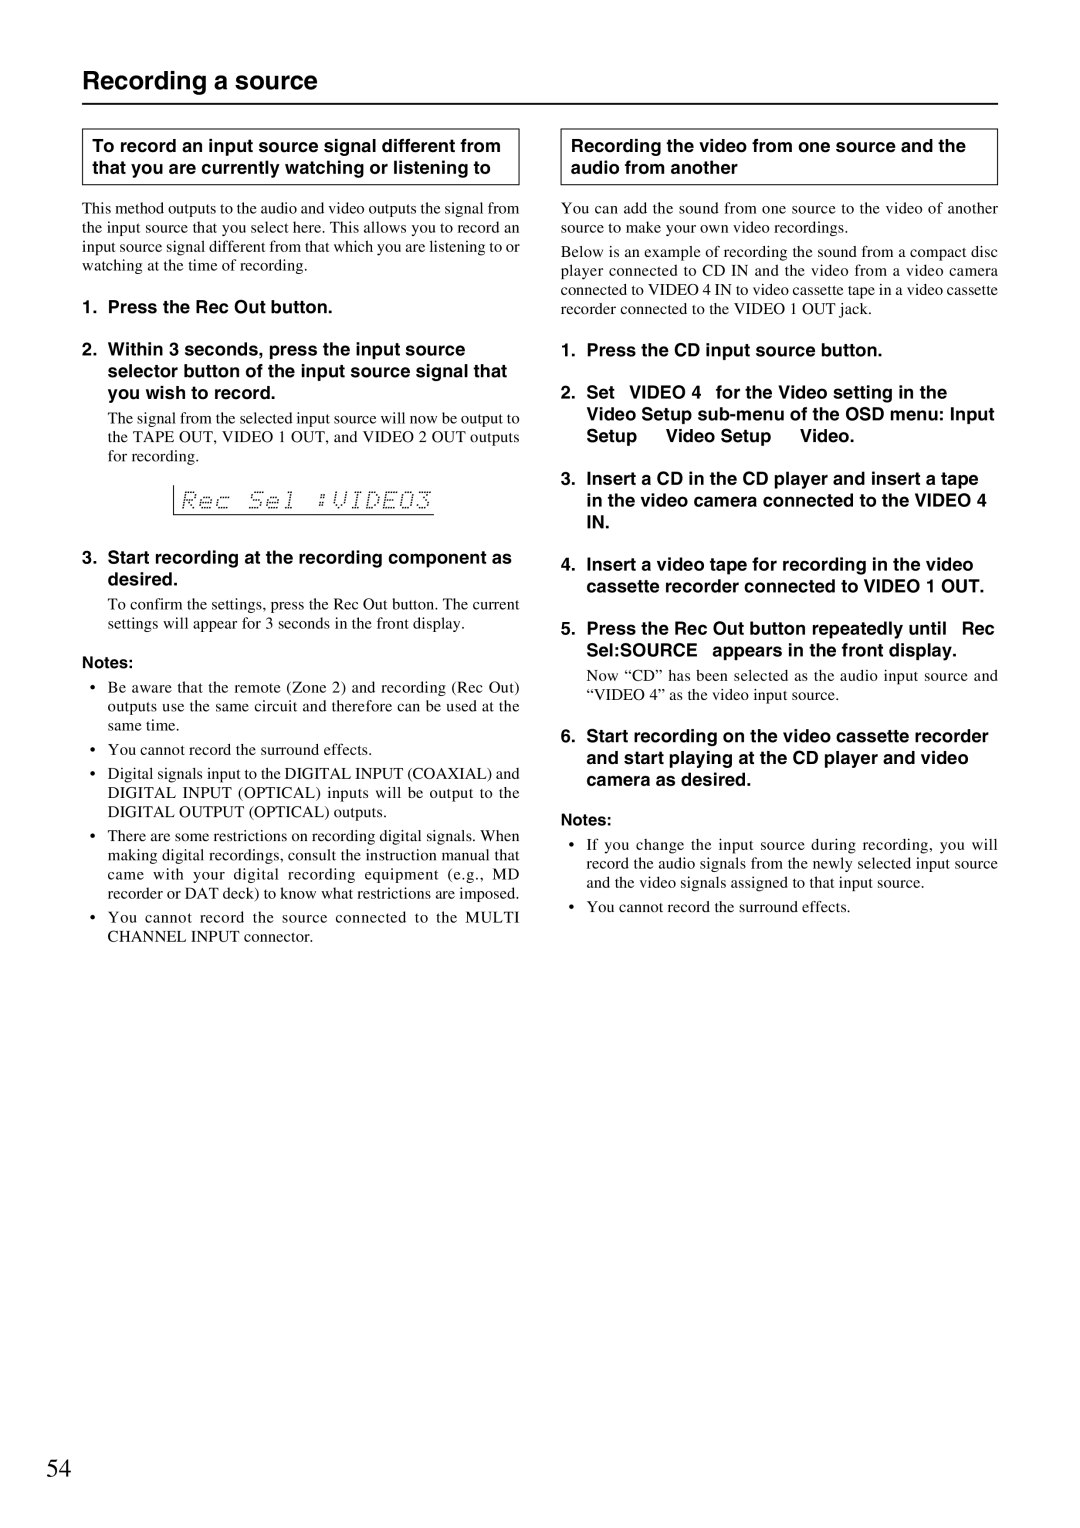
Recording a source

To record an input source signal different from that you are currently watching or listening to

This method outputs to the audio and video outputs the signal from the input source that you select here. This allows you to record an input source signal different from that which you are listening to or watching at the time of recording.

1.Press the Rec Out button.

2.Within 3 seconds, press the input source selector button of the input source signal that you wish to record.

The signal from the selected input source will now be output to the TAPE OUT, VIDEO 1 OUT, and VIDEO 2 OUT outputs for recording.

3.Start recording at the recording component as desired.

To confirm the settings, press the Rec Out button. The current settings will appear for 3 seconds in the front display.

Notes:

Be aware that the remote (Zone 2) and recording (Rec Out) outputs use the same circuit and therefore can be used at the same time.

You cannot record the surround effects.

Digital signals input to the DIGITAL INPUT (COAXIAL) and DIGITAL INPUT (OPTICAL) inputs will be output to the DIGITAL OUTPUT (OPTICAL) outputs.

There are some restrictions on recording digital signals. When making digital recordings, consult the instruction manual that came with your digital recording equipment (e.g., MD recorder or DAT deck) to know what restrictions are imposed.

You cannot record the source connected to the MULTI CHANNEL INPUT connector.

Recording the video from one source and the audio from another

You can add the sound from one source to the video of another source to make your own video recordings.

Below is an example of recording the sound from a compact disc player connected to CD IN and the video from a video camera connected to VIDEO 4 IN to video cassette tape in a video cassette recorder connected to the VIDEO 1 OUT jack.

1.Press the CD input source button.

2.Set “VIDEO 4” for the Video setting in the

Video Setup sub-menu of the OSD menu: Input Setup Video Setup Video.

3.Insert a CD in the CD player and insert a tape in the video camera connected to the VIDEO 4 IN.

4.Insert a video tape for recording in the video cassette recorder connected to VIDEO 1 OUT.

5.Press the Rec Out button repeatedly until “Rec Sel:SOURCE” appears in the front display.

Now “CD” has been selected as the audio input source and “VIDEO 4” as the video input source.

6.Start recording on the video cassette recorder and start playing at the CD player and video camera as desired.

Notes:

If you change the input source during recording, you will record the audio signals from the newly selected input source and the video signals assigned to that input source.

You cannot record the surround effects.

54

Page 54
Image 54
Integra DTR-7.1 appendix Recording a source

DTR-7.1 specifications

The Integra DTR-7.1 is a distinguished A/V receiver that exemplifies high-performance audio and video processing for home theater enthusiasts. Known for its meticulous engineering and robust feature set, the DTR-7.1 appeals to both audiophiles and casual viewers alike.

At the heart of the Integra DTR-7.1 lies a powerful amplification system that delivers 7.1 channels of immersive surround sound. With a substantial power output, the receiver ensures that even the most demanding soundtracks are reproduced with accuracy and clarity. The discrete power amplifier design contributes to lower distortion levels, providing a cleaner audio experience.

One of the standout features of the Integra DTR-7.1 is its advanced audio processing capabilities. It supports several high-definition formats, including Dolby TrueHD and DTS-HD Master Audio. This wide array of decoding options allows for a richly detailed auditory experience, especially when paired with high-definition media.

Moreover, the DTR-7.1 is equipped with cutting-edge video processing technology. It supports 4K and 1080p video resolutions, ensuring compatibility with the latest video formats. The integrated video scaling feature upscales lower-resolution content to near-4K quality, enhancing the viewing experience regardless of the source material.

Connectivity is another strong suit of the Integra DTR-7.1. The receiver boasts multiple HDMI inputs, facilitating easy connection to various devices such as Blu-ray players, gaming consoles, and streaming devices. Additionally, it supports features like ARC (Audio Return Channel) and CEC (Consumer Electronics Control), streamlining control and simplifying the setup process.

For ultimate customization, the DTR-7.1 includes an advanced auto-calibration system, which optimally adjusts sound settings based on the acoustics of the room and the speaker placement. This technology ensures that users achieve the best possible sound regardless of their home theater setup.

Finally, the Integra DTR-7.1 offers comprehensive network capabilities. It supports streaming services and internet radio, providing users with access to a vast library of music and content. Integration with home automation systems is also seamless, allowing users to control the receiver through smart devices for added convenience.

In summary, the Integra DTR-7.1 stands out as a top-tier A/V receiver, combining superior amplification, advanced audio and video processing, extensive connectivity options, and smart features, making it a worthy addition to any home theater system.