B. Accessing Xpress Recovery2
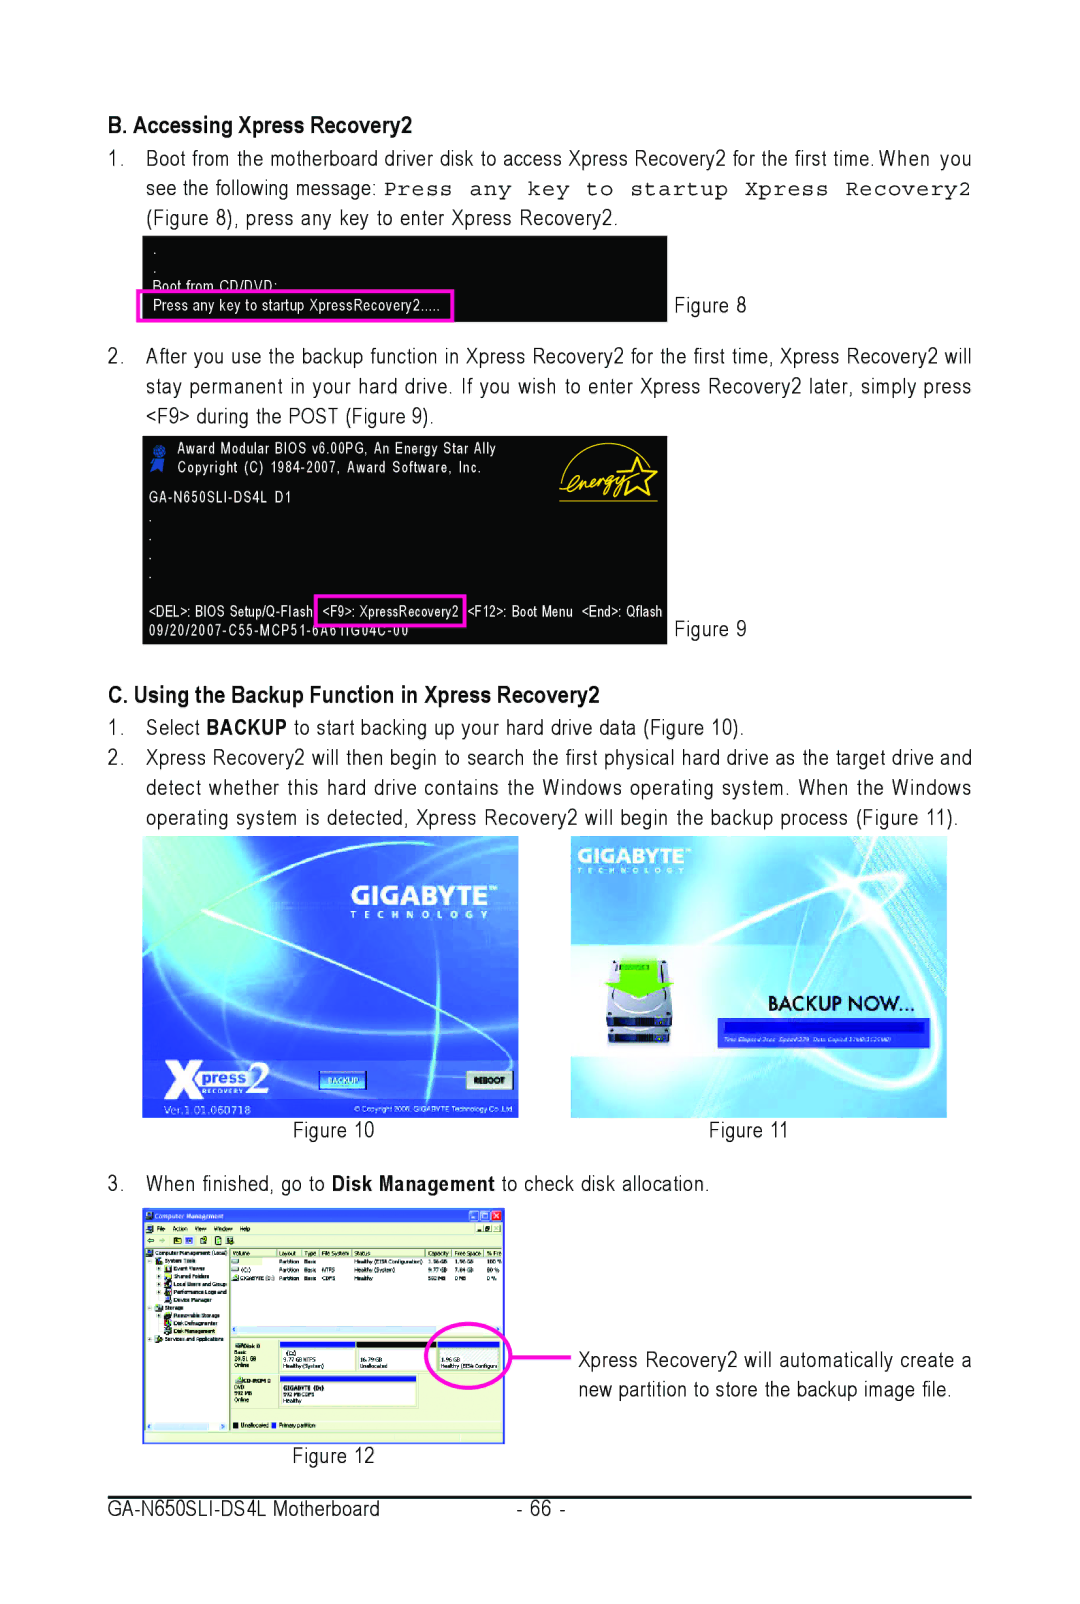
1.Boot from the motherboard driver disk to access Xpress Recovery2 for the first time. When you see the following message: Press any key to startup Xpress Recovery2
(Figure 8), press any key to enter Xpress Recovery2.
.
.
Boot from CD/DVD:
Press any key to startup XpressRecovery2.....
Figure 8
2.After you use the backup function in Xpress Recovery2 for the first time, Xpress Recovery2 will stay permanent in your hard drive. If you wish to enter Xpress Recovery2 later, simply press <F9> during the POST (Figure 9).
Award Modular BIOS v6.00PG, An Energy Star Ally |
| ||
Copyright (C) |
| ||
|
|
| |
. |
|
|
|
. |
|
|
|
. |
|
|
|
. |
|
|
|
<DEL>: BIOS | <F9>: XpressRecovery2 | <F12>: Boot Menu | <End>: Qflash |
| Figure 9 | ||
C. Using the Backup Function in Xpress Recovery2
1.Select BACKUP to start backing up your hard drive data (Figure 10).
2.Xpress Recovery2 will then begin to search the first physical hard drive as the target drive and detect whether this hard drive contains the Windows operating system. When the Windows operating system is detected, Xpress Recovery2 will begin the backup process (Figure 11).
Figure 10 | Figure 11 |
3.When finished, go to Disk Management to check disk allocation.
Xpress Recovery2 will automatically create a new partition to store the backup image file.
Figure 12
| - 66 - |