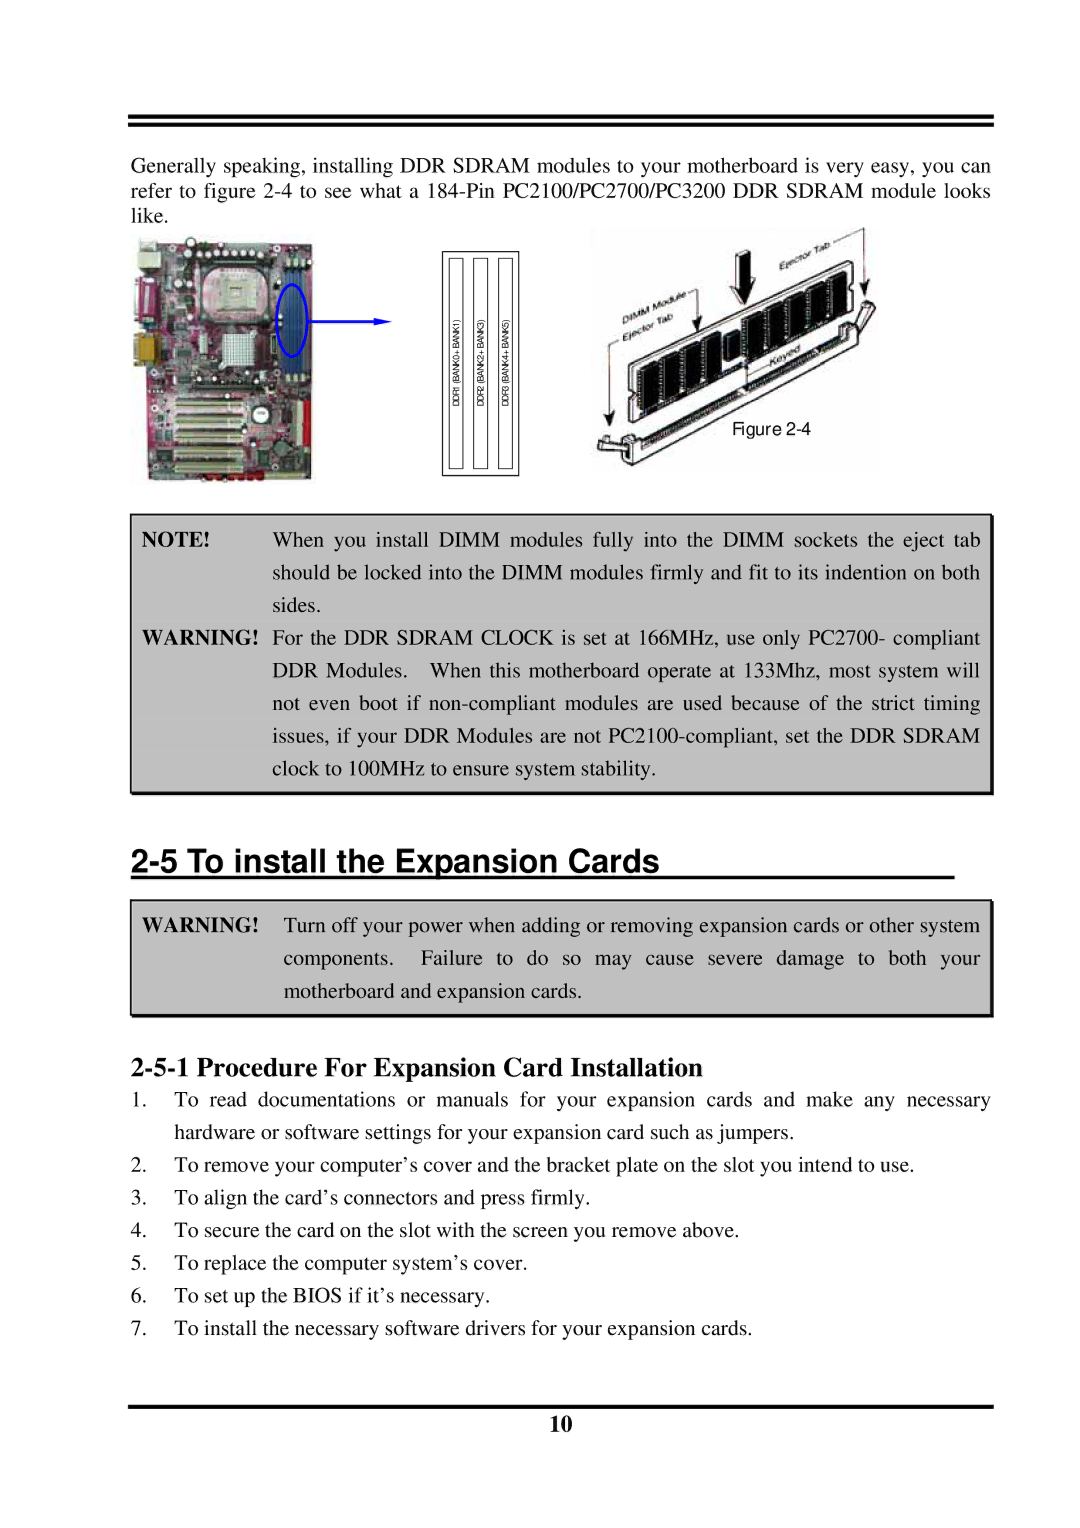
Generally speaking, installing DDR SDRAM modules to your motherboard is very easy, you can refer to figure
DDR1 (BANK0+BANK1)
DDR2 (BANK2+BANK3)
DDR3 (BANK4+BANK5)
Figure
NOTE! When you install DIMM modules fully into the DIMM sockets the eject tab should be locked into the DIMM modules firmly and fit to its indention on both sides.
WARNING! For the DDR SDRAM CLOCK is set at 166MHz, use only PC2700- compliant DDR Modules. When this motherboard operate at 133Mhz, most system will not even boot if
2-5 To install the Expansion Cards
WARNING! Turn off your power when adding or removing expansion cards or other system components. Failure to do so may cause severe damage to both your motherboard and expansion cards.
2-5-1 Procedure For Expansion Card Installation
1.To read documentations or manuals for your expansion cards and make any necessary hardware or software settings for your expansion card such as jumpers.
2.To remove your computer’s cover and the bracket plate on the slot you intend to use.
3.To align the card’s connectors and press firmly.
4.To secure the card on the slot with the screen you remove above.
5.To replace the computer system’s cover.
6.To set up the BIOS if it’s necessary.
7.To install the necessary software drivers for your expansion cards.
10