PX875P PRO/ PX875P
Appendix III: Installing a Windows® OS to the SATA HDD
Please refer to the steps below to install a windows® OS to the SATA HDD
1.Make sure that the
BIOS Setup Utility
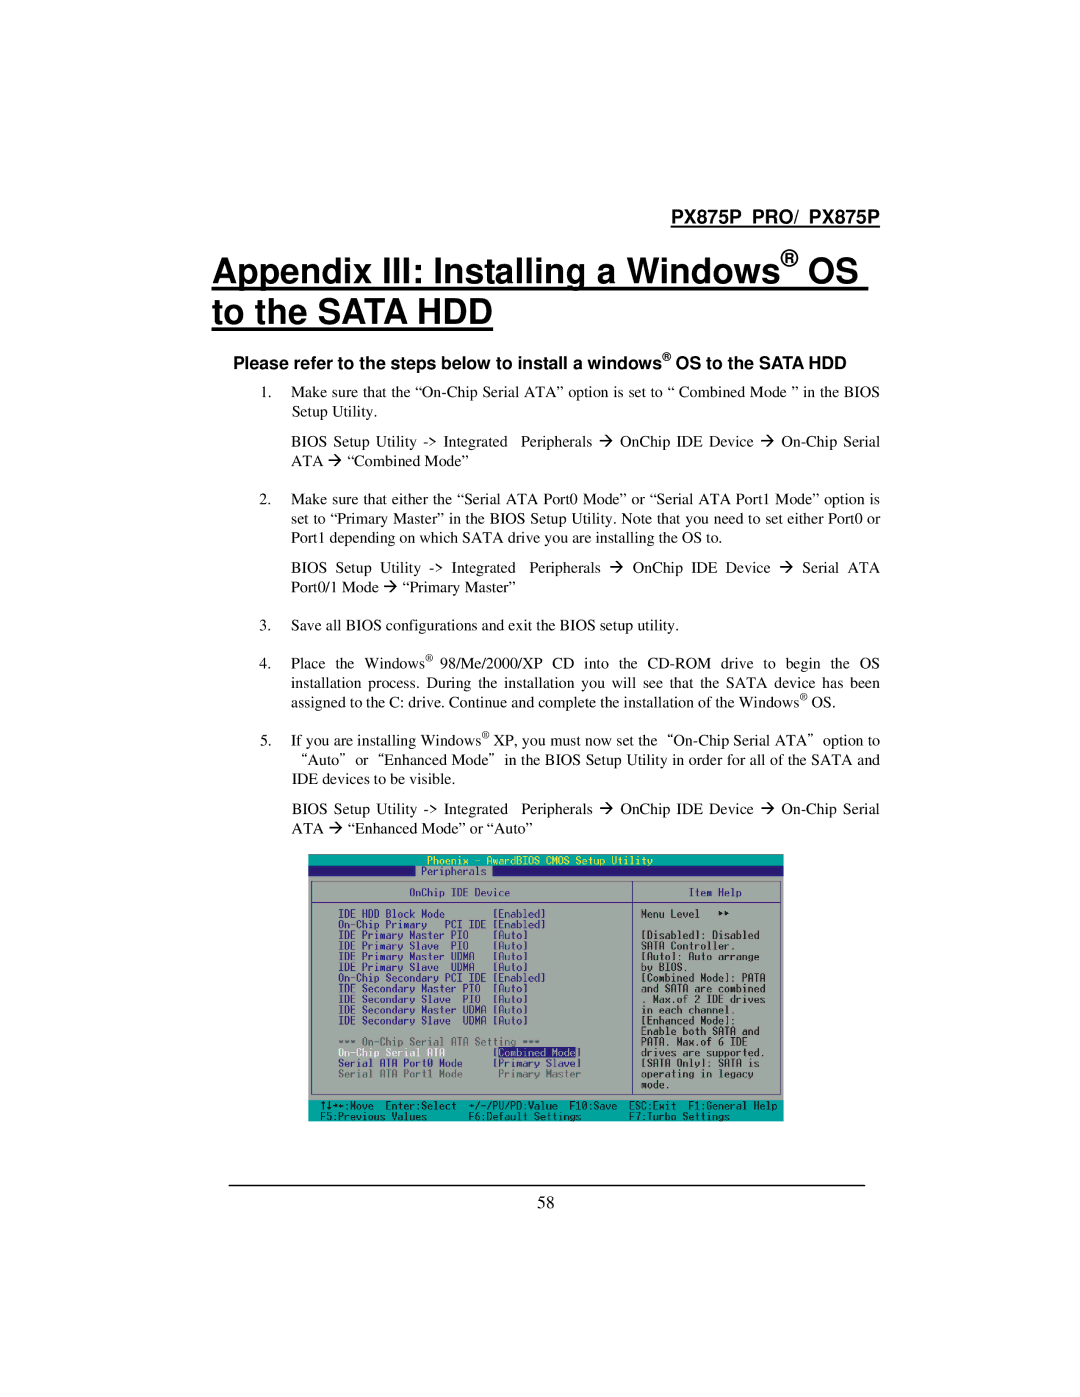
2.Make sure that either the “Serial ATA Port0 Mode” or “Serial ATA Port1 Mode” option is set to “Primary Master” in the BIOS Setup Utility. Note that you need to set either Port0 or Port1 depending on which SATA drive you are installing the OS to.
BIOS Setup Utility
3.Save all BIOS configurations and exit the BIOS setup utility.
4.Place the Windows® 98/Me/2000/XP CD into the
installation process. During the installation you will see that the SATA device has been assigned to the C: drive. Continue and complete the installation of the Windows® OS.
5.If you are installing Windows® XP, you must now set
BIOS Setup Utility
58