PD41 specifications
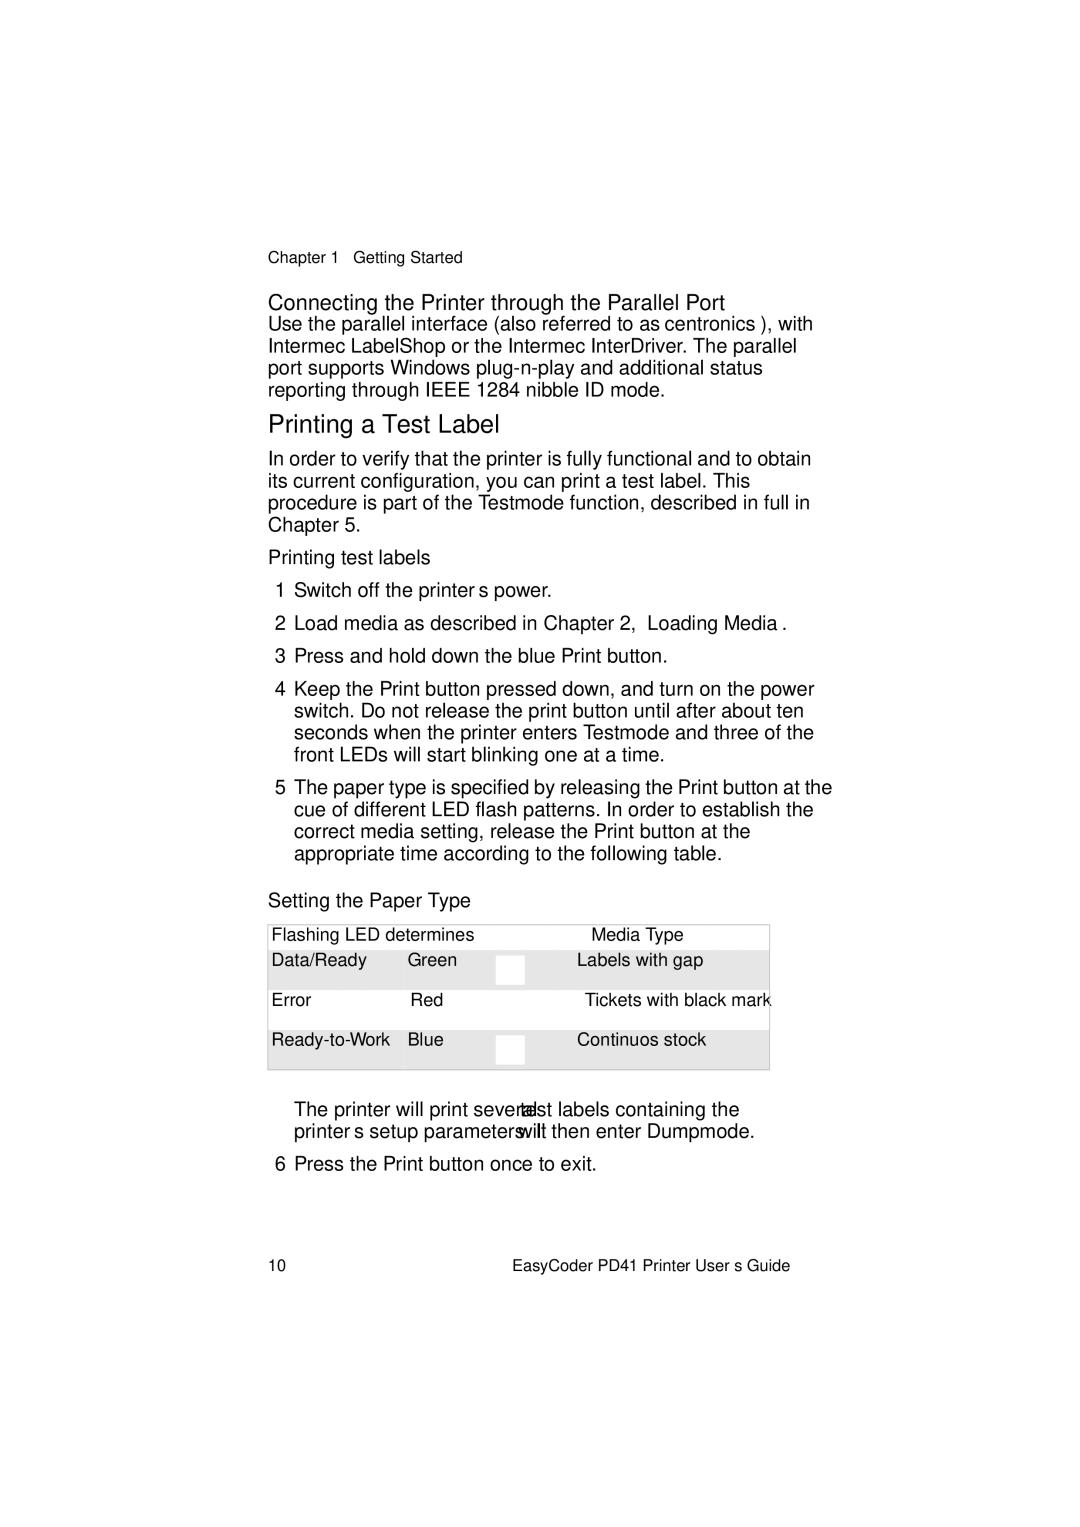
The Intermec PD41 is a robust and versatile industrial printer designed to meet the demands of various printing applications. Known for its reliability and durability, the PD41 is a preferred choice among businesses that require high-quality printing in challenging environments.One of the main features of the PD41 is its impressive print resolution of up to 203 dpi, which ensures that text and graphics are crisp and clear. This high resolution is vital for printing barcodes and labels that need to be easily scanned and read. The printer supports a maximum print width of 4 inches, making it suitable for a wide variety of label sizes.
The PD41 utilizes advanced thermal transfer and direct thermal printing technologies, allowing users to choose the best method for their specific needs. Thermal transfer printing is excellent for producing long-lasting labels with vibrant colors, while direct thermal printing is ideal for short-term applications where durability is less critical. The printer’s ability to switch between these two technologies provides users with flexibility and cost-effectiveness.
Another notable characteristic of the Intermec PD41 is its fast print speed, which can reach up to 8 inches per second. This efficiency makes it particularly effective in high-volume environments, such as warehouses and distribution centers, where the quick turnaround of labels is essential for maintaining workflow.
Equipped with an intuitive user interface, the PD41 is easy to operate, even for those with limited technical expertise. The LCD display provides real-time feedback and status updates, making it simple for users to monitor printer performance and troubleshoot any issues that may arise. The printer also supports a variety of connectivity options, including USB, Serial, and Ethernet, allowing for seamless integration into existing systems.
In terms of build quality, the Intermec PD41 is designed to withstand rugged conditions. Its sturdy construction and reliable components make it capable of functioning in harsh industrial settings, ensuring longevity and reducing maintenance costs.
The PD41 is also compatible with a range of software solutions, enhancing its versatility. Businesses can use it for various applications, such as inventory management, shipping labels, and product labeling, making it a valuable asset across many industries.
In summary, the Intermec PD41 is a feature-rich industrial printer that combines high-quality printing capabilities with durability and versatility. Its advanced technologies and user-friendly design make it an excellent choice for any organization looking to streamline their labeling processes.
