SECTION 12—BATTERIES
The range per battery charge using recommended batteries should be approximately 5 to 9 hours of typical operation. Extensive use on inclines may substantially reduce per charge mileage.
Description and Use of Battery Chargers
The charger automatically reduces the charge from an initially high rate to a zero reading at a fully charged condition. If left unattended, the charger should automatically shut‐off when full charge is obtained.
Some basic concepts which will help you understand this automatic process are:
The amount of electrical current drawn within a given time to charge a battery is called “charge rate”. If, due to usage, the charge stored in the battery is low, the charge rate is high, as indicated by the green light on the charger. Initially, the green light will stay illuminated for a short period of time followed by a longer period of off time. As a charge builds up, the charge rate is reduced, and the green light will stay illuminated for a longer period of time followed by a shorter off time.
NOTE: If performing the charging procedures independently, READ and CAREFULLY follow the individual instructions for each charger (supplied or purchased).
NOTE: If charging instructions are not supplied, consult a qualified service technician for proper procedures. Required items:
TOOL | QUANTITY | COMMENTS |
|
|
|
Battery Charger | 1 | Supplied |
Extension Cord* | 1 | Not Supplied |
|
|
|
NOTE: 3‐prong plug, 15 ampere current rating; industrial type
Connecting the Battery Charger
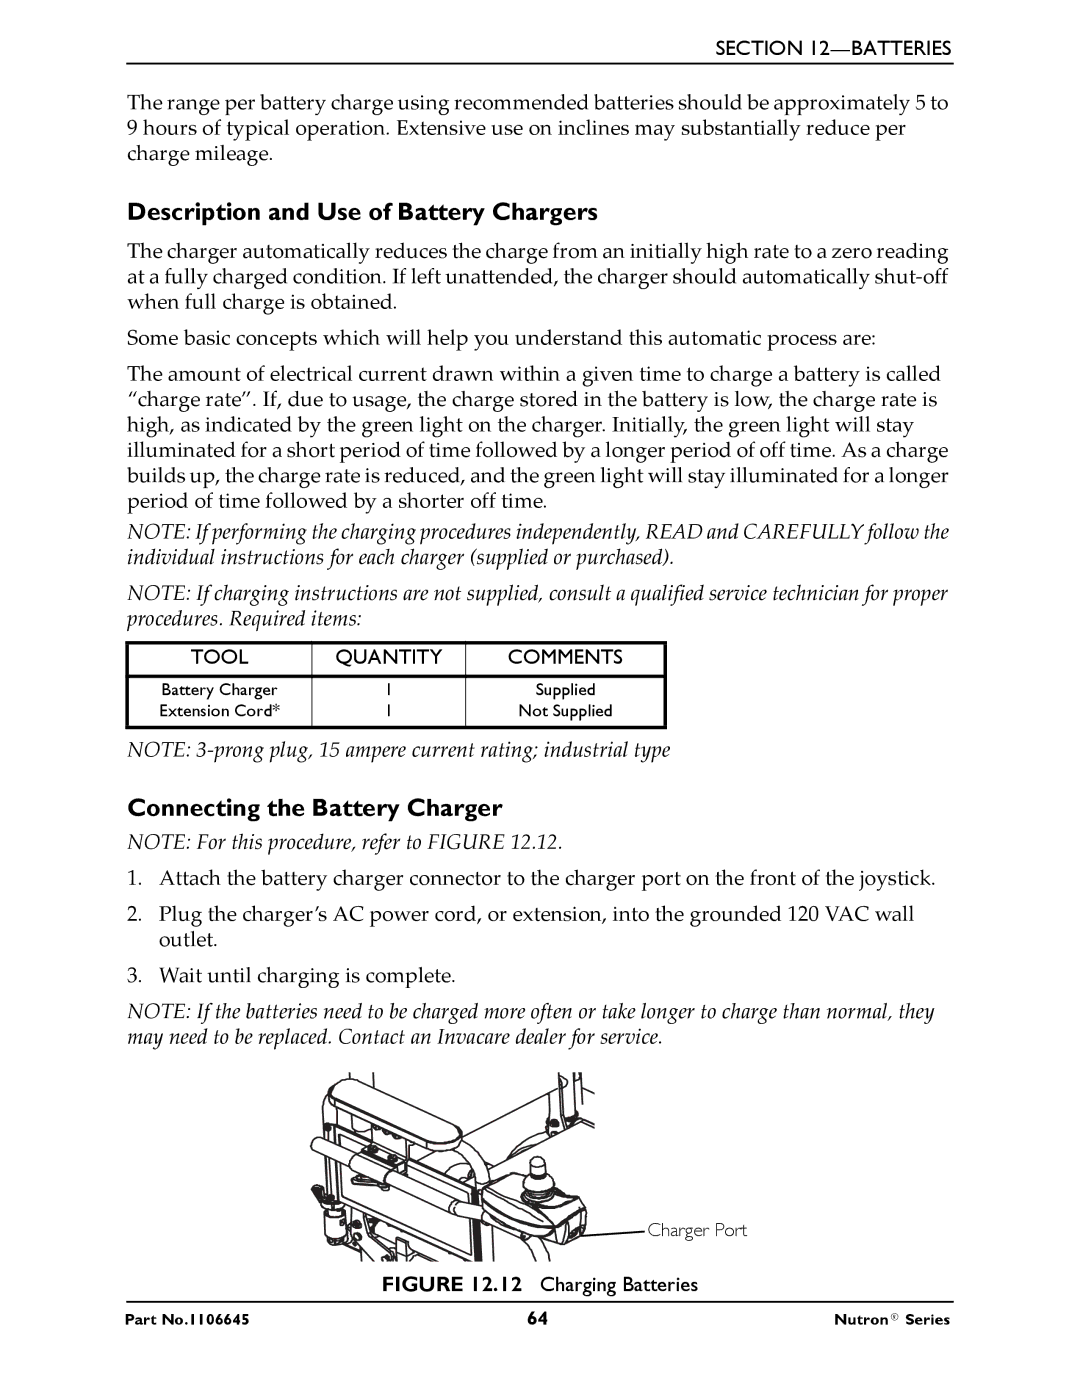
NOTE: For this procedure, refer to FIGURE 12.12.
1.Attach the battery charger connector to the charger port on the front of the joystick.
2.Plug the charger’s AC power cord, or extension, into the grounded 120 VAC wall outlet.
3.Wait until charging is complete.
NOTE: If the batteries need to be charged more often or take longer to charge than normal, they may need to be replaced. Contact an Invacare dealer for service.
![]()
![]() Charger Port
Charger Port
FIGURE 12.12 Charging Batteries
Part No.1106645 | 64 | Nutron® Series |
