Button n so that the cursor moves back up to the top of the list of setting options. Press the /¤ Buttons n so that X-OVER is highlighted and the menu data will change to the screen shown in Figure 6.

* S P E A K E R S E T U P *

M O D E

: S I Z E

X - O V E R

L E F T / R I G H T : - - - - -

C E N T E R

: 1 0 0 H z

S U R R O U N D

: 1 0 0 H z

S U R R B A C K

: - - - - -


S U B W O O F E R

: 1 0 0 H z

B A S S M G R

:

G L O B A L


B A C K T O M A S T E R M E N U


Figure 6


To change the setting for any of the three


speaker groups, press the /¤ Buttons


n until the cursor is next to the line


where you wish to make a change and


then press the /Buttons o 37


until the desired setting appears. The


available choices at which point low-fre-


quency information will be sent to the


subwoofer, rather than to the main


speaker channel, are 40Hz, 60Hz, 80Hz,


100Hz, 120Hz and 200Hz. Pick the choice


that is identical to the information for the


speakers, or if an exact match is not pos-


sible, pick the closest choice that is


ABOVE the speaker’s low-frequency limit


or crossover point to avoid the creation of


a low-frequency “hole” where your sys-


tem will have no bass information.


In cases where LARGE has been


selected as the front channel speaker


option and LFE+L/R has been


selected as the subwoofer option, the


front channel sound information below


the setting shown will be sent to BOTH


the front channel speakers and the sub-


woofer. Note, also, that when the


LARGE-LFE+L/R setting has


been selected, the crossover point


defaults to 100Hz for both the front


speakers and the subwoofer, and may not


be adjusted. This ensures that there is no


“hole” in the sound field due to different


crossover points at the front and sub-


woofer speakers.


When all crossover settings have been


made, or in those cases where none are


needed, change the MODE setting to


SIZE, and press the ¤ Button n


so that the cursor is next to the


BASS MGR line to make the final


setting on this menu.


This setting allows you to use the same


speaker size settings for all inputs, or to

26

have different settings for each input. In

most cases the factory default setting of GLOBAL will be appropriate, as most listeners do not need to have individual- ized speaker settings. However, some lis- teners, may prefer different bass man- agement settings when listening to music through a CD player as opposed to a movie from a DVD player, VCR or cable/satellite set-top.

If you wish to customize the bass man- agement to each input, make certain that the MODE is set to SIZE, and that the cursor is on the BASS MGR line and press the /Buttons o 37 so that INDEPENDENT appears in highlighted video. When this setting is entered by exiting the menu, the configu- ration settings just entered will apply to the current input ONLY, and you will need to go back to the INPUT SETUP menu to select another input, and then return to this menu page again to change the settings for the next input. Repeat the procedure for any input where you wish to have a different set of speaker config- uration settings.

NOTE: The Independent feature allows you to select a different speaker size configuration (Large, Small or None, as appropriate) for each input source. However, the individual crossover point setting may only be set once, and the selection made during the initial setup will be used for all inputs, regardless of any changes made to the “Large” or “Small” settings for the speaker groups attached to any input. The reason for this is that while you may prefer different set- tings for the bass redirection (that is, which signals go to the subwoofer or the speaker group), the actual crossover point remains the same since the actual loud- speakers themselves remain the same regardless of any other setting.

When all speaker selections have been made, press the ¤ Button n and then the Set Button p to return to the

MASTER MENU.

Delay Settings

Due to the different distances between the listening position for the front chan- nel speakers and the surround speakers, the amount of time it takes for sound to reach your ears from the front versus sur- round speakers differs. You may compen- sate for this difference through the use of the delay settings to adjust the timing for the speaker placement and acoustics in your listening room or home theater.

The AVR580’s advanced software enables you to quickly and easily set delay times without the need to calculate them using a complex formula. Instead, all you need to do is measure the approximate dis- tance between your listening position and each of the speakers in your system. When you enter those distances into the AVR’s memory as shown below, the AVR’s microprocessor does the rest of the work, calculating the proper delay time. The measurements need not be accurate to the inch, as the system is designed to accommodate a typical listening area rather than require the precise measure- ment to one “sweet spot” position.

Due to the differences in the way each surround mode operates, some modes allow for a greater range of delay times than others. To avoid problems, we rec- ommend that delay times be adjusted using the Dolby Digital mode. If a differ- ent mode is selected at a later time, the AVR580 will automatically restrict the delay settings to those required by the surround mode in use.

Delay times are only adjustable for the Dolby modes, so you will notice that the DELAY ADJUST menu may not be accessed when any other mode, such as a DTS or Logic 7 option, has been selected. In addition, when a non-Dolby Digital mode such as Dolby 3 Stereo or Dolby Pro Logic II is selected, adjustments may be made to the Surround speakers only.

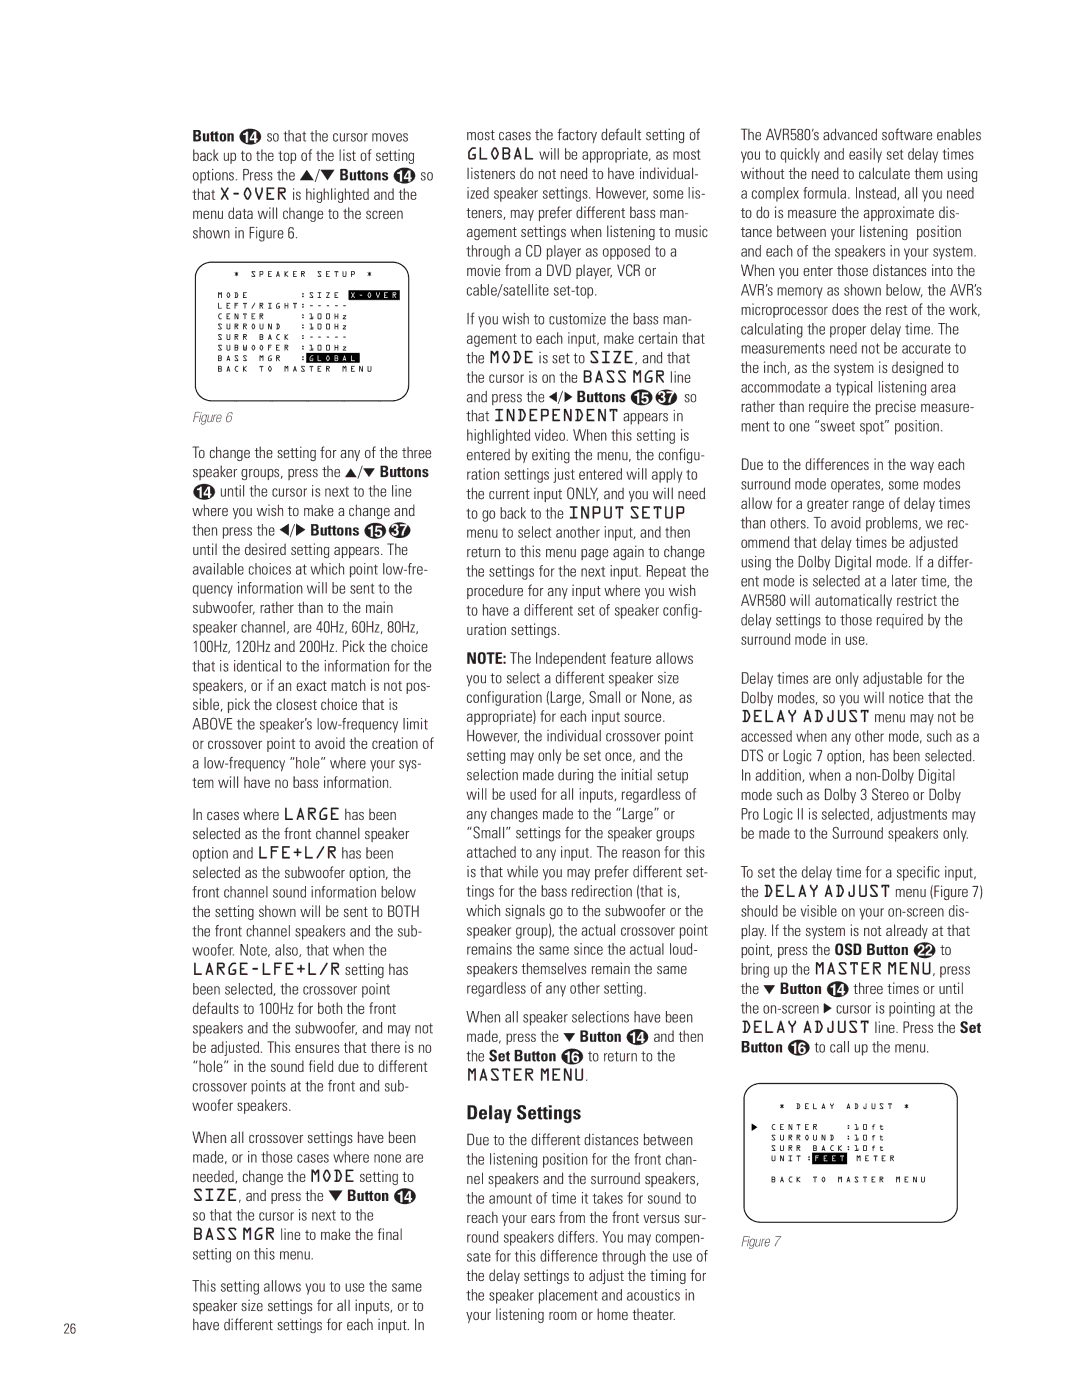
To set the delay time for a specific input, the DELAY ADJUST menu (Figure 7) should be visible on your on-screen dis- play. If the system is not already at that point, press the OSD Button v to bring up the MASTER MENU, press the ¤ Button n three times or until the on-screen cursor is pointing at the DELAY ADJUST line. Press the Set Button p to call up the menu.

* D E L A Y

A D J U S T *

C E N T E R

: 1 0 f t

S U R R O U N D

: 1 0 f t

S U R R

B A C K : 1 0 f t

U N I T :

F E E T

M E T E R

B A C K T O M A S T E R M E N U

Figure 7

Page 26
Image 26
JBL AVR580 manual Delay Settings

AVR580 specifications

The JBL AVR580 is a versatile home theater receiver renowned for its blend of performance, technological innovation, and user-friendly features. Designed for cinephiles and music enthusiasts, it serves as the heart of a home audio-visual system, capable of transforming an ordinary room into a cinematic experience.

One of the standout features of the AVR580 is its impressive power output. With a robust amplification that delivers up to 100 watts per channel, it can easily drive large speakers and create an immersive sound stage. This considerable power is matched by an array of connection options, including multiple HDMI inputs, component inputs, and legacy connections like RCA, allowing users to connect a variety of devices, from gaming consoles to Blu-ray players.

The AVR580 supports several surround sound formats, including Dolby Digital and DTS, providing realistic audio experiences that bring movies and music to life. Additionally, it features JBL's proprietary technologies, such as the Auto Calibration system, which intelligently adjusts speaker settings based on room acoustics, ensuring optimal sound quality regardless of where speakers are placed.

Another key characteristic is its user-friendly interface. The AVR580 includes an on-screen display that simplifies navigation through its extensive features, making it easy for users to customize settings and switch between sources. The remote control is equally intuitive, providing quick access to essential functions.

Connectivity is further enhanced with features like wireless streaming capabilities, allowing users to enjoy music from popular platforms such as Spotify and Apple Music seamlessly. The receiver also supports multi-room audio, enabling you to distribute sound across different areas of your home.

In terms of build quality, the JBL AVR580 boasts a sleek and modern design that fits well in any entertainment center. The high-quality components and robust construction ensure durability and long-term performance, making it a reliable choice for home theater enthusiasts.

Overall, the JBL AVR580 encapsulates what home theater aficionados seek—powerful performance, advanced technologies, user-friendly features, and stylish design. It is a cornerstone for any robust home entertainment system, offering an exceptional audio experience that truly enhances the way we enjoy movies, music, and games.