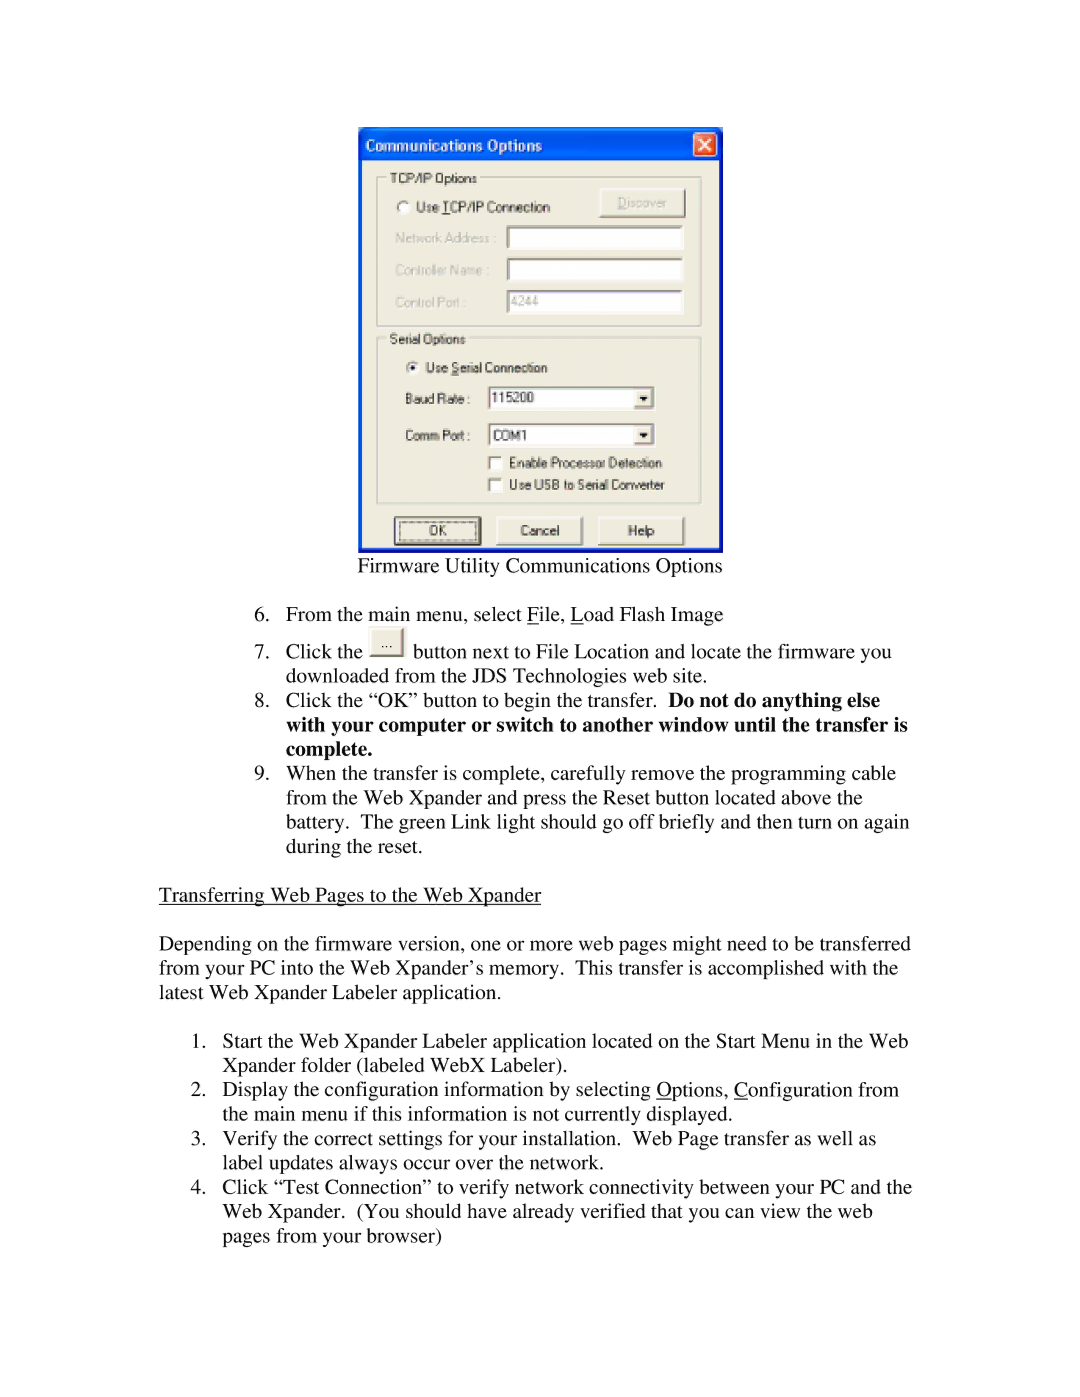
Firmware Utility Communications Options
6.From the main menu, select File, Load Flash Image
7.Click the ![]() button next to File Location and locate the firmware you downloaded from the JDS Technologies web site.
button next to File Location and locate the firmware you downloaded from the JDS Technologies web site.
8.Click the “OK” button to begin the transfer. Do not do anything else with your computer or switch to another window until the transfer is complete.
9.When the transfer is complete, carefully remove the programming cable from the Web Xpander and press the Reset button located above the battery. The green Link light should go off briefly and then turn on again during the reset.
Transferring Web Pages to the Web Xpander
Depending on the firmware version, one or more web pages might need to be transferred from your PC into the Web Xpander’s memory. This transfer is accomplished with the latest Web Xpander Labeler application.
1.Start the Web Xpander Labeler application located on the Start Menu in the Web Xpander folder (labeled WebX Labeler).
2.Display the configuration information by selecting Options, Configuration from the main menu if this information is not currently displayed.
3.Verify the correct settings for your installation. Web Page transfer as well as label updates always occur over the network.
4.Click “Test Connection” to verify network connectivity between your PC and the Web Xpander. (You should have already verified that you can view the web pages from your browser)