SEALED BURNER
CARTRIDGES
TO INSTALL SEALED BURNER CARTRIDGE:
1.Be sure control knobs are turned OFF.
2.Clean basin of any grease accumulation. (See page 9 for cleaning recommendations.)
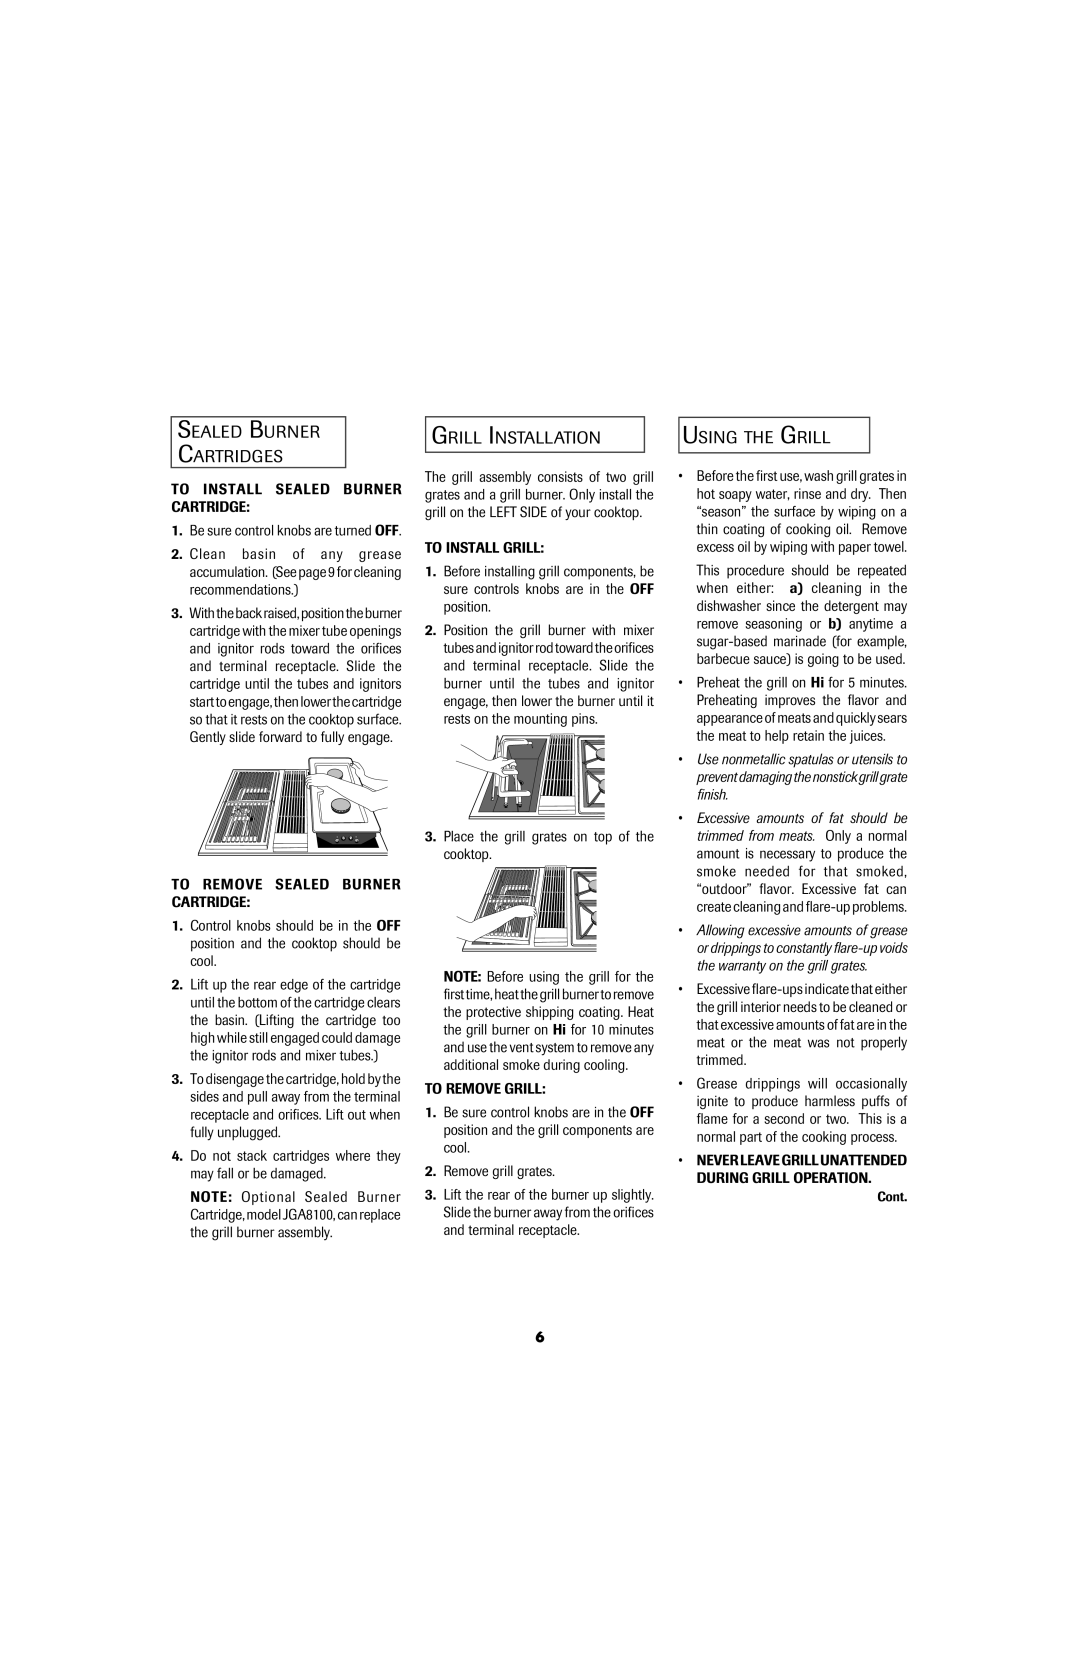
3.With the back raised, position the burner cartridge with the mixer tube openings and ignitor rods toward the orifices and terminal receptacle. Slide the cartridge until the tubes and ignitors start to engage, then lower the cartridge so that it rests on the cooktop surface. Gently slide forward to fully engage.
TO REMOVE SEALED BURNER CARTRIDGE:
1.Control knobs should be in the OFF position and the cooktop should be cool.
2.Lift up the rear edge of the cartridge until the bottom of the cartridge clears the basin. (Lifting the cartridge too high while still engaged could damage the ignitor rods and mixer tubes.)
3.To disengage the cartridge, hold by the sides and pull away from the terminal receptacle and orifices. Lift out when fully unplugged.
4.Do not stack cartridges where they may fall or be damaged.
NOTE: Optional Sealed Burner Cartridge, model JGA8100, can replace the grill burner assembly.
GRILL INSTALLATION
The grill assembly consists of two grill grates and a grill burner. Only install the grill on the LEFT SIDE of your cooktop.
TO INSTALL GRILL:
1.Before installing grill components, be sure controls knobs are in the OFF position.
2.Position the grill burner with mixer tubes and ignitor rod toward the orifices and terminal receptacle. Slide the burner until the tubes and ignitor engage, then lower the burner until it rests on the mounting pins.
3.Place the grill grates on top of the cooktop.
NOTE: Before using the grill for the first time, heat the grill burner to remove the protective shipping coating. Heat the grill burner on Hi for 10 minutes and use the vent system to remove any additional smoke during cooling.
TO REMOVE GRILL:
1.Be sure control knobs are in the OFF position and the grill components are cool.
2.Remove grill grates.
3.Lift the rear of the burner up slightly. Slide the burner away from the orifices and terminal receptacle.
USING THE GRILL
•Before the first use, wash grill grates in hot soapy water, rinse and dry. Then “season” the surface by wiping on a thin coating of cooking oil. Remove excess oil by wiping with paper towel.
This procedure should be repeated when either: a) cleaning in the dishwasher since the detergent may remove seasoning or b) anytime a
•Preheat the grill on Hi for 5 minutes. Preheating improves the flavor and appearance of meats and quickly sears the meat to help retain the juices.
•Use nonmetallic spatulas or utensils to prevent damaging the nonstick grill grate finish.
•Excessive amounts of fat should be trimmed from meats. Only a normal amount is necessary to produce the smoke needed for that smoked, “outdoor” flavor. Excessive fat can create cleaning and
•Allowing excessive amounts of grease or drippings to constantly
•Excessive
•Grease drippings will occasionally ignite to produce harmless puffs of flame for a second or two. This is a normal part of the cooking process.
•NEVER LEAVE GRILL UNATTENDED DURING GRILL OPERATION.
Cont.
6