Activating and canceling the clock/day of week display:

1. Press Setup pad.

2.Select CLOCK.

3.Press the arrow to scroll until DISABLE is displayed.

4.Select DISABLE.

5.Select TIME.

6.Select OFF to turn the clock display off, or select ON to turn the clock display on.

7.Select OFF to turn the day of the week display off. Select ON to turn the weekday display on.

8.To exit the Setup mode, press Setup pad.

Entering the day of the week:

1. Press Setup pad.

2. Select CLOCK.

3.Press the arrow to scroll until DAY is displayed.

4.Use Quickset arrow to scroll through the days.

5.Select day desired.

6.To exit the Setup mode, press Setup pad.

To set the clock for a 12 or 24 hour format:

The clock can be set to display time in either a 12 hour or 24 hour format.

1. Press the Setup pad.

2. Select CLOCK.

3.Use the arrow to scroll to the next screen.

4.Select 12/24 HOUR.

5.Select 12 HR or 24 HR.

6.To exit Setup mode, press Setup pad.

Timers

Setting the Timers (Timer 1 or Timer 2):

1.Press TIMER 1 or TIMER 2 pad.

2. Press one of the displayed times using the Quickset pads, or press the number pads to enter the desired time.

Important: Each press of the displayed time choices adds additional time. For example, pressing “10 MIN” three times provides 30 minutes on the timer (0:30).

3. Press Enter pad.

Changing the amount of time entered once the Timer starts:

1. Press the TIMER 1 or TIMER 2 pad once.

2. Press the displayed times on the Quickset pads repeatedly until the desired time is entered.

OR

3.Press the number pads to enter the new desired time.

4.Press Enter pad.

Canceling the Timer:

1. Press the TIMER 1 or TIMER 2 pad twice.

If both Timers are active:

If the desired Timer is already in the foreground, press once for edit mode and twice to cancel the Timer. If the desired Timer is not in the foreground, follow the steps below.

1.Press the desired TIMER pad once. The selected Timer will come to the foreground.

2.Press the TIMER pad a second time to access the edit mode in order to make changes.

3.Pressing the TIMER pad a third time will cancel the Timer.

Changing the Timer beeps:

The signal beeps for TIMER 1 and TIMER 2 can be changed. The options available are two beeps every thirty seconds, two beeps every sixty seconds or one beep only. The default setting is one beep.

1. Press the Setup pad.

2.Select the arrow to scroll until TONES is displayed.

3.Select TONES.

4.Select TIMERS TONES.

5.Select the desired timer beep format (2-30 SEC, 2-60 SEC or 1 BEEP).

6.Press Setup pad to exit Setup mode.

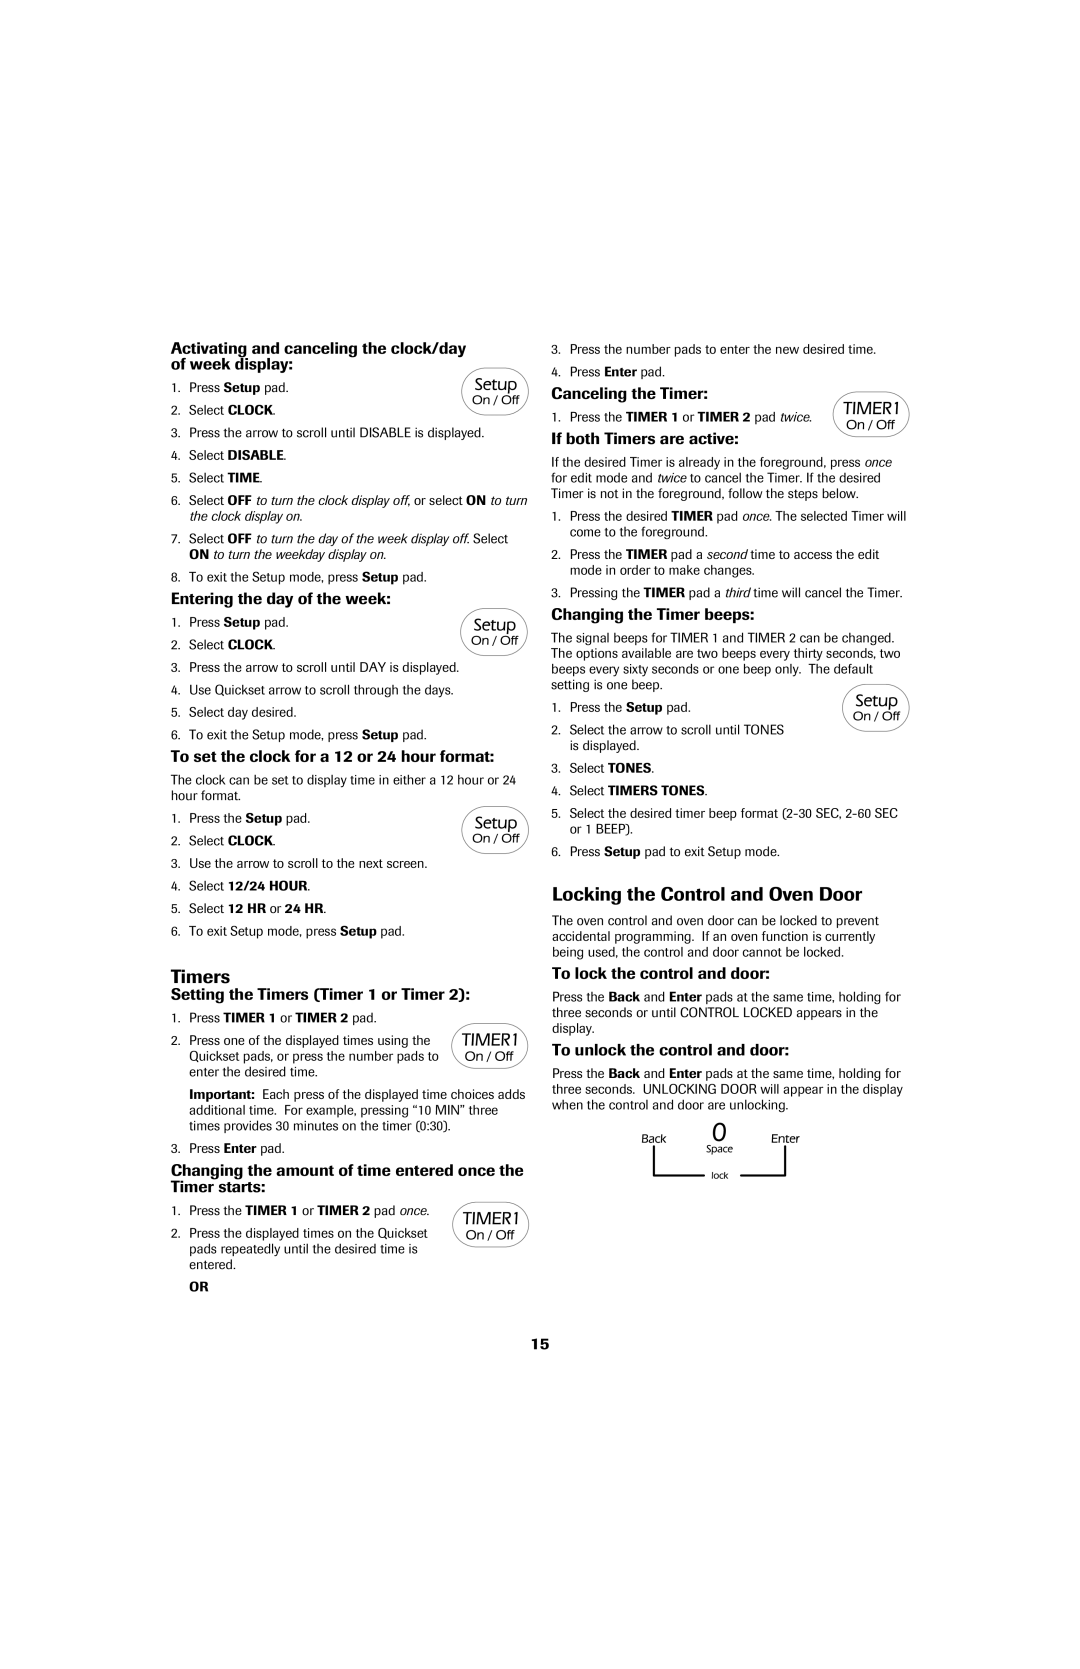
Locking the Control and Oven Door

The oven control and oven door can be locked to prevent accidental programming. If an oven function is currently being used, the control and door cannot be locked.

To lock the control and door:

Press the Back and Enter pads at the same time, holding for three seconds or until CONTROL LOCKED appears in the display.

To unlock the control and door:

Press the Back and Enter pads at the same time, holding for three seconds. UNLOCKING DOOR will appear in the display when the control and door are unlocking.

15

Page 16
Image 16
Jenn-Air 8113P757-60 important safety instructions Timers, Locking the Control and Oven Door

8113P757-60 specifications

The Jenn-Air 8113P757-60 is a high-performance built-in oven designed for culinary enthusiasts who prioritize precision and style in their kitchen. Renowned for its blend of innovative features and elegant design, this oven exemplifies the brand’s commitment to quality and functionality.

One of the standout features of the Jenn-Air 8113P757-60 is its state-of-the-art convection cooking technology. This system utilizes a powerful fan to circulate hot air evenly throughout the oven cavity, ensuring that food is cooked uniformly. Whether baking pastries or roasting meats, users can expect consistent results every time, dramatically reducing the risk of hot spots that can lead to uneven cooking.

Additionally, the oven boasts a robust variety of cooking modes tailored to meet diverse culinary needs. With options ranging from traditional baking and broiling to specialized modes like proofing and dehydrating, the Jenn-Air 8113P757-60 provides versatility that caters to various cooking styles. This adaptability allows home chefs to explore and experiment with different recipes and techniques without being constrained by equipment limitations.

The digital control panel is another prominent feature of the Jenn-Air 8113P757-60. This intuitive interface allows for easy programming and monitoring of cooking times and temperatures. Equipped with Wi-Fi capabilities, the oven can be controlled remotely via a smartphone app, giving users the flexibility to adjust settings or preheat the oven from anywhere in the home.

Moreover, the Jenn-Air 8113P757-60 includes a self-cleaning function that simplifies maintenance and ensures the oven remains pristine. This feature employs high-temperature cleaning cycles that burn off food residue, allowing users to spend less time scrubbing and more time enjoying their culinary creations.

Aesthetically, the oven flaunts a sleek, modern design that seamlessly integrates into any contemporary kitchen décor. The stainless-steel finish not only adds a touch of sophistication but is also resistant to fingerprints and smudges, ensuring the appliance maintains its appearance over time.

In summary, the Jenn-Air 8113P757-60 is a sophisticated built-in oven that combines advanced cooking technologies with user-friendly features and an attractive design. Its convection cooking, diverse cooking modes, digital controls, self-cleaning function, and stylish aesthetics make it an ideal choice for anyone looking to elevate their cooking experience.