Beveling
Beveling an edge is the same operation as edge jointing, except that the fence is tilted to a specified angle.
!Make certain material being beveled is over 12 inches long, more than 1/4 inch thick and 1 inch wide.
To bevel:
1.Use a bevel gauge to determine the desired angle. Then set the fence to the same angle.
2.Inspect stock for soundness and grain direction (refer to Direction of Grain on previous page).
3.Set the infeed table for a cut of approximately 1/16.
4.If the board is bowed (curved), place the concave edge down on the infeed table.
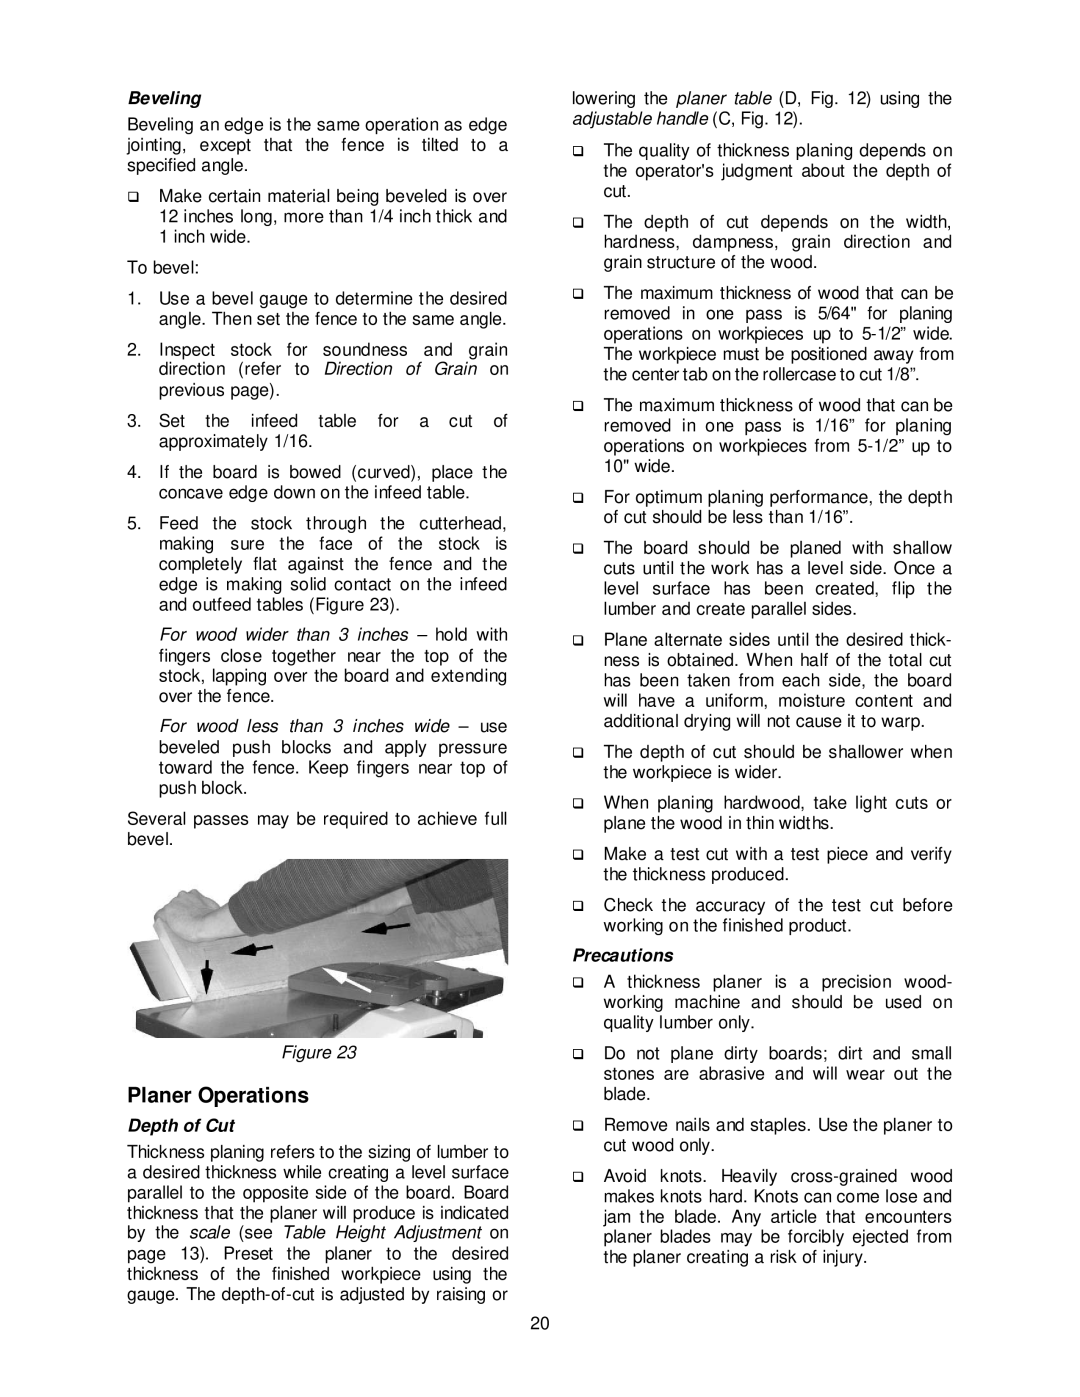
5.Feed the stock through the cutterhead, making sure the face of the stock is completely flat against the fence and the edge is making solid contact on the infeed and outfeed tables (Figure 23).
For wood wider than 3 inches – hold with fingers close together near the top of the stock, lapping over the board and extending over the fence.
For wood less than 3 inches wide – use beveled push blocks and apply pressure toward the fence. Keep fingers near top of push block.
Several passes may be required to achieve full bevel.
Figure 23
Planer Operations
Depth of Cut
Thickness planing refers to the sizing of lumber to a desired thickness while creating a level surface parallel to the opposite side of the board. Board thickness that the planer will produce is indicated by the scale (see Table Height Adjustment on page 13). Preset the planer to the desired thickness of the finished workpiece using the gauge. The
lowering the planer table (D, Fig. 12) using the adjustable handle (C, Fig. 12).
!The quality of thickness planing depends on the operator's judgment about the depth of cut.
!The depth of cut depends on the width, hardness, dampness, grain direction and grain structure of the wood.
!The maximum thickness of wood that can be removed in one pass is 5/64" for planing operations on workpieces up to
!The maximum thickness of wood that can be removed in one pass is 1/16” for planing operations on workpieces from
!For optimum planing performance, the depth of cut should be less than 1/16”.
!The board should be planed with shallow cuts until the work has a level side. Once a level surface has been created, flip the lumber and create parallel sides.
!Plane alternate sides until the desired thick- ness is obtained. When half of the total cut has been taken from each side, the board will have a uniform, moisture content and additional drying will not cause it to warp.
!The depth of cut should be shallower when the workpiece is wider.
!When planing hardwood, take light cuts or plane the wood in thin widths.
!Make a test cut with a test piece and verify the thickness produced.
!Check the accuracy of the test cut before working on the finished product.
Precautions
!A thickness planer is a precision wood- working machine and should be used on quality lumber only.
!Do not plane dirty boards; dirt and small stones are abrasive and will wear out the blade.
!Remove nails and staples. Use the planer to cut wood only.
!Avoid knots. Heavily
20