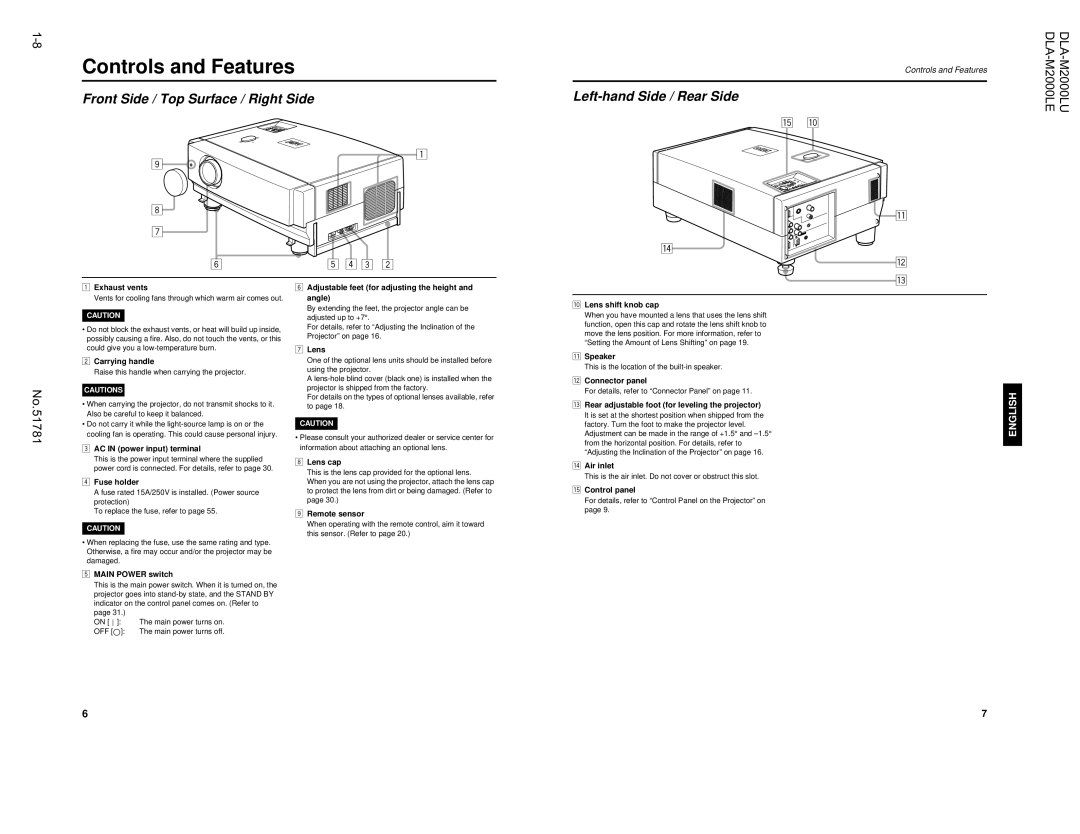
DLA-M2000LU specifications
The JVC DLA-M2000LU is a cutting-edge projector that epitomizes the advancement in home theater technology. Designed with professional users in mind, the DLA-M2000LU delivers exceptional image quality, making it ideal for commercial venues, screening rooms, and high-end home theaters.One of the standout features of the DLA-M2000LU is its native 4K resolution, which allows for breathtaking detail and clarity. With a resolution of 4096 x 2160 pixels, this projector excels at rendering intricate textures and vibrant colors with remarkable fidelity. The 4K output is complemented by JVC’s e-Shift technology, which enhances the quality of lower resolution content, upscaling it to near 4K quality. This feature ensures that every viewing experience, whether it’s a blockbuster movie or a sports event, is lifelike and immersive.
The DLA-M2000LU is equipped with JVC’s proprietary D-ILA (Direct-Drive Image Light Amplifier) technology. This innovative technology allows for deeper blacks and superior contrast ratios, providing a more dynamic picture. With a contrast ratio of 100,000:1, users can enjoy rich shadow details and bright highlights, enhancing the overall cinematic experience.
Color reproduction is further enhanced thanks to the projector’s wide color gamut. The DLA-M2000LU supports HDR (High Dynamic Range) content, allowing for a greater range of colors and luminance levels. This capability means that viewers can appreciate the subtleties of color in every scene, which is particularly important for filmmakers aiming to convey their artistic vision.
Another notable characteristic of the DLA-M2000LU is its robust connectivity options. The projector features multiple HDMI inputs, allowing for seamless integration with various media devices. Additionally, it supports various video formats, including DCI-P3, ensuring compatibility with today’s media standards.
In terms of installation, the JVC DLA-M2000LU offers a range of lens options, making it versatile for different room sizes and layouts. The motorized lens shift, zoom, and focus capabilities ensure that users can achieve the optimal screen position with ease.
With its stunning image quality, advanced technologies, and professional grade features, the JVC DLA-M2000LU stands as a premier choice for anyone seeking to enhance their visual experience. Whether it’s for a commercial application or a dedicated home cinema, this projector promises to deliver unparalleled performance and satisfaction.

