Adjusting the Color Temperature
The adjusted setting applies to all inputs.
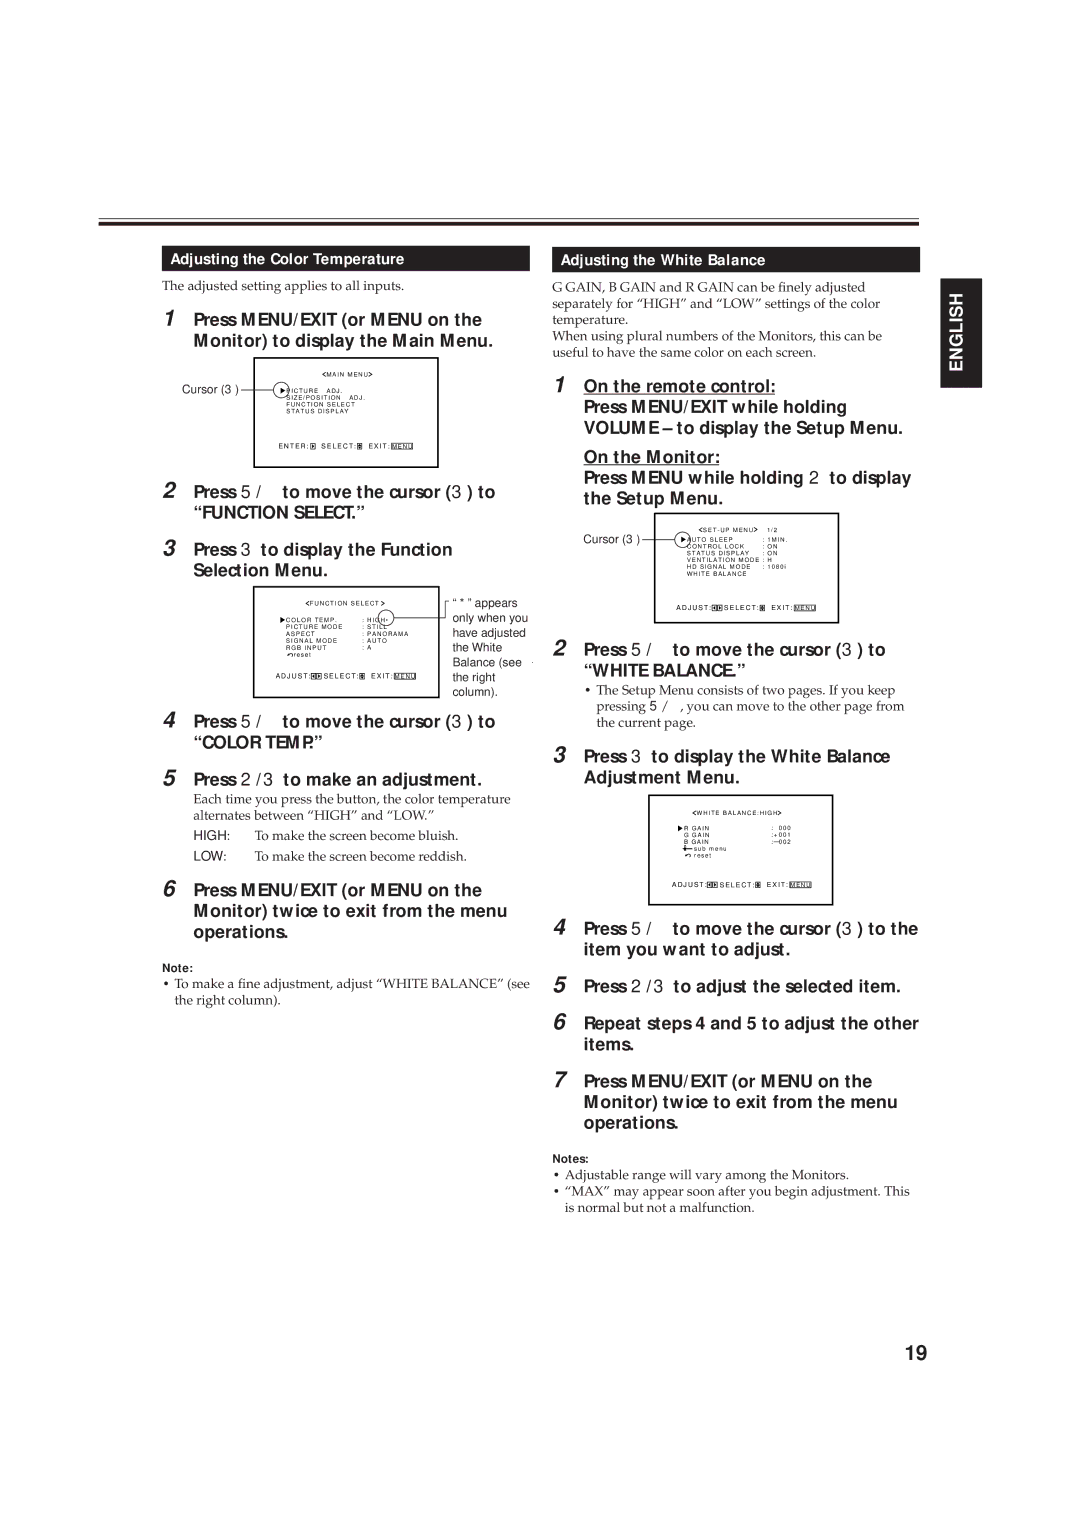
1 Press MENU/EXIT (or MENU on the Monitor) to display the Main Menu.
M A I N M E N U
Cursor (3) | P I C T U R E A D J . | |||||
| S I Z E / P O S I T I O N A D J . | |||||
| F U N C T I O N S E L E C T | |||||
| S T A T U S D I S P L A Y | |||||
| E N T E R : |
| S E L E C T : |
| E X I T : |
|
|
|
| M E N U | |||
2 Press 5/∞ to move the cursor (3) to
“FUNCTION SELECT.”
3 Press 3 to display the Function
Selection Menu.
F U N C T I O N S E L E C T | “ * ” appears | ||||||||
C O L O R T E M P . | : H I G H * | only when you | |||||||
P I C T U R E M O D E | : S T I L L | have adjusted | |||||||
A S P E C T | : P A N O R A M A | ||||||||
S I G N A L M O D E | : A U T O | the White | |||||||
R G B I N P U T | : A | ||||||||
r e s e t |
|
|
|
| Balance (see | ||||
|
|
|
|
|
|
|
|
| |
A D J U S T : |
|
|
| S E L E C T : |
| E X I T : |
|
| the right |
|
|
| M E N U |
| |||||
|
|
|
|
|
|
|
|
| column). |
4 Press 5/∞ to move the cursor (3) to “COLOR TEMP.”
5 Press 2/3 to make an adjustment.
Each time you press the button, the color temperature alternates between “HIGH” and “LOW.”
HIGH: To make the screen become bluish.
LOW: To make the screen become reddish.
6 Press MENU/EXIT (or MENU on the Monitor) twice to exit from the menu operations.
Note:
•To make a fine adjustment, adjust “WHITE BALANCE” (see the right column).
Adjusting the White Balance
G GAIN, B GAIN and R GAIN can be finely adjusted separately for “HIGH” and “LOW” settings of the color temperature.
When using plural numbers of the Monitors, this can be useful to have the same color on each screen.
1 On the remote control:
Press MENU/EXIT while holding VOLUME – to display the Setup Menu.
On the Monitor:
Press MENU while holding 2 to display the Setup Menu.
Cursor (3) | S E T - U P M E N U | 1 / 2 |
|
| |||||
A U T O S L E E P | : 1 M I N . | ||||||||
| C O N T R O L L O C K | : O N | |||||||
| S T A T U S D I S P L A Y | : O N | |||||||
| V E N T I L A T I O N M O D E : H | ||||||||
| H D S I G N A L M O D E | : 1 0 8 0 i | |||||||
| W H I T E B A L A N C E |
|
|
|
| ||||
| A D J U S T : |
|
|
| S E L E C T : |
| E X I T : |
|
|
|
|
|
| M E N U |
| ||||
|
|
|
|
|
|
|
|
|
|
2 Press 5/∞ to move the cursor (3) to “WHITE BALANCE.”
•The Setup Menu consists of two pages. If you keep pressing 5/∞, you can move to the other page from the current page.
3 Press 3 to display the White Balance
Adjustment Menu.
W H I T E B A L A N C E : H I G H
R G A I N | : 0 0 0 |
G G A I N | : + 0 0 1 |
B G A I N | : – 0 0 2 |
s u b m e n u |
|
r e s e t |
|
A D J U S T :![]()
![]() S E L E C T :
S E L E C T : ![]() E X I T : M E N U
E X I T : M E N U
4 Press 5/∞ to move the cursor (3) to the item you want to adjust.
5
6 Repeat steps 4 and 5 to adjust the other items.
7 Press MENU/EXIT (or MENU on the Monitor) twice to exit from the menu operations.
Notes:
•Adjustable range will vary among the Monitors.
•“MAX” may appear soon after you begin adjustment. This is normal but not a malfunction.
ENGLISH
19