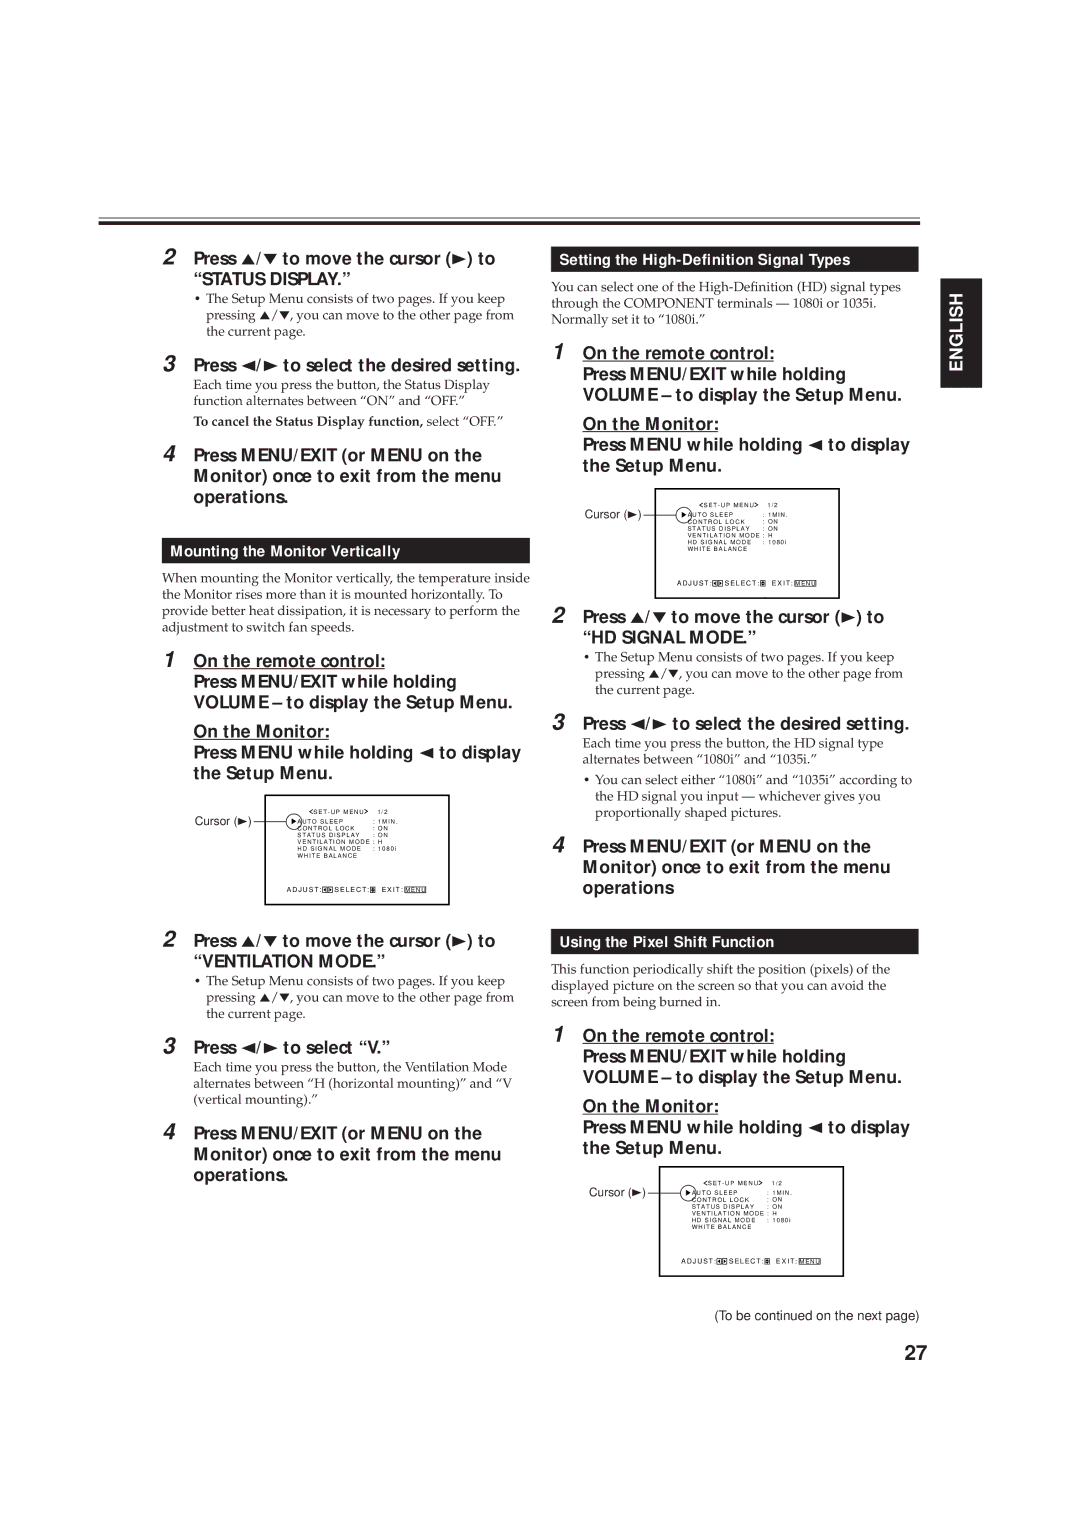
2 Press 5/∞ to move the cursor (3) to
“STATUS DISPLAY.”
•The Setup Menu consists of two pages. If you keep pressing 5/∞, you can move to the other page from the current page.
3 Press 2/3 to select the desired setting.
Each time you press the button, the Status Display function alternates between “ON” and “OFF.”
To cancel the Status Display function, select “OFF.”
4 Press MENU/EXIT (or MENU on the Monitor) once to exit from the menu operations.
Mounting the Monitor Vertically
When mounting the Monitor vertically, the temperature inside the Monitor rises more than it is mounted horizontally. To provide better heat dissipation, it is necessary to perform the adjustment to switch fan speeds.
1 On the remote control:
Press MENU/EXIT while holding VOLUME – to display the Setup Menu.
On the Monitor:
Press MENU while holding 2 to display the Setup Menu.
Cursor (3) | S E T - U P M E N U | 1 / 2 |
|
| |||||
A U T O S L E E P | : 1 M I N . | ||||||||
| C O N T R O L L O C K | : O N | |||||||
| S T A T U S D I S P L A Y | : O N | |||||||
| V E N T I L A T I O N M O D E : H | ||||||||
| H D S I G N A L M O D E | : 1 0 8 0 i | |||||||
| W H I T E B A L A N C E |
|
|
|
| ||||
| A D J U S T : |
|
|
| S E L E C T : |
| E X I T : |
|
|
|
|
|
| M E N U |
| ||||
|
|
|
|
|
|
|
|
|
|
2 Press 5/∞ to move the cursor (3) to
“VENTILATION MODE.”
•The Setup Menu consists of two pages. If you keep pressing 5/∞, you can move to the other page from the current page.
3 Press 2/3 to select “V.”
Each time you press the button, the Ventilation Mode alternates between “H (horizontal mounting)” and “V (vertical mounting).”
4 Press MENU/EXIT (or MENU on the Monitor) once to exit from the menu operations.
Setting the High-Definition Signal Types
You can select one of the
1 On the remote control:
Press MENU/EXIT while holding VOLUME – to display the Setup Menu.
On the Monitor:
Press MENU while holding 2 to display the Setup Menu.
Cursor (3) | S E T - U P M E N U | 1 / 2 |
|
| |||||
A U T O S L E E P | : 1 M I N . |
| |||||||
| C O N T R O L L O C K | : O N |
| ||||||
| S T A T U S D I S P L A Y | : O N |
| ||||||
| V E N T I L A T I O N M O D E : H |
| |||||||
| H D S I G N A L M O D E | : 1 0 8 0 i |
| ||||||
| W H I T E B A L A N C E |
|
|
|
| ||||
| A D J U S T : |
|
|
| S E L E C T : |
| E X I T : |
|
|
|
|
|
| M E N U |
| ||||
|
|
|
|
|
|
|
|
|
|
2 Press 5/∞ to move the cursor (3) to “HD SIGNAL MODE.”
•The Setup Menu consists of two pages. If you keep pressing 5/∞, you can move to the other page from the current page.
3 Press 2/3 to select the desired setting.
Each time you press the button, the HD signal type alternates between “1080i” and “1035i.”
•You can select either “1080i” and “1035i” according to the HD signal you input — whichever gives you proportionally shaped pictures.
4 Press MENU/EXIT (or MENU on the Monitor) once to exit from the menu operations
Using the Pixel Shift Function
This function periodically shift the position (pixels) of the displayed picture on the screen so that you can avoid the screen from being burned in.
1 On the remote control:
Press MENU/EXIT while holding VOLUME – to display the Setup Menu.
On the Monitor:
Press MENU while holding 2 to display the Setup Menu.
Cursor (3) | S E T - U P M E N U | 1 / 2 |
|
| |||||
A U T O S L E E P | : 1 M I N . | ||||||||
| C O N T R O L L O C K | : O N | |||||||
| S T A T U S D I S P L A Y | : O N | |||||||
| V E N T I L A T I O N M O D E : H | ||||||||
| H D S I G N A L M O D E | : 1 0 8 0 i | |||||||
| W H I T E B A L A N C E |
|
|
|
| ||||
| A D J U S T : |
|
|
| S E L E C T : |
| E X I T : |
|
|
|
|
|
| M E N U |
| ||||
|
|
|
|
|
|
|
|
|
|
(To be continued on the next page)
ENGLISH
27
