To make an adjustment while viewing the adjustment bar
After step 3 on page 16, proceed as follows:
1Press 5/∞ to move the cursor (3) to “sub menu.”
2Press 3to display the Sub Menu.
The Sub Menu for CONTRAST appears on the screen.
![]() C O N T R A S T: + 0 1
C O N T R A S T: + 0 1
– | + |
3Press 5/∞ to select the Sub Menu you want to adjust. Each time you press the button, the Sub Menu changes as follows:
 CONTRAST
 BRIGHT
 CHROMA
 SHARPNESS
 PHASE
PHASE 
4Press 2/3to adjust the selected item.
5Repeat steps 3 and 4 to adjust the other items.
6Press MENU/EXIT (or MENU on the Monitor) three times to exit from the menu operations.
To reset the adjustments
After step 3 on page 16, proceed as follows:
1Press 5/∞ to move the cursor (3) to “reset.”
2Press 3.
The confirmation screen appears.
r e s e t |
|
A r e y o u s u r e ? |
|
" Y E S " t h e n p r e s s | k e y . |
" N O " t h e n p r e s s M E N U k e y
3Press 3again to reset the adjustments.
To cancel the reset, press MENU/EXIT (or MENU on the Monitor).
Adjusting the Screen Size and Position
The screen size and position can be adjusted.
Adjusted settings can be stored for each signal type; therefore, when the same signal comes in, the stored settings are recalled.
•When adjusting the size, the size cannot be adjusted proportionally, but can be enlarged rightward (or downward) only and reduced leftward (or upward) only. Therefore, it is necessary to adjust both the size and position alternately to adjust to the appropriate size.
1 Press MENU/EXIT (or MENU on the Monitor) to display the Main Menu.
M A I N M E N U
Cursor (3) | P I C T U R E A D J . | |||||
| S I Z E / P O S I T I O N A D J . | |||||
| F U N C T I O N S E L E C T | |||||
| S T A T U S D I S P L A Y | |||||
| E N T E R : |
| S E L E C T : |
| E X I T : |
|
|
|
| M E N U | |||
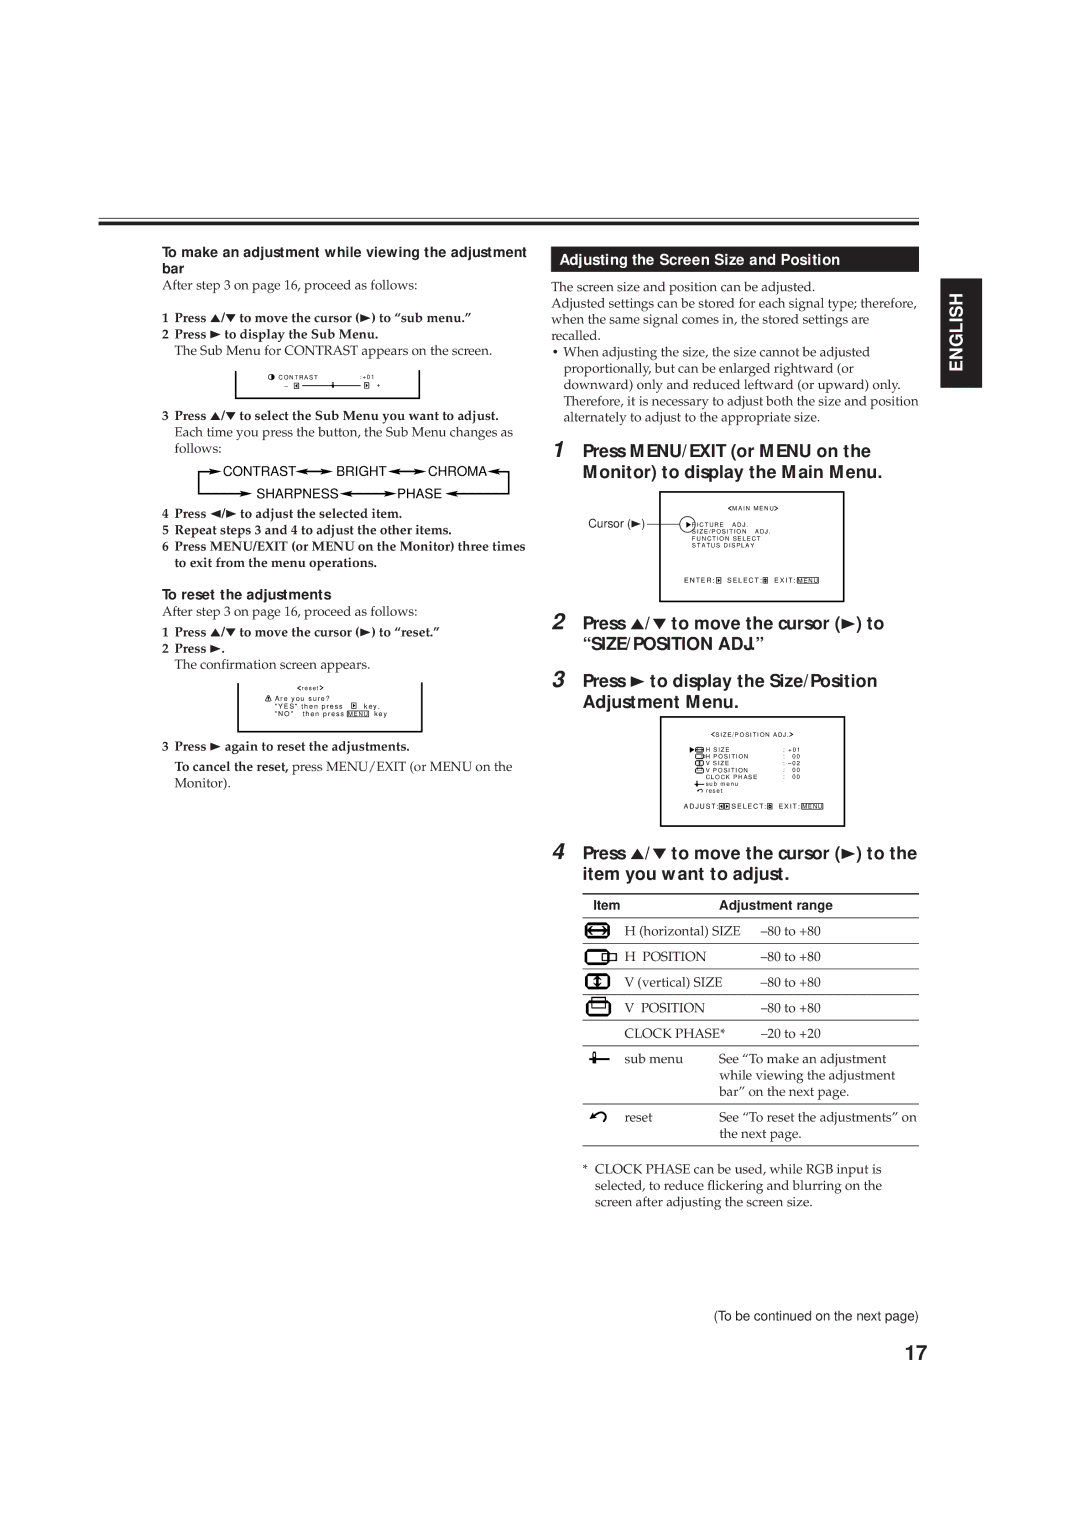
2 Press 5/∞ to move the cursor (3) to “SIZE/POSITION ADJ.”
3 Press 3 to display the Size/Position
Adjustment Menu.
S I Z E / P O S I T I O N A D J .
H S I Z E | : + 0 1 | |
H P O S I T I O N | : 0 0 | |
V S I Z E | : – 0 2 | |
V P O S I T I O N | : | 0 0 |
C L O C K P H A S E | : | 0 0 |
![]() s u b m e n u
s u b m e n u ![]() r e s e t
r e s e t
A D J U S T :![]()
![]() S E L E C T :
S E L E C T : ![]() E X I T : M E N U
E X I T : M E N U
4 Press 5/∞ to move the cursor (3) to the item you want to adjust.
Item | Adjustment range | |
|
| |
H (horizontal) SIZE | ||
|
|
|
H POSITION |
| |
|
| |
V (vertical) SIZE | ||
|
|
|
V POSITION |
| |
|
| |
CLOCK PHASE* | ||
|
| |
sub menu | See “To make an adjustment | |
| while viewing the adjustment | |
| bar” on the next page. | |
|
| |
reset | See “To reset the adjustments” on | |
| the next page. | |
|
|
|
*CLOCK PHASE can be used, while RGB input is selected, to reduce flickering and blurring on the screen after adjusting the screen size.
(To be continued on the next page)
ENGLISH
17