![]()
![]()
![]()
![]()
![]()
![]()
![]()
![]()
![]()
![]() 25
25
5 STORE DESIRED SCENE
When the scene appears, press MEMORY. •When “STROBE SPEED” is set to “HIGH”,
the printer stores images approximately every 1/4 of a second, and when set to “LOW”, images are stored approximately every 1/2 a second.
•Once the selected number of images has been stored, the input image is replaced on the screen by the most recently stored image.
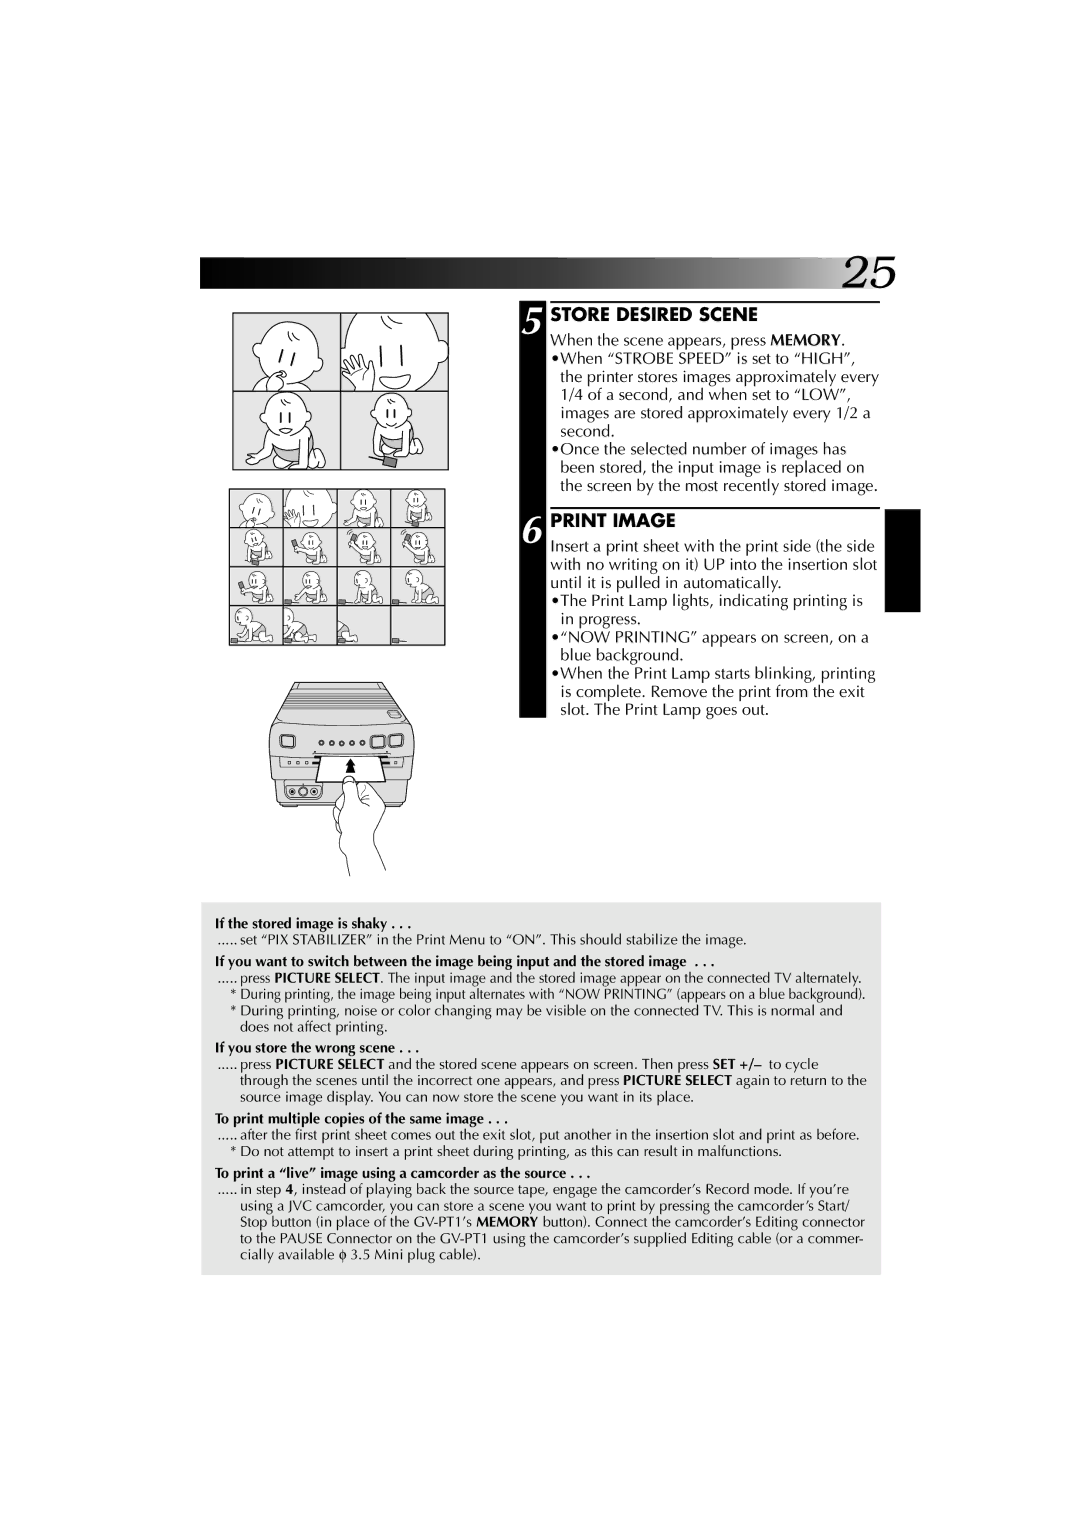
6 PRINT IMAGE
Insert a print sheet with the print side (the side with no writing on it) UP into the insertion slot until it is pulled in automatically.
•The Print Lamp lights, indicating printing is in progress.
•“NOW PRINTING” appears on screen, on a blue background.
•When the Print Lamp starts blinking, printing is complete. Remove the print from the exit slot. The Print Lamp goes out.
If the stored image is shaky . . .
..... set “PIX STABILIZER” in the Print Menu to “ON”. This should stabilize the image.
If you want to switch between the image being input and the stored image . . .
..... press PICTURE SELECT. The input image and the stored image appear on the connected TV alternately.
*During printing, the image being input alternates with “NOW PRINTING” (appears on a blue background).
*During printing, noise or color changing may be visible on the connected TV. This is normal and does not affect printing.
If you store the wrong scene . . .
..... press PICTURE SELECT and the stored scene appears on screen. Then press SET +/– to cycle
through the scenes until the incorrect one appears, and press PICTURE SELECT again to return to the source image display. You can now store the scene you want in its place.
To print multiple copies of the same image . . .
..... after the first print sheet comes out the exit slot, put another in the insertion slot and print as before.
* Do not attempt to insert a print sheet during printing, as this can result in malfunctions.
To print a “live” image using a camcorder as the source . . .
..... in step 4, instead of playing back the source tape, engage the camcorder’s Record mode. If you’re
using a JVC camcorder, you can store a scene you want to print by pressing the camcorder’s Start/ Stop button (in place of the