24


 ADVA
ADVA NCED
NCED PRINTIN
 G
G (cont.)
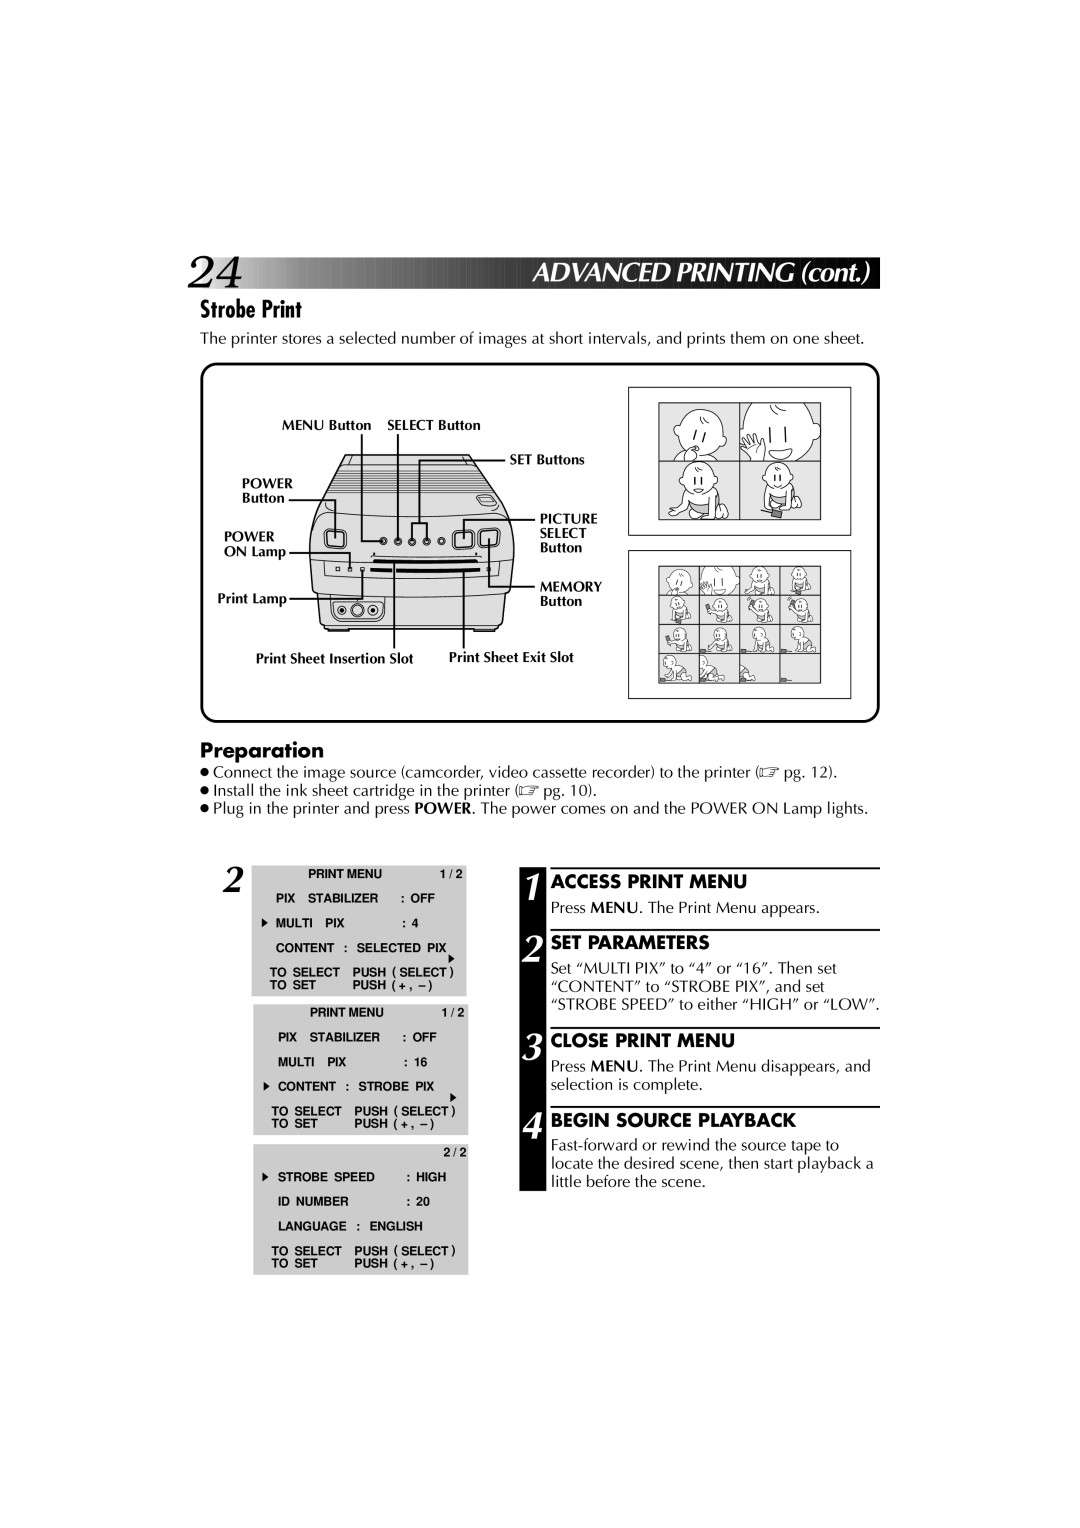
Strobe Print
The printer stores a selected number of images at short intervals, and prints them on one sheet.
MENU Button | SELECT Button | |
|
| SET Buttons |
POWER |
|
|
Button |
|
|
|
| PICTURE |
POWER |
| SELECT |
ON Lamp |
| Button |
Print Lamp |
| MEMORY |
| Button | |
Print Sheet Insertion Slot | Print Sheet Exit Slot | |
Preparation
●Connect the image source (camcorder, video cassette recorder) to the printer (☞ pg. 12).
●Install the ink sheet cartridge in the printer (☞ pg. 10).
●Plug in the printer and press POWER. The power comes on and the POWER ON Lamp lights.
2 | PRINT MENU | 1 / 2 |
| |
PIX STABILIZER | : OFF |
| ||
| MULTI PIX |
| : 4 |
|
| CONTENT : | SELECTED PIX |
| |
| TO SELECT | PUSH ( SELECT ) |
| |
| TO SET | PUSH ( + , – ) |
| |
|
|
|
|
|
| PRINT MENU | 1 / 2 |
| |
| PIX STABILIZER | : OFF | ||
| MULTI PIX |
| : 16 |
|
| CONTENT : | STROBE PIX | ||
| TO SELECT | PUSH ( SELECT ) | ||
| TO SET | PUSH ( + , – ) | ||
|
|
|
|
|
|
|
| 2 / 2 | |
| STROBE SPEED | : HIGH | ||
| ID NUMBER |
| : 20 |
|
| LANGUAGE | : ENGLISH | ||
| TO SELECT | PUSH ( SELECT ) | ||
| TO SET | PUSH ( + , – ) | ||
|
|
|
|
|
1 ACCESS PRINT MENU
Press MENU. The Print Menu appears.
2 SET PARAMETERS
Set “MULTI PIX” to “4” or “16”. Then set “CONTENT” to “STROBE PIX”, and set “STROBE SPEED” to either “HIGH” or “LOW”.
3 CLOSE PRINT MENU
Press MENU. The Print Menu disappears, and selection is complete.
4 BEGIN SOURCE PLAYBACK