![]()
![]()
![]()
![]()
![]()
![]()
![]()
![]()
![]()
![]() 29
29
5 LOCATE DESIRED SCENE
Rewind the tape in the camcorder to the scene you want to print, then pause the tape.
6 STORE SNAPSHOT
Press the camcorder’s Snapshot button. The camcorder automatically locates the begin- ning of the snapshot, and the printer stores the scene.
•Once the selected number of images has been stored, “STOP PLAYBACK MACHINE” appears on screen. Press the Stop button on the camcorder.
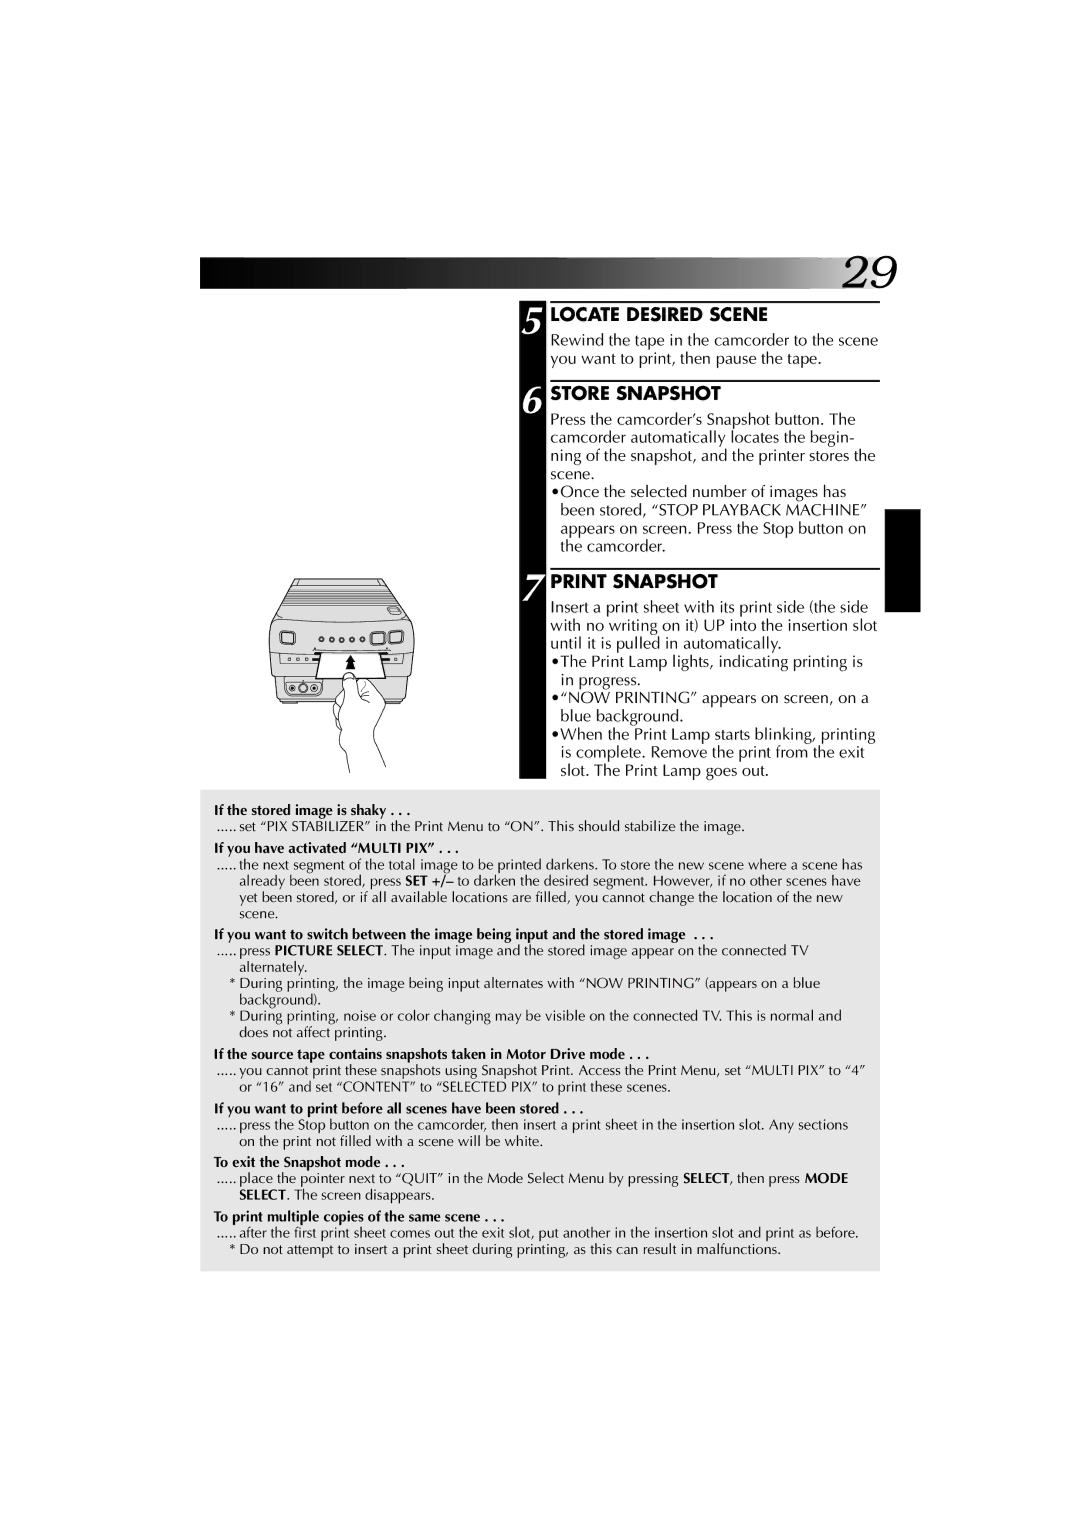
7 PRINT SNAPSHOT
Insert a print sheet with its print side (the side with no writing on it) UP into the insertion slot until it is pulled in automatically.
•The Print Lamp lights, indicating printing is in progress.
•“NOW PRINTING” appears on screen, on a blue background.
•When the Print Lamp starts blinking, printing is complete. Remove the print from the exit slot. The Print Lamp goes out.
If the stored image is shaky . . .
..... set “PIX STABILIZER” in the Print Menu to “ON”. This should stabilize the image.
If you have activated “MULTI PIX” . . .
..... the next segment of the total image to be printed darkens. To store the new scene where a scene has
already been stored, press SET +/– to darken the desired segment. However, if no other scenes have yet been stored, or if all available locations are filled, you cannot change the location of the new scene.
If you want to switch between the image being input and the stored image . . .
..... press PICTURE SELECT. The input image and the stored image appear on the connected TV
alternately.
*During printing, the image being input alternates with “NOW PRINTING” (appears on a blue background).
*During printing, noise or color changing may be visible on the connected TV. This is normal and does not affect printing.
If the source tape contains snapshots taken in Motor Drive mode . . .
..... you cannot print these snapshots using Snapshot Print. Access the Print Menu, set “MULTI PIX” to “4”
or “16” and set “CONTENT” to “SELECTED PIX” to print these scenes.
If you want to print before all scenes have been stored . . .
..... press the Stop button on the camcorder, then insert a print sheet in the insertion slot. Any sections
on the print not filled with a scene will be white.
To exit the Snapshot mode . . .
..... place the pointer next to “QUIT” in the Mode Select Menu by pressing SELECT, then press MODE
SELECT. The screen disappears.
To print multiple copies of the same scene . . .
..... after the first print sheet comes out the exit slot, put another in the insertion slot and print as before.
* Do not attempt to insert a print sheet during printing, as this can result in malfunctions.