Assemble
Editing
PAUSE
+ |
|
| 000 | 0 |
|
| 000 | 0000 | |
|
| 0 | 000 | |
|
| 000 |
| 0000 |
|
| 000 |
| 0 |
– | REC | 000 |
| 000 |
000 | 000 | |||
| 00 | 00 | ||
|
|
|
| |
SP/EP | PLAY |
![]()
![]()
![]()
![]()
![]()
![]()
![]()
![]()
![]()
![]()
![]()
![]()
![]()
![]()
![]()
![]()
![]()
![]()
![]()
![]()
![]()
![]()
![]()
![]()
![]()
![]()
![]()
![]()
![]()
![]()
![]()
![]()
![]()
![]()
![]()
![]()
![]()
![]()
![]()
![]()
![]()
![]()
![]()
![]()
![]()
![]()
![]()
![]()
![]()
![]()
![]()
![]()
![]()
![]() 49
49![]()
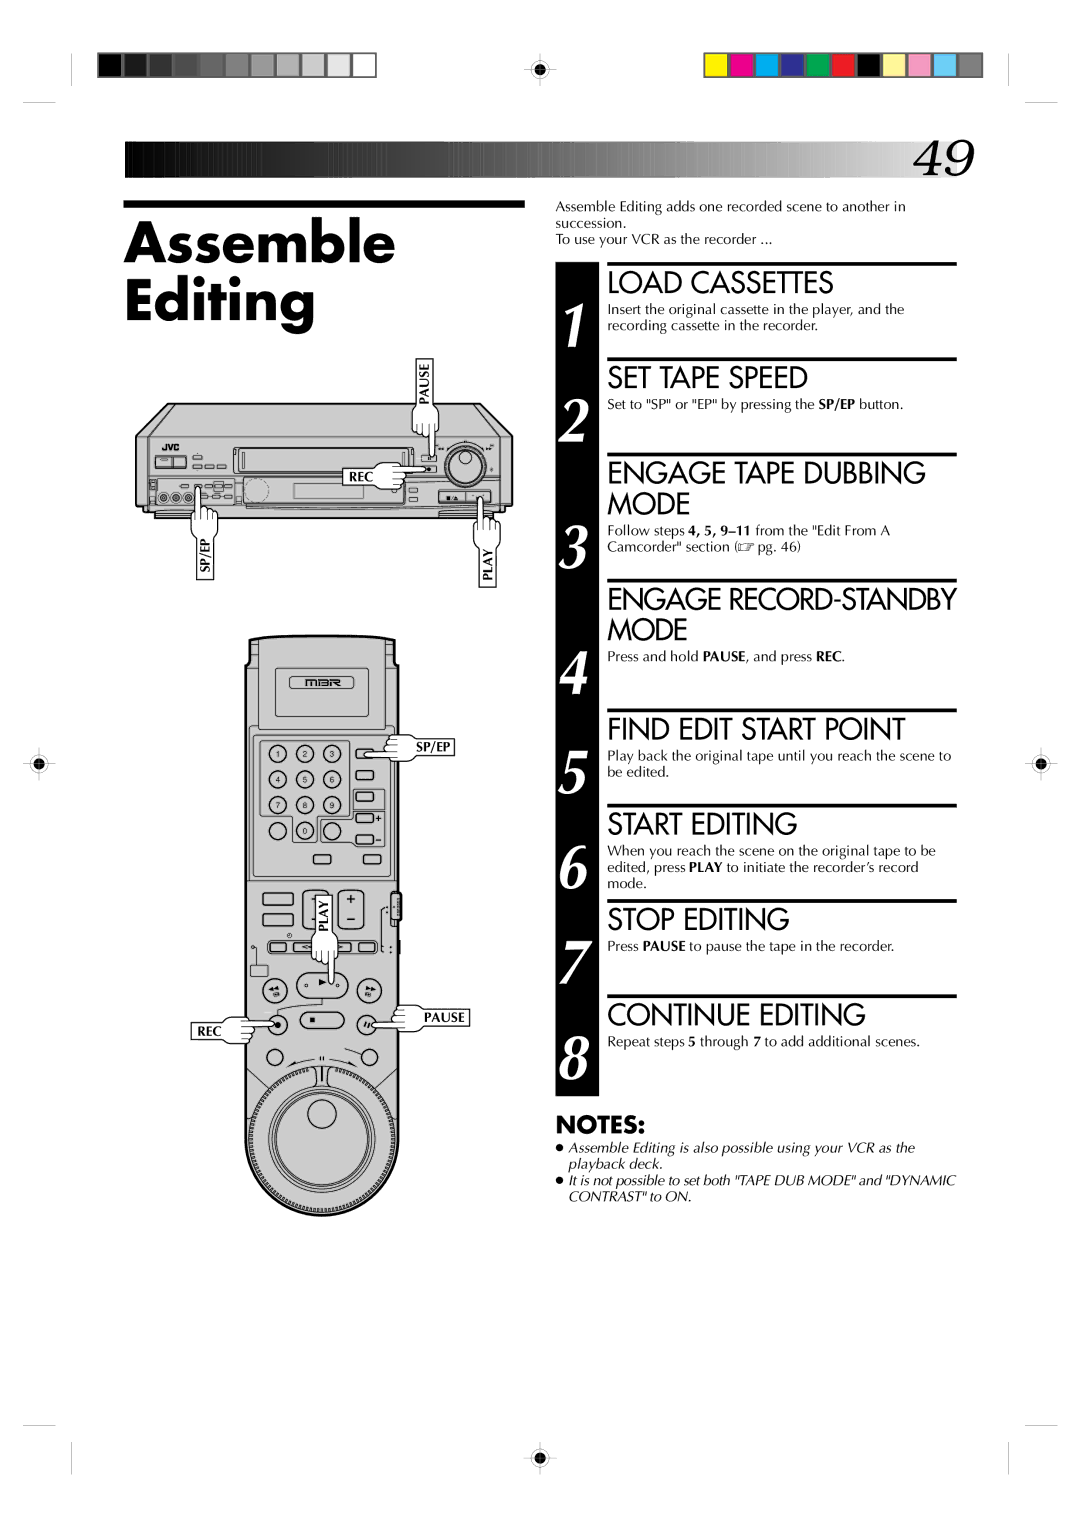
Assemble Editing adds one recorded scene to another in succession.
To use your VCR as the recorder ...
|
| LOAD CASSETTES | |
|
| Insert the original cassette in the player, and the | |
1 recording cassette in the recorder. | |||
2 |
| SET TAPE SPEED |
|
| Set to "SP" or "EP" by pressing the SP/EP button. | ||
|
| ENGAGE TAPE DUBBING |
|
3 |
| MODE | |
| Follow steps 4, 5, | ||
Camcorder" section (☞ pg. 46) | |||
|
| ENGAGE |
|
4 |
| MODE | |
| Press and hold PAUSE, and press REC. | ||
|
| FIND EDIT START POINT |
|
1 2 3
4 5 6
7 8 9
0
PLAY
REC
SP/EP
PAUSE
Play back the original tape until you reach the scene to |
5 be edited. |
START EDITING |
When you reach the scene on the original tape to be |
edited, press PLAY to initiate the recorder’s record |
6 mode. |
STOP EDITING |
7 Press PAUSE to pause the tape in the recorder. |
CONTINUE EDITING |
8 Repeat steps 5 through 7 to add additional scenes. |
NOTES:
●Assemble Editing is also possible using your VCR as the playback deck.
●It is not possible to set both "TAPE DUB MODE" and "DYNAMIC CONTRAST" to ON.