18![]()
![]()
![]()
![]()
![]()
![]()
![]()
![]()
![]()
![]()
![]()
![]()
![]()
![]()
![]()
![]()
![]()
![]()
![]()
![]()
![]()
![]()
![]()
![]()
![]()
![]()
![]()
![]()
![]()
![]()
![]()
![]()
![]()
![]()
![]()
![]()
![]()
![]()
![]()
![]()
![]()
![]()
![]()


 INITIAL
 SETTINGS
 (cont.)


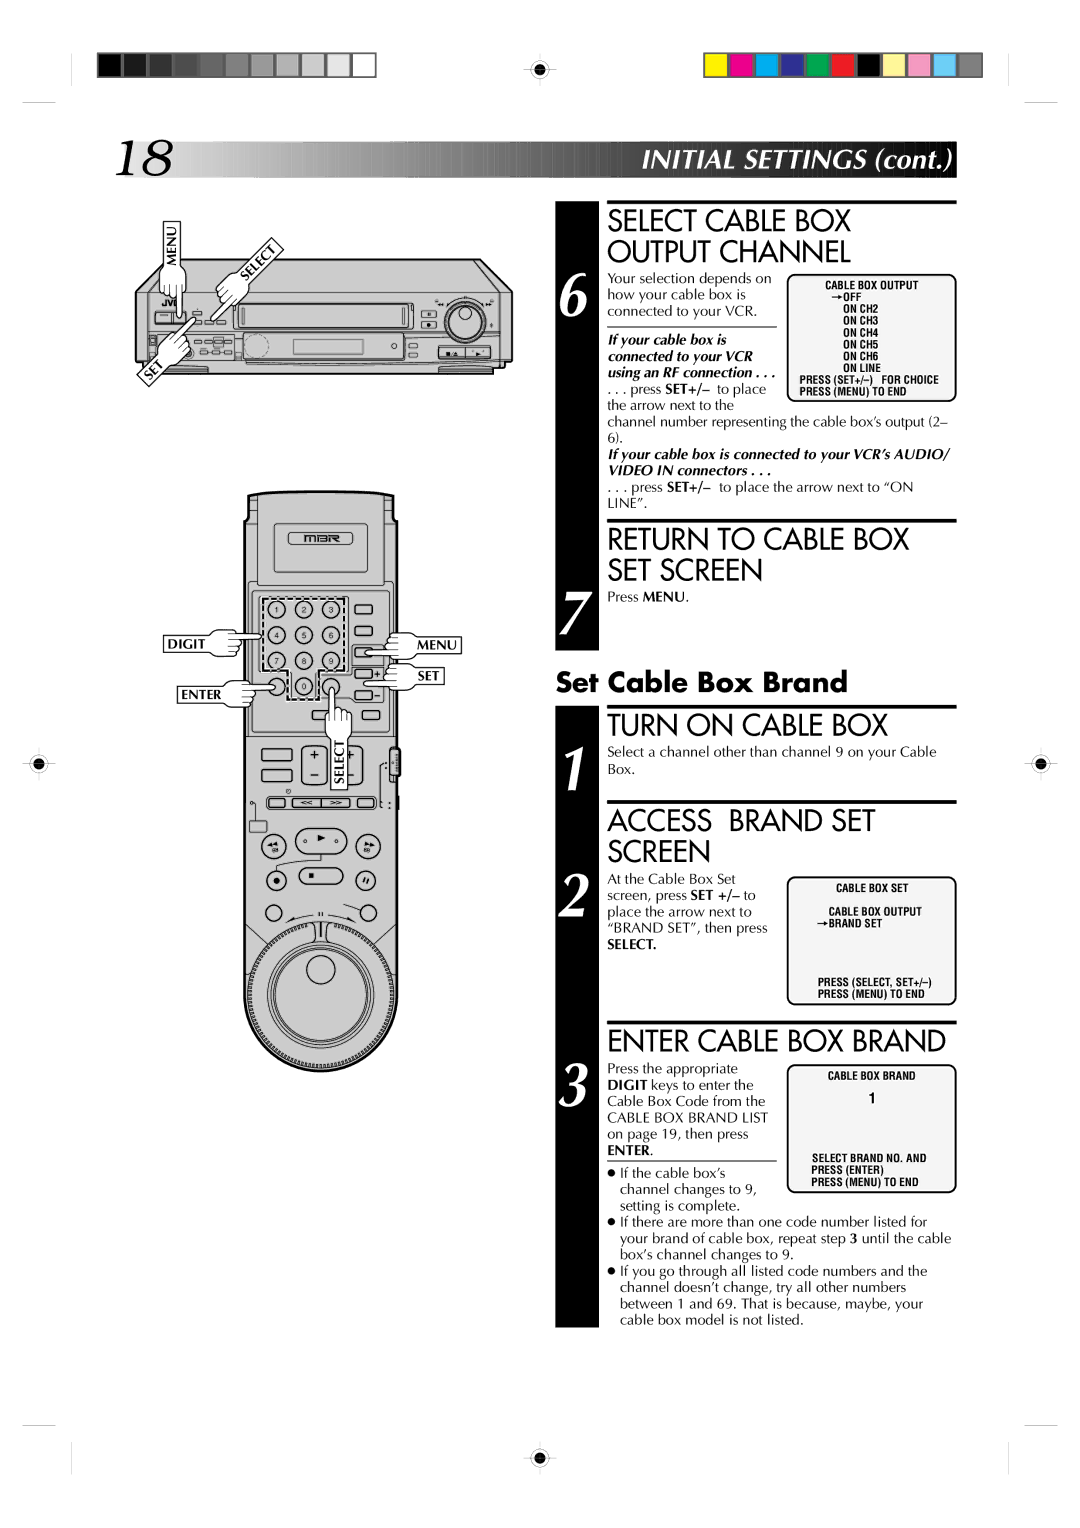
MENU |
| SELECT |
| 6 |
+ | 00 | 0 | ||
| 000 | |||
– | 000000000000000000 | 00000000000000000 | ||
SET |
|
|
|
|
| 1 | 2 | 3 |
| 7 |
DIGIT | 4 | 5 | 6 | MENU |
SELECT CABLE BOX
OUTPUT CHANNEL
Your selection depends on how your cable box is connected to your VCR.
If your cable box is connected to your VCR using an RF connection . . .
. . . press SET+/– to place the arrow next to the
channel number representing the cable box’s output (2– 6).
If your cable box is connected to your VCR’s AUDIO/ VIDEO IN connectors . . .
. . . press SET+/– to place the arrow next to “ON LINE”.
RETURN TO CABLE BOX SET SCREEN
Press MENU.
7 8 9
ENTER
SET
0
Set Cable Box Brand
![]()
![]() SELECT
SELECT![]()
1
TURN ON CABLE BOX
Select a channel other than channel 9 on your Cable Box.
ACCESS BRAND SET SCREEN
2
At the Cable Box Set screen, press SET +/– to place the arrow next to “BRAND SET”, then press
SELECT.
CABLE BOX SET
CABLE BOX OUTPUT =BRAND SET
PRESS (SELECT,
PRESS (MENU) TO END
3
ENTER CABLE BOX BRAND
Press the appropriate DIGIT keys to enter the Cable Box Code from the
CABLE BOX BRAND LIST on page 19, then press
ENTER.
● If the cable box’s channel changes to 9, setting is complete.
●If there are more than one code number listed for your brand of cable box, repeat step 3 until the cable box’s channel changes to 9.
●If you go through all listed code numbers and the channel doesn’t change, try all other numbers between 1 and 69. That is because, maybe, your cable box model is not listed.