Using the TV’s menu
TINT
You can adjust the picture tint. 2 : reddish
3 : greenish
•You can change the TINT setting (picture tint) only when the colour system is NTSC 3.58 or NTSC 4.43.
To return to the default settings in each
PICTURE MODE:
Press the blue button. This will return the picture settings in the currently chosen PICTURE MODE to the default settings, and stores them in the PICTURE MODE again.
WHITE BALANCE
You can select one of three WHITE BALANCE modes (three tones of white) to adjust the white balance of the picture. Since white is the colour which is used as a reference for all the other colours, changing the WHITE BALANCE mode affects the appearance of all the other colours on the screen.
COOL:
A bluish white. Using this mode when watching bright pictures allows you to enjoy a more vivid and bright picture.
MID:
The normal white colour.
WARM:
A radish white. Using this mode when watching films allows you to enjoy colours that are characteristic of films.
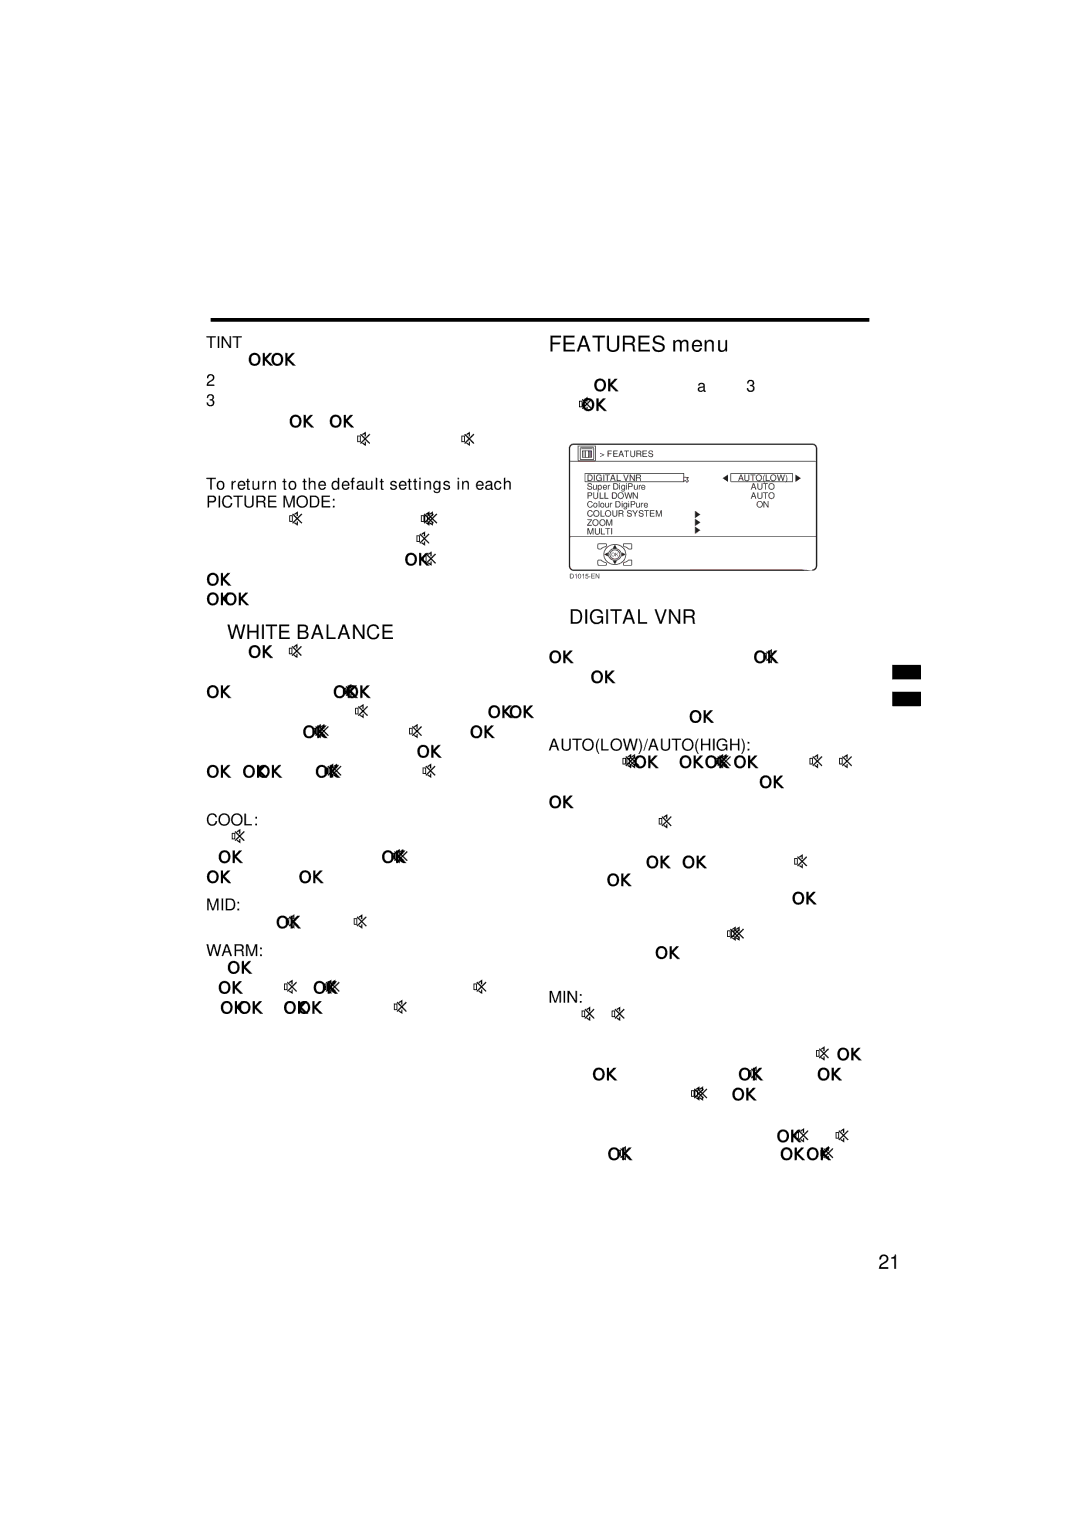
FEATURES menu
Choose FEATURES in the “PICTURE” menu and press the a or 3 button to display the
> FEATURES
| DIGITAL VNR |
| AUTO(LOW) |
|
| Super DigiPure |
| AUTO |
|
| PULL DOWN |
| AUTO |
|
| Colour DigiPure |
| ON |
|
| COLOUR SYSTEM |
|
|
|
| ZOOM |
|
|
|
| MULTI |
|
|
|
OK
DIGITAL VNR
The DIGITAL VNR function cuts down the amount of noise in the original picture. You can choose from the four DIGITAL VNR function settings of AUTO(LOW), AUTO(HIGH), MIN and MAX.
AUTO(LOW)/AUTO(HIGH):
The TV will automatically adjust the level of the DIGITAL VNR effect to match the amount of noise in the picture, giving you the best possible picture.
•If you set the DIGITAL VNR effect too high it can make the picture less sharp. It is recommended to use the AUTO(LOW) setting if you can. If you set the DIGITAL VNR function to AUTO(LOW)but still notice some noise, change the setting from AUTO(LOW) to AUTO(HIGH).
MIN:
The level of the DIGITAL VNR effect is set to the minimum. If you set the DIGITAL VNR function to AUTO(LOW) but feel that the sharpness of the original picture has not been reproduced fully, change the setting from AUTO(LOW) to MIN.
•The MIN setting is not suitable for low- quality pictures which contain a lot of noise.
21
