OPERATION (continued)
C D E
ENTER
MENU FUNC1 FUNC2 /SET
FILE W.BAL GAIN SHUTTER
H
ZOOM
WIDETELE
| SLOW | FAST |
| WHITE PAINT | IRIS |
R | B | AUTO/MANU |
L
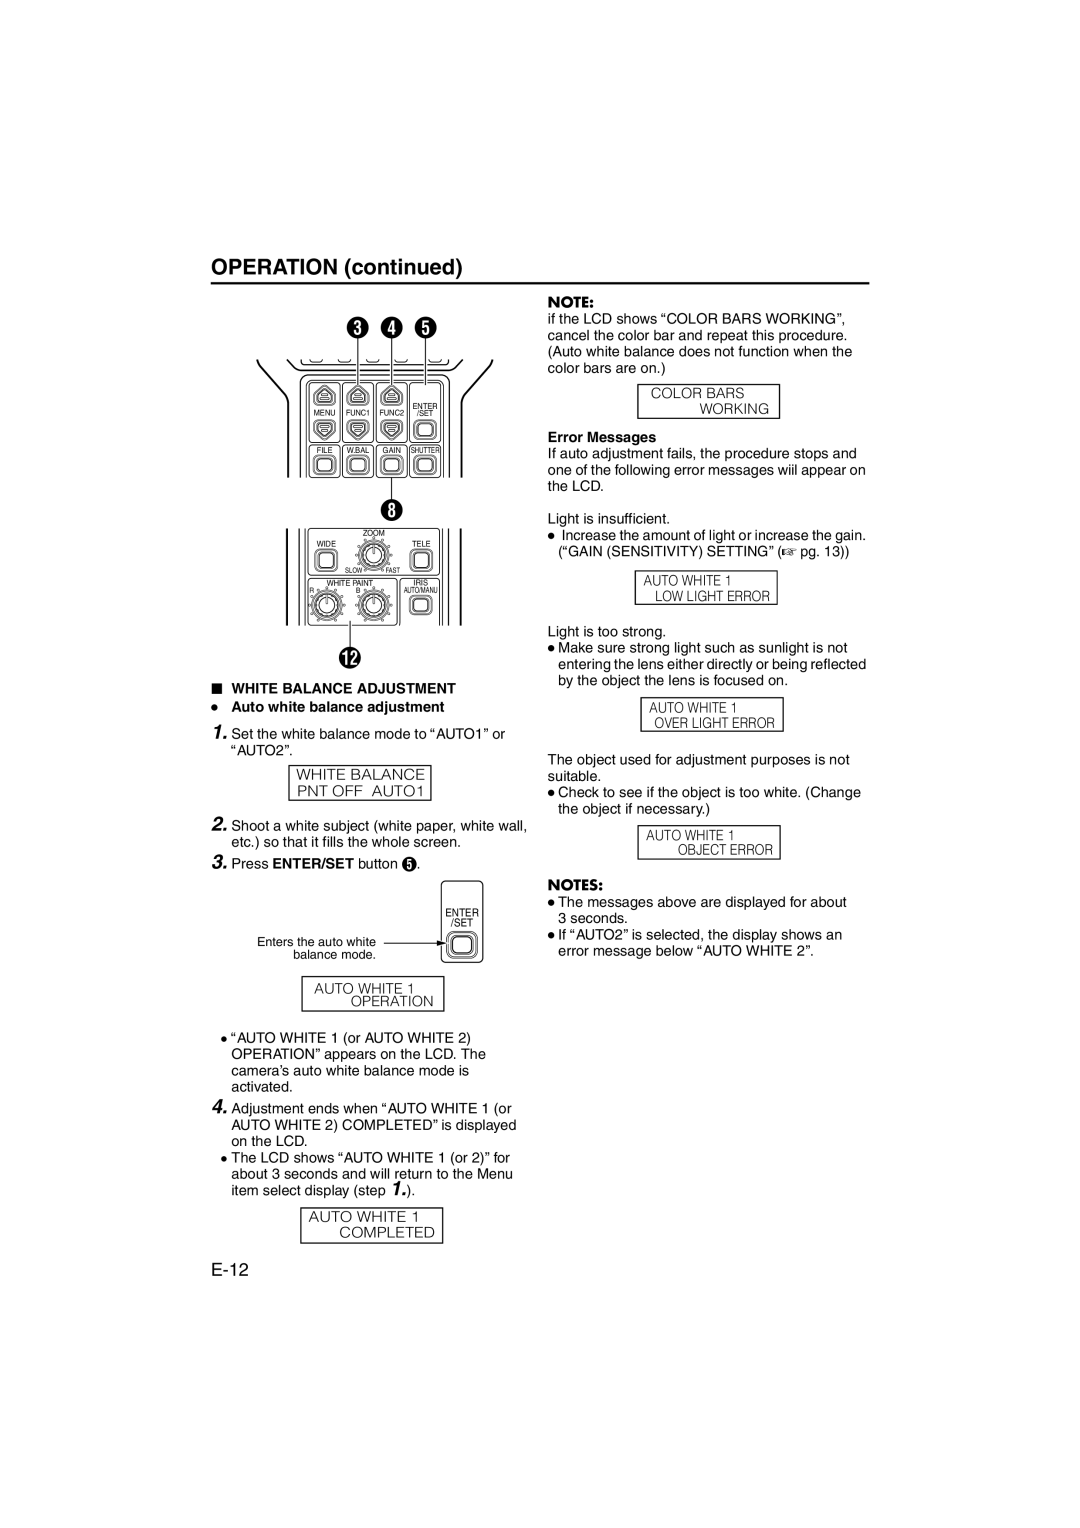
oWHITE BALANCE ADJUSTMENT ● Auto white balance adjustment
1.Set the white balance mode to AAUTO1B or AAUTO2B.
WHITE BALANCE
PNT OFF AUTO1
2.Shoot a white subject (white paper, white wall, etc.) so that it fills the whole screen.
3.Press ENTER/SET button E.
ENTER
/SET
Enters the auto white balance mode.
AUTO WHITE 1
OPERATION
●AAUTO WHITE 1 (or AUTO WHITE 2) OPERATIONB appears on the LCD. The camera’s auto white balance mode is activated.
4.Adjustment ends when AAUTO WHITE 1 (or AUTO WHITE 2) COMPLETEDB is displayed on the LCD.
●The LCD shows AAUTO WHITE 1 (or 2)B for
about 3 seconds and will return to the Menu item select display (step 1.).
AUTO WHITE 1
COMPLETED
NOTE:
if the LCD shows ACOLOR BARS WORKINGB, cancel the color bar and repeat this procedure. (Auto white balance does not function when the color bars are on.)
COLOR BARS
WORKING
Error Messages
If auto adjustment fails, the procedure stops and one of the following error messages wiil appear on the LCD.
Light is insufficient.
●Increase the amount of light or increase the gain. (AGAIN (SENSITIVITY) SETTINGB (A pg. 13))
AUTO WHITE 1
LOW LIGHT ERROR
Light is too strong.
●Make sure strong light such as sunlight is not entering the lens either directly or being reflected by the object the lens is focused on.
AUTO WHITE 1
OVER LIGHT ERROR
The object used for adjustment purposes is not suitable.
●Check to see if the object is too white. (Change the object if necessary.)
AUTO WHITE 1
OBJECT ERROR
NOTES:
●The messages above are displayed for about 3 seconds.
●If AAUTO2B is selected, the display shows an error message below AAUTO WHITE 2B.