HOLE
43
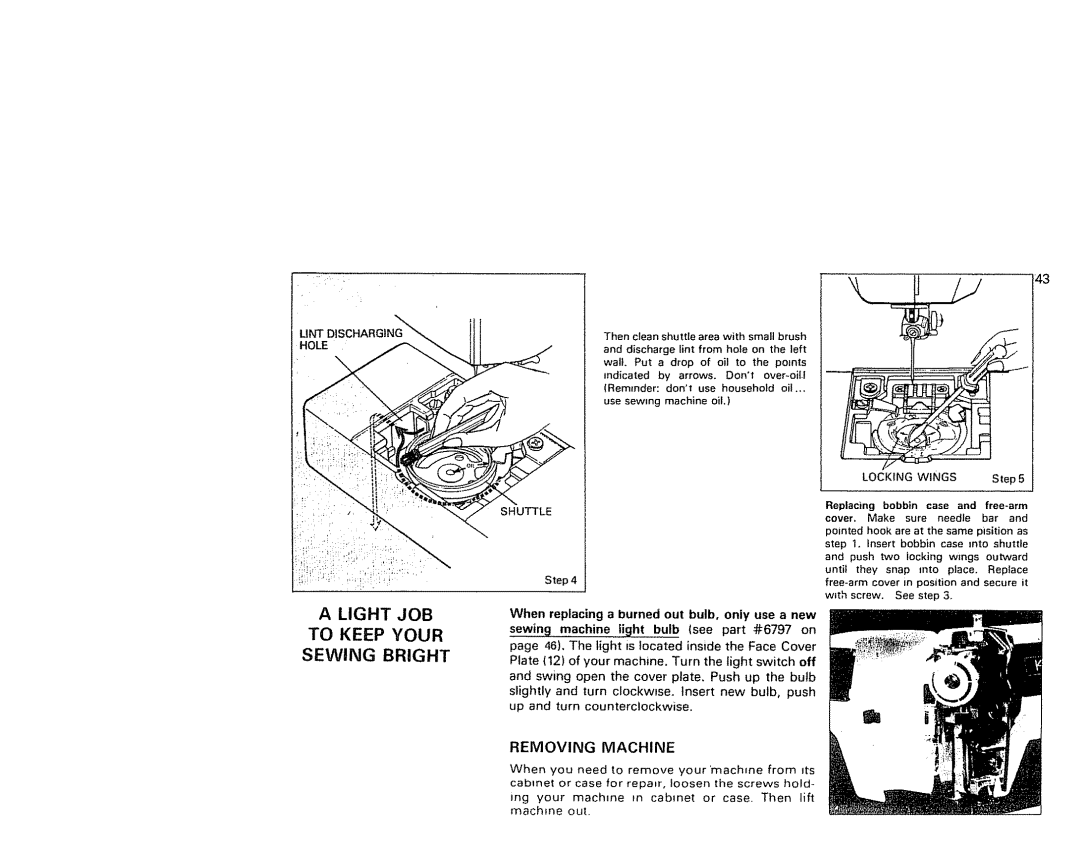
Then clean shuttle area with small brush and discharge lint from hole on the left wal!, Put a drop of oi! to the points
indicated by arrows, Don't
use sewing machine oil,)
LOCKING WINGS Step 5
A LIGHT JOB
TO KEEP YOUR
SEWING BRIGHT
SHUTTLE
Step 4
When replacing a burned out bulb, only use a new sewin9 machine light bulb (see part #6797 on
page 46), The light is located inside the Face Cover Plate (12) of your machine. Turn the light switch off and swing open the cover plate, Push up the bulb slightly and turn clockwise. Insert new bulb, push up and turn counterclockwise.
Replacing bobbin case and free*arm cover. Make sure needle bar and
pointed hook are at the same pisition as step t, insert bobbin case into shuttle and push two tocking wings outward untit they snap into place, Replace
REMOVING MACHINE
When you need to remove your'machne from its cabinet or case for repa=r, loosen the screws hold- ing your machine tn cabinet or case. Then lift machine ouL
