HOW TO REPAIR STRAIGHT OR
MENDING AND
DARNING--
BY MACHINE!
So much easier!
Takes little practice!
Setting your machine
Stitch Selector
Stitch Width Control
Stitch Length Control
Stitch Modifier
Zigzag Foot
Zigzag Needleplate
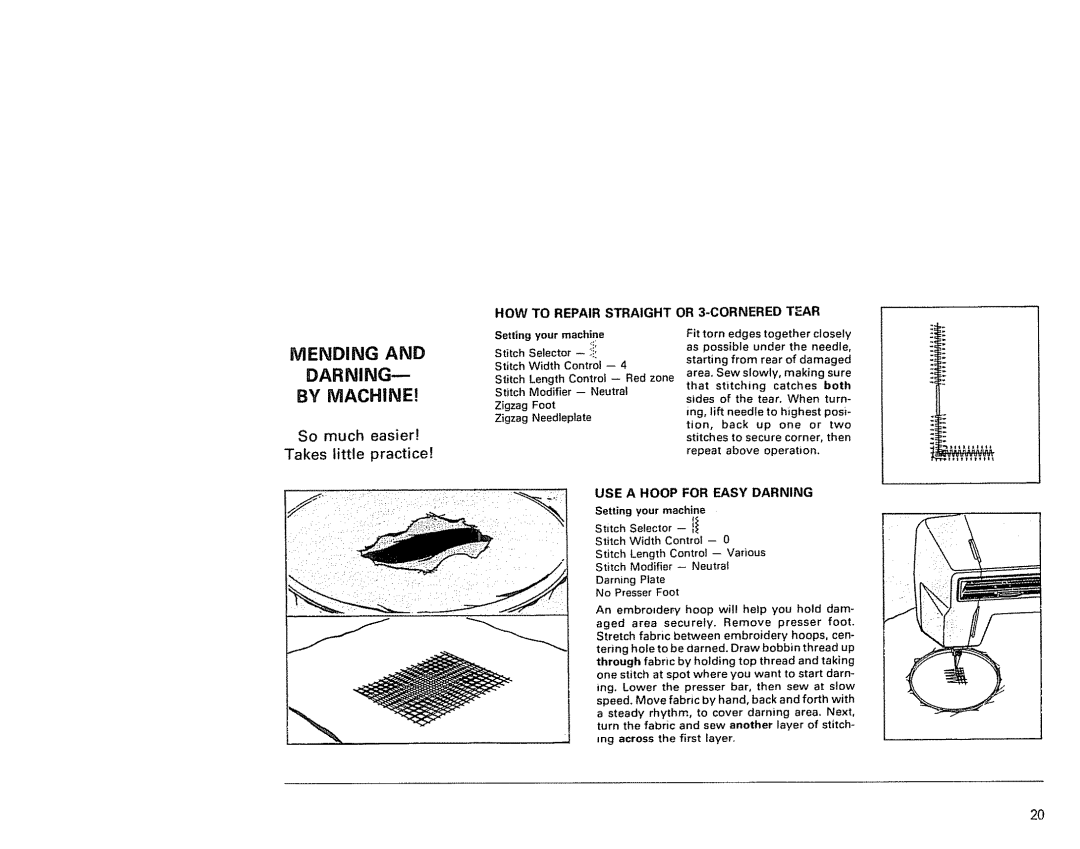
Fit torn edges together closely as possible under the needle, starting from rear of damaged area. Sew slowly, making sure
that stitching catches both sides of the tear. When turn-
ing, lift needle to highest posi- tion, back up one or two stitches to secure corner, then repeat above operation.
USE A HOOP FOR EASY DARNING
Setting your machine
Stitch Selector
Stitch Width Control - 0
Stitch Length Control
Stitch Modifier - Neutral
Darning Plate
No Presser Foot
An embroJdeP/hoop will help you hold dam-
aged area securely. Remove presser foot.
Stretch fabric between embroidery hoops, cen- tering hole to be darned. Draw bobbin thread up through fabric by holding top thread and taking one stitch at spot where you want to start darn- ing. Lower the presser bar, then sew at slow speed. Move fabric by hand, back and forth with a steady rhythm, to cover darning area. Next, turn the fabric and sew another layer of stitch- mg across the first layer.
2O
