385.15408, 385.15202 specifications
The Kenmore 385.15202 and 385.15408 are versatile and dependable sewing machines that cater to a wide range of sewing needs. Designed for both novice and experienced sewers, these models offer a robust set of features aimed at enhancing the sewing experience.One of the main attractions of the Kenmore 385.15202 is its user-friendly interface. It boasts a straightforward stitch selection mechanism, typically incorporating a dial or menu that allows users to choose from various stitch patterns with ease. With multiple built-in stitches, including utility stitches, decorative stitches, and stretch stitches, this model provides ample options for sewing projects—ranging from quilting to garment construction.
Similarly, the Kenmore 385.15408 offers an extensive selection of stitches. It often includes similar utility and decorative stitches, making it versatile for creative projects. The 385.15408 may also feature an automatic needle threader, a significant time-saver for those who frequently thread needles. This innovative technology facilitates easy setup and reduces the frustration that often comes with the threading process.
Another common characteristic of both machines is their durable design and construction. Kenmore has a reputation for building reliable sewing machines, and these models are no exception. They often include a metal chassis or frame, providing stability during operation. This sturdiness helps to ensure a smooth sewing experience, contributing to precise stitch quality even at higher speeds.
Both models also utilize a drop-in bobbin system, making it simpler for users to monitor thread supply and allowing for quick bobbin changes. The clear bobbin cover helps users see when it’s time to refill the thread, minimizing interruptions during sewing sessions.
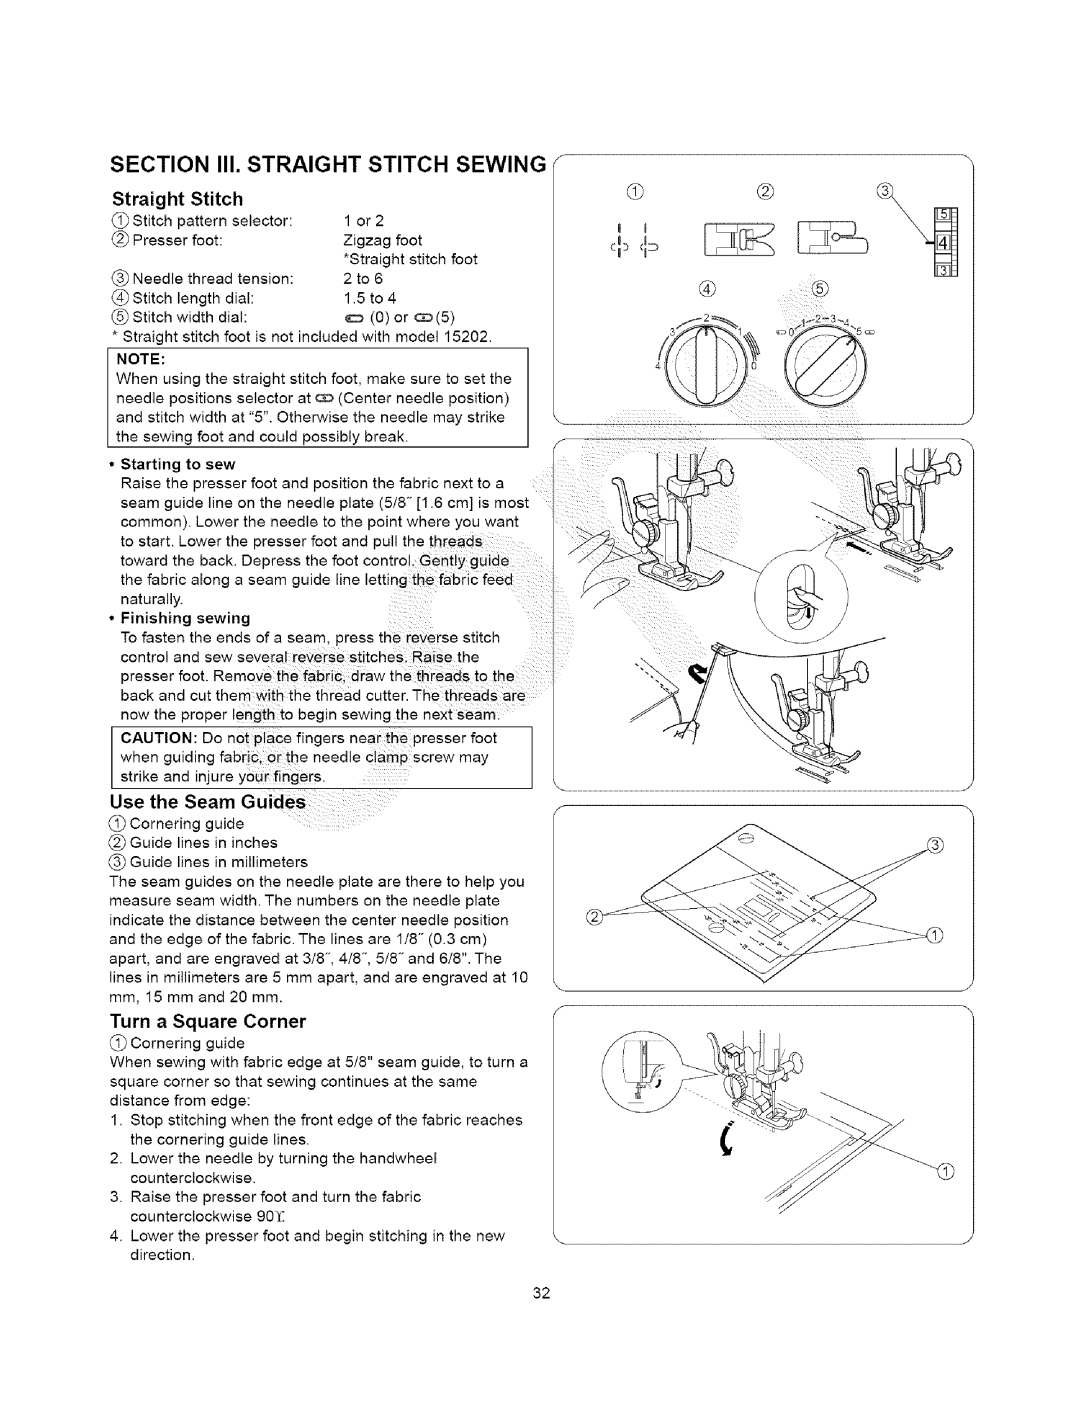
Additional features may include adjustable stitch length and width, allowing for customization based on the specific requirements of various projects. A reverse stitch lever is typically included as well, enabling users to reinforce their seams effectively.
In conclusion, the Kenmore 385.15202 and 385.15408 sewing machines stand out for their blend of user-friendly technology, robust construction, and versatile features. Whether you’re tackling basic alterations or engaging in elaborate crafting projects, these models provide the functionality and reliability you need to achieve professional-quality results.

