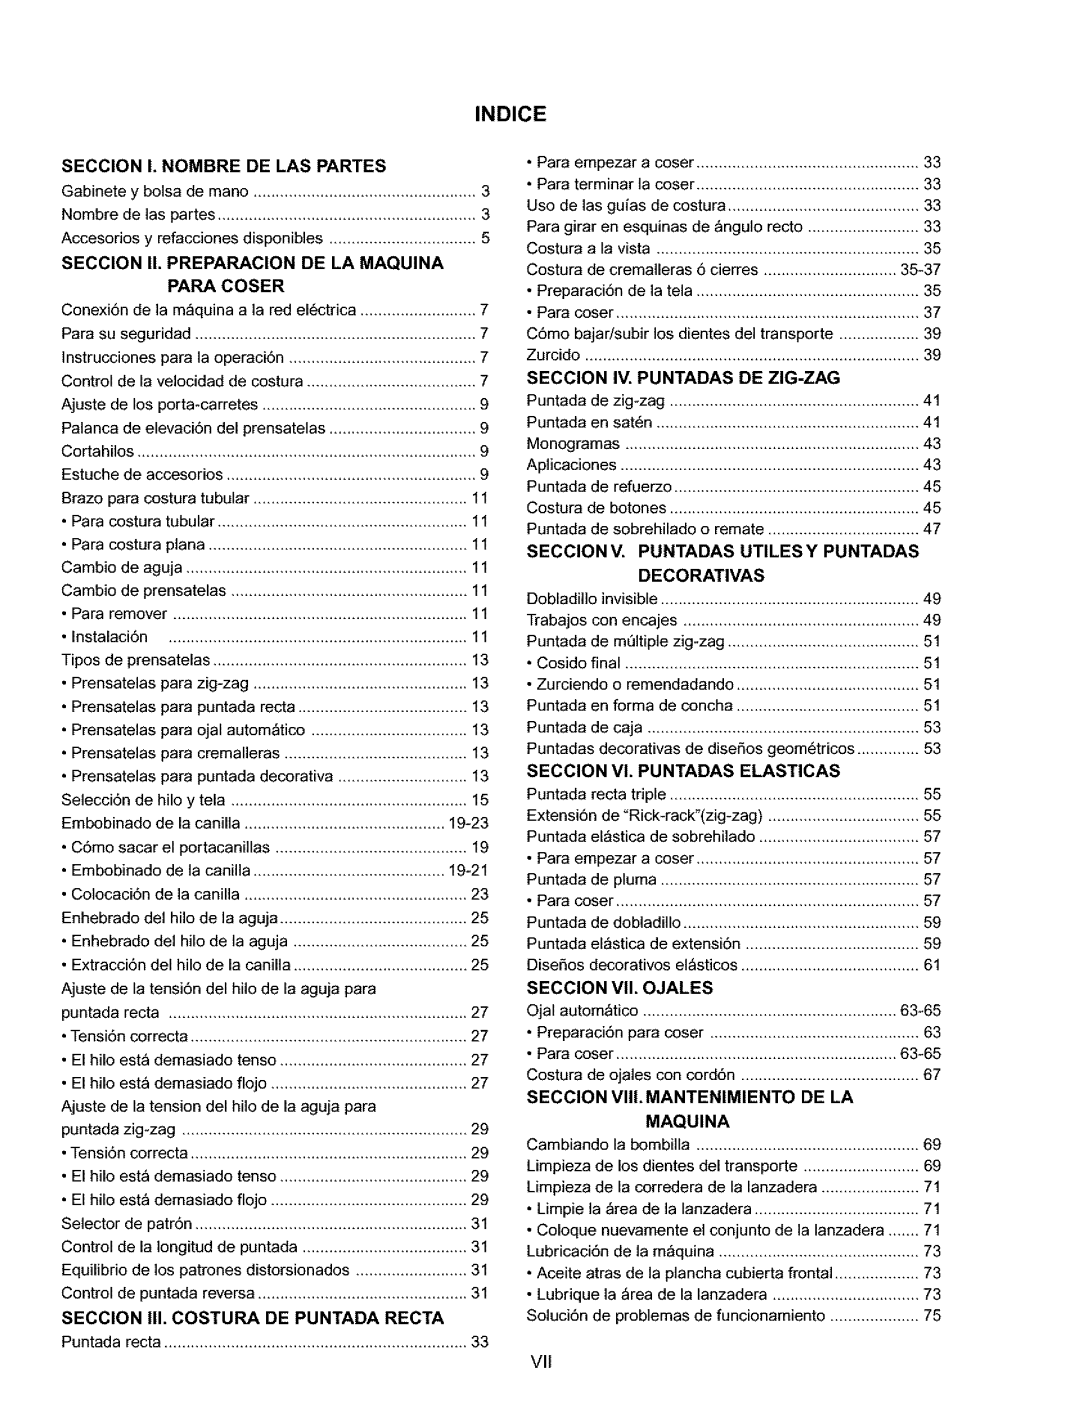
INDICE

SECCION


I. NOMBRE

DE

LAS PARTES


• Para empezar

a coser

..................................................


33

Gabinete

y bolsa de mano


3

• Para terminar

la coser

..................................................


33


Uso de las guias de costura


33

Nombre

de las partes


3

...........................................

..........................................................


Para girar en esquinas

de _ngulo

recto

33

Accesorios

y refacciones

disponibles

5

Costura

a la vista


35

SECCION


II. PREPARACION

DE LA MAQUlNA


Costura

de cremalleras

6 cierres


35-37


PAPA

COSER


• Preparaci6n

de la tela


35


..................................................


Conexi6n

de la m_quina

a la red el6ctrica

7

• Para

coser


37

Para su seguridad


7

C6mo

bajar/subir los dientes

del transporte

39

]nstrucciones


para la operaci6n

7

Zurcido


...........................................................................


39

Control

de la velocidad

de costura

7

SECCION

IV. PUNTADAS

DE ZIG-ZAG


Ajuste de los porta-carretes

................................................

9

Puntada


de zig-zag


41

Palanca

de elevaci6n del

prensatelas

9

Puntada


...........................................................en sat6n


41

Monogramas


43

Cortahilos

............................................................................


9

..................................................................


Estuche

de accesorios


9

Aplicaciones


43

........................................................


Puntada


de refuerzo


45

Brazo para

costura tubular


11


.......................................................


Costura

de botones


45

• Para costura

tubular


11


........................................................


Puntada


de sobrehilado

o remate

..................................

47


• Para costura

plana


11

SECClONV.

PUNTADAS

UTILESY PUNTADAS


Cambio

de aguja


11


DECORATIVAS


Cambio

de prensatelas


11


.....................................................


Dobladillo


invisible


49

• Para remover


11


Trabajos


con encajes


49

• Instalaci6n


11


.....................................................


...................................................................


Puntada


de mQltiple zig-zag


51


...........................................

Tipos de prensatelas


13

• Cosido


final


51

• Prensatelas


para zig-zag


13

Zurciendo

o remendadando

.........................................

51

• Prensatelas


para puntada

recta

13

Puntada


en forma de concha

51

• Prensatelas


para ojal autom_tico

13

Puntada


de caja

.............................................................


53

• Prensatelas


para cremalleras

.........................................

13

Puntadas

decorativas

de diseSos

geom6tricos

53

• Prensatelas


para puntada

decorativa

13

SECClON


VI. PUNTADAS

ELASTICAS


Selecci6n

de

hilo y tela


15

Puntada


recta

triple


55


Extensi6n


de "Rick-rack"(zig-zag)

..................................

55

Embobinado


de la canilla

.............................................


19-23

Puntada


el_stica

de sobrehilado

57

• C6mo

sacar

el portacanillas


19


...........................................

• Para empezar

a coser


57

• Embobinado

de la canilla


19-21

..................................................


Puntada


de pluma


57

• Colocaci6n


de la canilla


23


..................................................


• Para coser


57


Enhebrado

del hilo de la aguja

..........................................

25

Puntada


de dobladillo

.....................................................


59

• Enhebrado


del hilo de la aguja

25

Puntada


el_stica

de extensi6n

59

• Extracci6n


del hilo de la canilla

25

DiseSos

decorativos

el_sticos

61

Ajuste de la tensi6n del hilo de la aguja para


SECClON


VII. OJALES


puntada

recta

...................................................................


27

Ojal autom_tico

.........................................................


63-65

• Tensi6n

correcta


27

• Preparaci6n

para coser


63

• El hilo

est_ demasiado

tenso


27

• Para coser


63-65

..........................................

Costura

de ojales con cord6n


67

• El hilo

est_ demasiado

flojo


27

SECClON


VIII.MANTENIMIENTO

DE LA


Ajuste de la tension del hilo de la aguja para


MAQUINA


puntada

zig-zag


29


Cambiando

la bombilla


69

• Tensi6n

correcta


29

..................................................


Limpieza


de los dientes

del transporte

69

• El hilo

est_ demasiado

tenso


29


..........................................

Limpieza


de la corredera de la lanzadera

71

• El hilo

est_ demasiado

flojo


29


• Limpie

la _rea

de la lanzadera

71

Selector

de patr6n


31


• Coloque


nuevamente

el conjunto

de la lanzadera

71


Control

de la Iongitud

de puntada

31

Lubricaci6n

de la m_quina


73

Equilibrio

de los patrones

distorsionados

31

• Aceite

atras

de la plancha

cubierta frontal

73

Control

de puntada reversa

...............................................

31

• Lubrique

la _rea de la lanzadera

.................................

73

SECCION


III. COSTURA

DE PUNTADA RECTA


Soluci6n


de problemas

de funcionamiento

75

Puntada

recta

....................................................................


33


VII

Page 8
Image 8
Kenmore 385.16120200 owner manual Indice, DE LA MAQUlNA

385.16120200 specifications

The Kenmore 385.16120200 is a versatile sewing machine that has gained a reputation among sewing enthusiasts for its reliability and user-friendly features. This model, part of the Kenmore family, is well-equipped to handle a variety of sewing tasks, from simple repairs to more intricate projects.

One of the standout features of the Kenmore 385.16120200 is its variety of stitch options. With over 20 built-in stitch patterns, including utility, decorative, and stretch stitches, users can find the perfect stitch for their project. The adjustable stitch length and width allow for further customization, ensuring that every seam is tailored to perfection. Furthermore, the machine includes an automatic one-step buttonhole feature, making it easy to create professional-looking buttonholes with minimal effort.

The machine is designed with user convenience in mind. It features a plug-in sewing light, which illuminates the workspace, making it easier to see the details of fabric. The drop-in bobbin system is another highlight, as it simplifies the threading process. This system is designed to be user-friendly, allowing for easy bobbin changes and monitoring of thread levels.

Another notable technology in the Kenmore 385.16120200 is its adjustable presser foot pressure. This allows users to sew different types of fabric without difficulty, adapting to everything from lightweight silk to heavy denim with ease. Alongside this feature, the machine comes with several presser feet for various sewing techniques, including a walking foot for quilting and a zigzag foot for decorative stitching.

The built-in needle threader is a time-saving addition. This feature helps eliminate the strain of threading needles, making sewing more accessible for users of all skill levels. Moreover, the machine is equipped with a free arm, which is perfect for sewing cuffs, collars, and other hard-to-reach areas.

The Kenmore 385.16120200 is not only suitable for experienced seamstresses but also a great choice for beginners. Its comprehensive manual and easy-to-navigate controls make it a perfect starting point for those new to sewing.

Overall, the Kenmore 385.16120200 combines practicality with advanced features, making it a reliable choice for anyone looking to explore their creativity in sewing. Its blend of functionality, ease of use, and versatile capabilities positions it as a valuable investment for both amateur and seasoned crafters.