
FP730 series specifications
The Kenwood FP730 series food processor is a versatile kitchen appliance that caters to both amateur cooks and culinary enthusiasts alike. With its powerful performance and advanced features, it streamlines food preparation tasks, making cooking more enjoyable and efficient.One of the standout features of the FP730 is its robust motor, which typically operates at 750 watts. This powerful motor ensures that the processor can handle a variety of challenging ingredients, from dense vegetables to tough meats, without any effort. This capability makes it suitable for a range of food preparation tasks, including slicing, grating, chopping, and mixing.
The FP730 series showcases a 2.1-liter bowl capacity, which allows users to process large quantities of food at once. This feature is particularly beneficial for families or those who enjoy meal prepping. Additionally, the bowl is designed with clear measurement markings, facilitating precise ingredient additions.
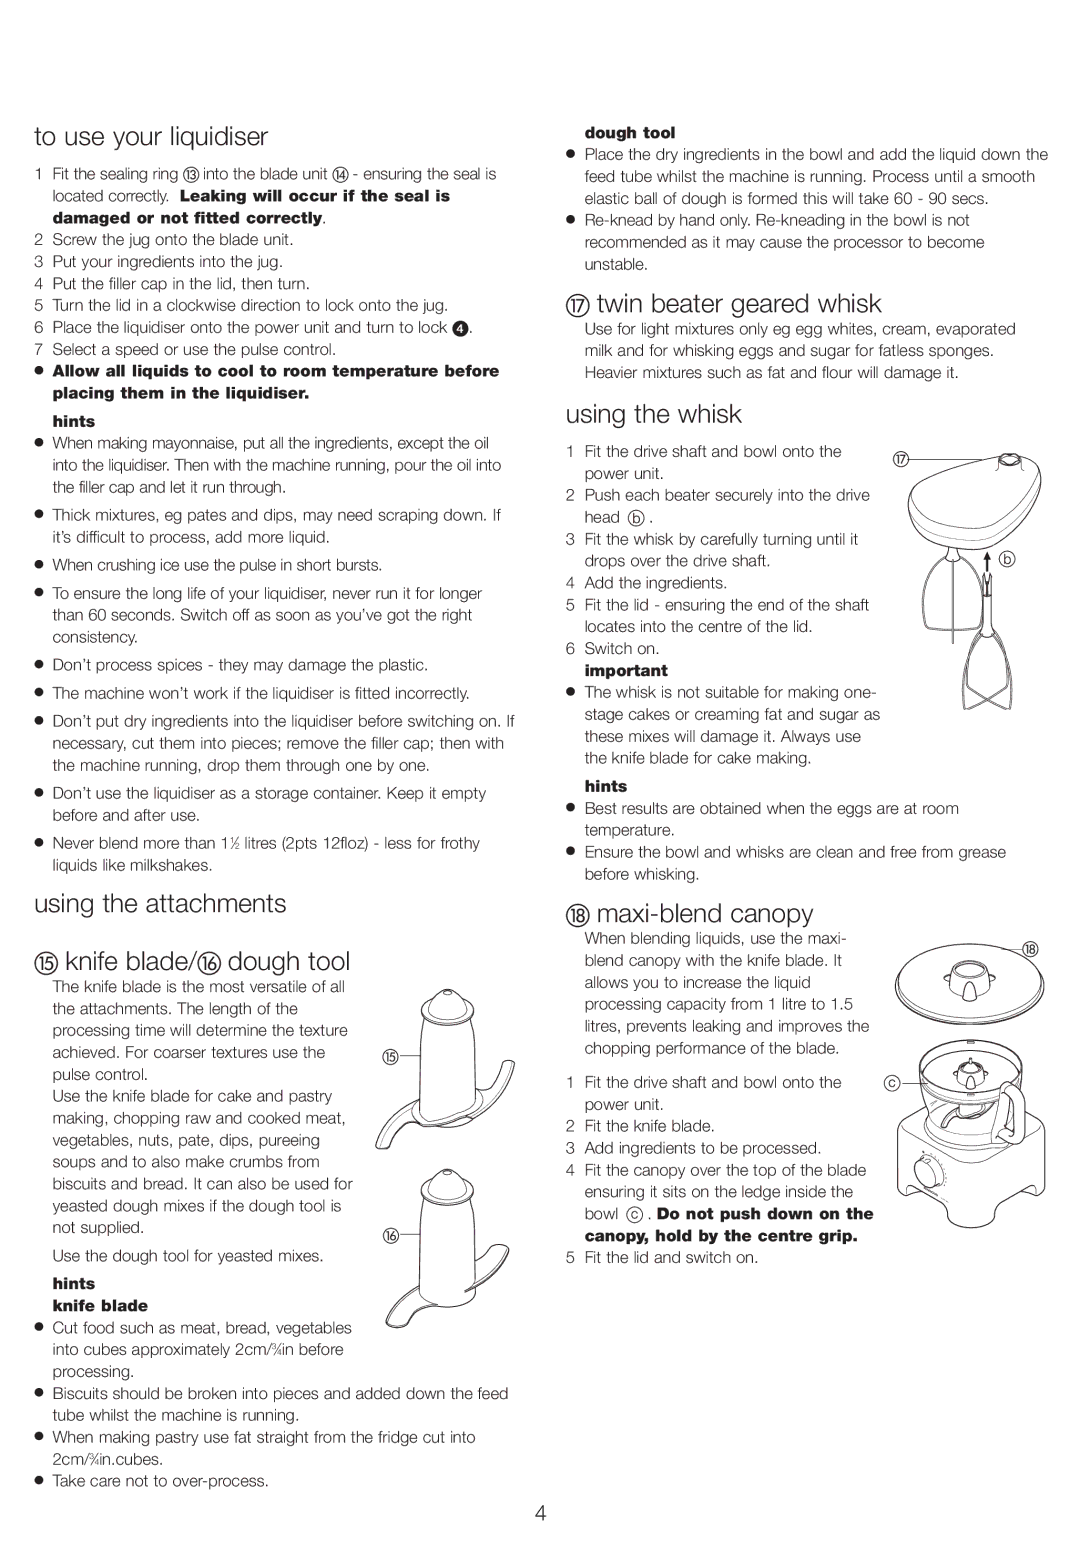
Another significant feature of the FP730 is its array of attachments. The processor comes with several blades and discs for various functions, including a stainless-steel knife blade for chopping, a reversible slicing and grating disc, and a dough tool for kneading. These attachments are designed for easy use and cleaning, often being dishwasher safe, which adds to the convenience.
The Kenwood FP730 also incorporates a pulse function, enabling users to achieve precise control over food textures. Whether you want finely chopped vegetables or coarsely grated cheese, the pulse feature allows for tailored results without over-processing the ingredients.
In terms of safety, the FP730 series is equipped with a safety lock that prevents operation when the bowl or lid is incorrectly assembled. This ensures a safe cooking environment, especially important for novice cooks. The non-slip feet provide stability during operation, minimizing the risk of accidents.
Furthermore, the FP730 is designed with a sleek and modern aesthetic, making it an attractive addition to any kitchen countertop. Its compact design also allows for easy storage, making it suitable for kitchens of all sizes.
In conclusion, the Kenwood FP730 series food processor stands out as a reliable and efficient kitchen appliance. With its powerful motor, generous bowl capacity, versatile attachments, and user-friendly features, it is well-suited for a wide range of culinary tasks. Whether you are whipping up a quick salad or preparing a batch of dough, the FP730 empowers you to achieve professional results with ease.