Setup (Windows Environment)
1.Insert the DTL+ G3 into an available USB port on your notebook or desktop and wait for Windows to detect it.
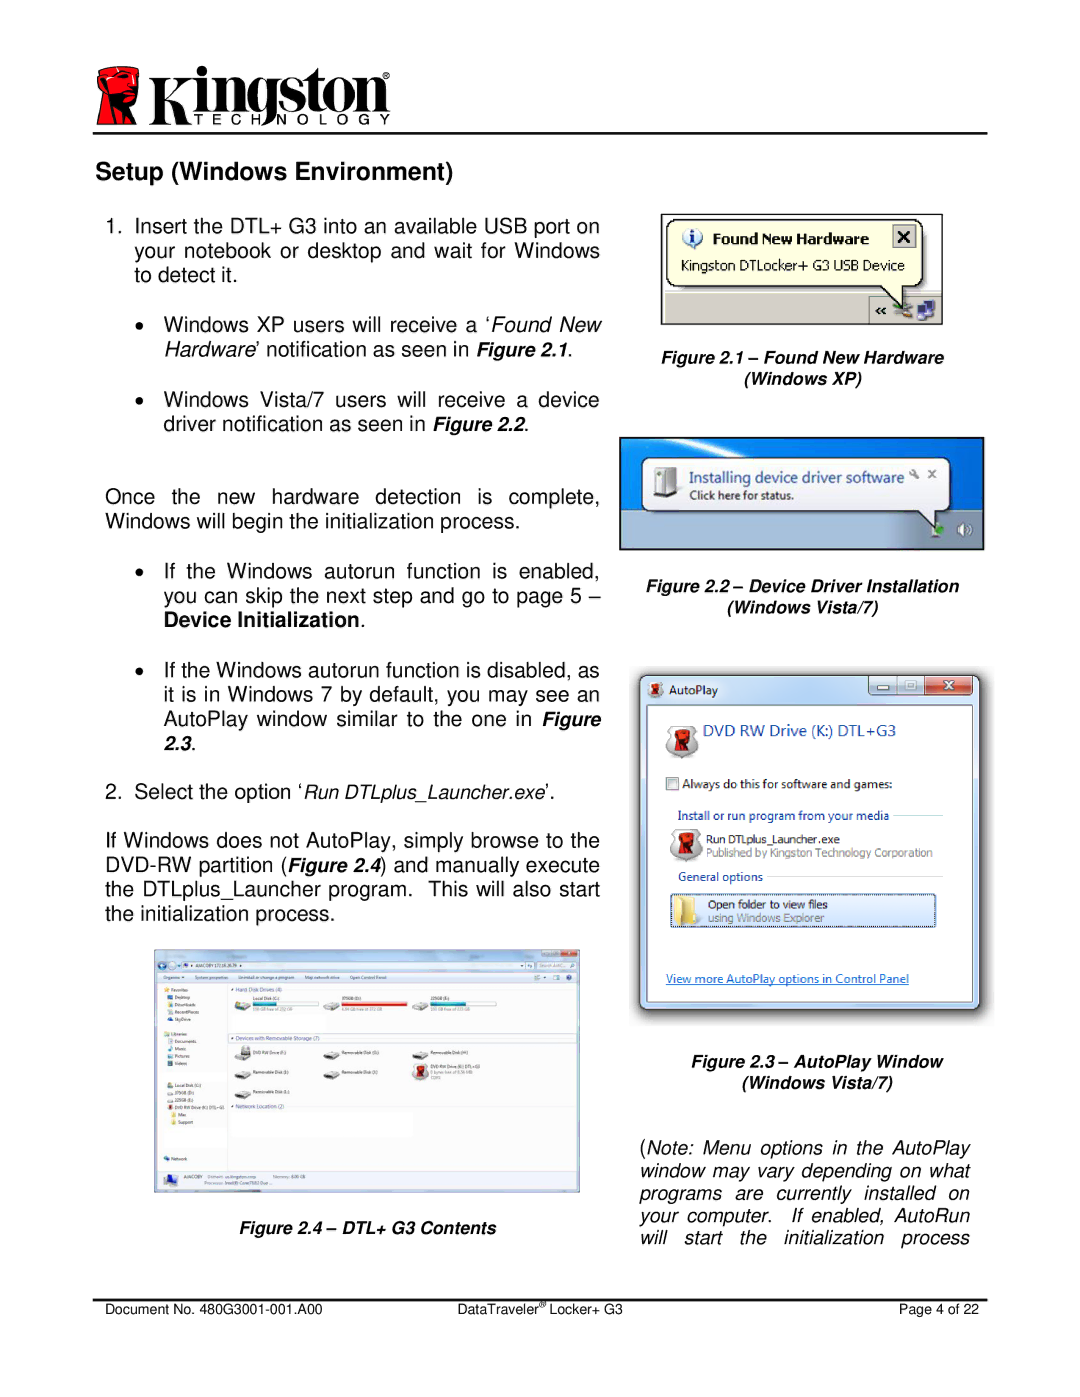
∙Windows XP users will receive a ‘Found New Hardware’ notification as seen in Figure 2.1.
∙Windows Vista/7 users will receive a device driver notification as seen in Figure 2.2.
Once the new hardware detection is complete, Windows will begin the initialization process.
∙If the Windows autorun function is enabled, you can skip the next step and go to page 5 – Device Initialization.
∙If the Windows autorun function is disabled, as it is in Windows 7 by default, you may see an AutoPlay window similar to the one in Figure 2.3.
2.Select the option ‘Run DTLplus_Launcher.exe’.
If Windows does not AutoPlay, simply browse to the
Figure 2.1 – Found New Hardware
(Windows XP)
Figure 2.2 – Device Driver Installation
(Windows Vista/7)
Figure 2.3 – AutoPlay Window
(Windows Vista/7)
|
| (Note: Menu options in the AutoPlay | ||
|
| window may vary depending on what | ||
|
| programs are currently installed on | ||
Figure 2.4 – DTL+ G3 Contents | your computer. | If enabled, AutoRun | ||
will start the | initialization process | |||
|
| |||
|
|
|
| |
Document No. | DataTraveler® Locker+ G3 |
| Page 4 of 22 | |