GRIDDLE MODULE

Clean the griddle shortly after removing food and the griddle has cooled down.

Cleaning Method:

Hot, soapy water and/or nylon scrub pad

After cleaning dry surface with a paper towel

Drip Tray and Area Under Tray

Allow cooktop to cool completely before cleaning.

Cleaning Method:

Warm, soapy water or nonabrasive cleanser.

Damp cloth or nonabrasive pad.

Dry completely before placing drip tray in position.

GRILL MODULE

For more information, see “Grill” section.

Do not use oven cleaners, metal brushes, abrasive scouring pads or other scrubbers made to clean outdoor grills.

Cleaning Method:

Grill Grate

Do not clean grill grate in dishwasher.

Do not clean in a self-cleaning oven.

Clean the grill grate shortly after cooking is completed and the burner has been turned off.

While still warm, use a soft bristle barbecue brush to scrub the grill grate. Oven mitts may be worn while cleaning.

For thorough cleaning of the grill grate, soak in warm, soapy water for 30 minutes. After soaking, scrub with nonabrasive pad.

Wave Tray and Wave Plate

Soak in warm, soapy water to loosen soil. After soaking, scrub with a nonabrasive pad.

Oven cleaner.

Burner Assembly

Do not soak in water.

Warm, soapy water or nonabrasive cleanser.

Damp cloth or nonabrasive pad.

Grease Trays and Drip Tray

Allow cooktop to cool completely before cleaning.

Warm, soapy water or nonabrasive cleanser.

Damp cloth or nonabrasive pad.

Module Basin

Warm, soapy water.

Nonabrasive pad or sponge.

For heavy soil, soak paper towels in household cleanser and lay them on the soil for at least 30 minutes. After soaking, scrub with a nonabrasive pad.

Oven Lights

The oven lights are 120-volt, 25-watt maximum halogen bulbs. They will come on when the oven door is opened.

On 48" (121.9 cm) ranges, both the left and right oven lights will come on when either door is opened. The oven lights will not work during the Self-Cleaning cycle. When the oven door is closed, touch OVEN LIGHT to turn light on or off.

To Replace:

Before replacing the bulb, make sure the oven is off and cool.

1.Disconnect power.

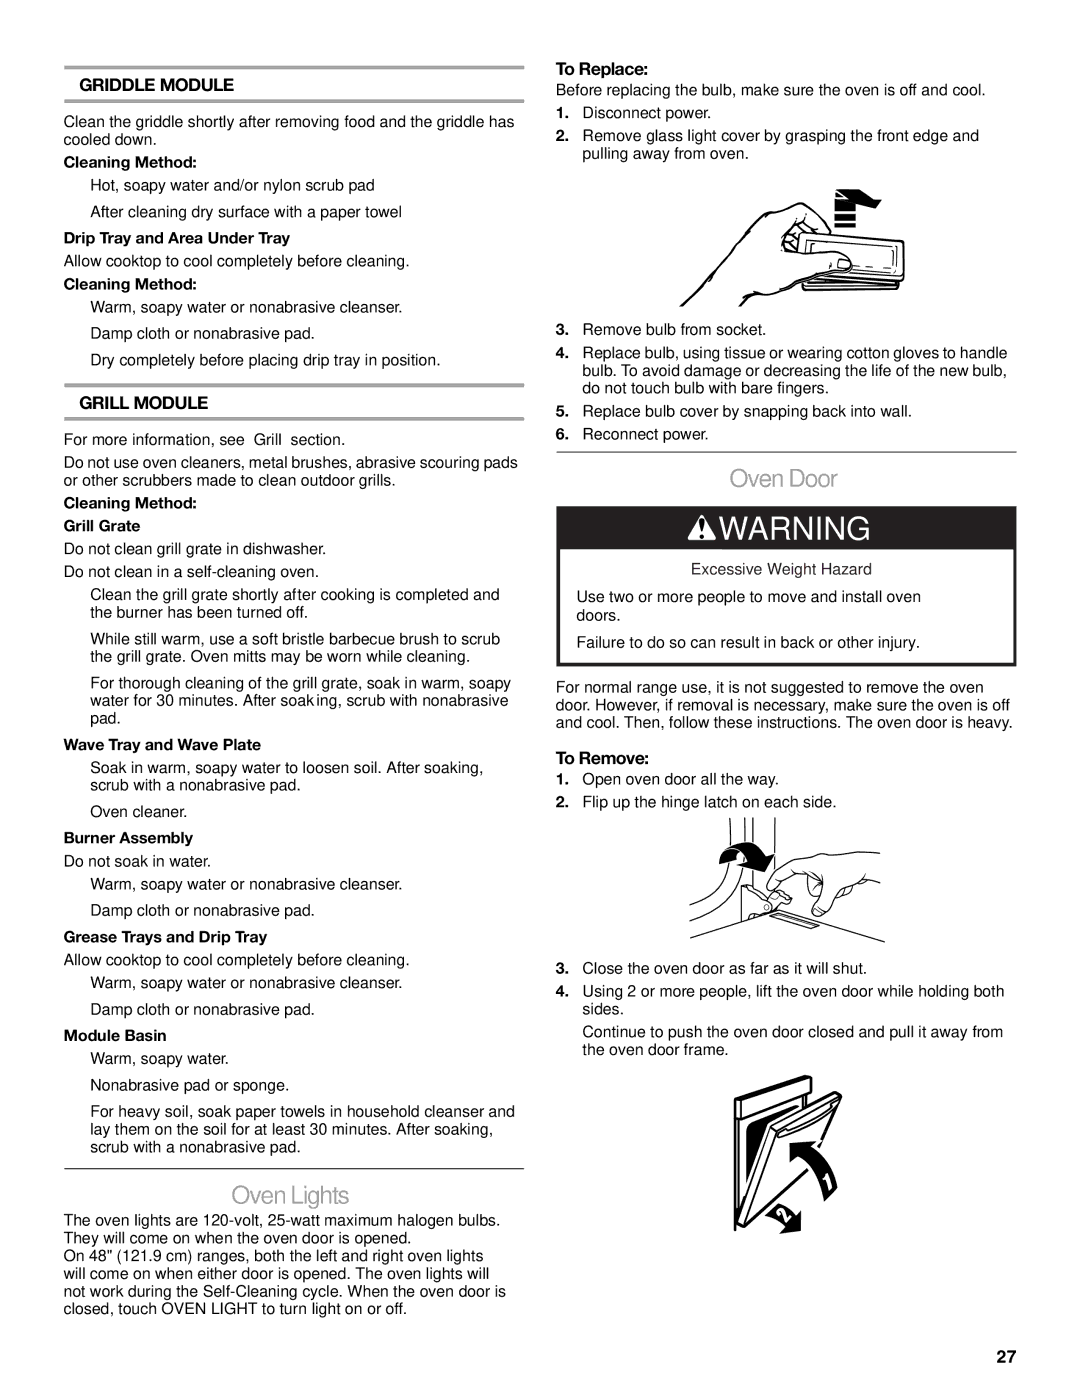
2.Remove glass light cover by grasping the front edge and pulling away from oven.

3.Remove bulb from socket.

4.Replace bulb, using tissue or wearing cotton gloves to handle bulb. To avoid damage or decreasing the life of the new bulb, do not touch bulb with bare fingers.

5.Replace bulb cover by snapping back into wall.

6.Reconnect power.

Oven Door

WARNING

Excessive Weight Hazard

Use two or more people to move and install oven doors.

Failure to do so can result in back or other injury.

For normal range use, it is not suggested to remove the oven door. However, if removal is necessary, make sure the oven is off and cool. Then, follow these instructions. The oven door is heavy.

To Remove:

1.Open oven door all the way.

2.Flip up the hinge latch on each side.

3.Close the oven door as far as it will shut.

4.Using 2 or more people, lift the oven door while holding both sides.

Continue to push the oven door closed and pull it away from the oven door frame.

27

Page 27
Image 27
KitchenAid KDRS483, KDRS467, KDRS463, KDRS407, KDRS462 manual Oven Lights, Oven Door, Griddle Module, Grill Module

KDRS467, KDRS462, KDRS407, KDRS463, KDRS483 specifications

KitchenAid has long been synonymous with high-quality kitchen appliances, and their line of ranges, particularly the KDRS series, is no exception. Models such as the KDRS483, KDRS462, KDRS463, KDRS467, and KDRS407 offer an exceptional blend of performance, design, and versatility, making them ideal for both amateur cooks and seasoned chefs alike.

The KDRS483 features a spacious 48-inch design, allowing for ample cooking space with its six burners and a separate double oven. Undoubtedly, the standout feature of this range is its powerful dual fuel system, which combines the precision of gas cooking with the consistent and even heating of an electric oven. This model also includes a unique Even-Heat True Convection Oven that ensures your baked goods rise perfectly, distributing heat evenly throughout.

Similarly, the KDRS462 and KDRS463 models bring their distinct flair to the kitchen. The KDRS462 boasts four burners and an infrared broiler, allowing for quick heating and diverse cooking options. The KDRS463 elevates this design with an added simmer burner, making delicate sauces and soups easier to prepare. Both models promote efficiency and ease-of-use with intuitive controls, ensuring that even novice cooks can achieve gourmet results.

The KDRS467 offers exceptional versatility through its powerful burners, including a high-heat burner that reaches up to 20,000 BTUs, perfect for stir-frying and searing. It also features a convenient warming drawer, allowing food to stay hot until you’re ready to serve.

On the other hand, the KDRS407 focuses on space-saving without compromising on functionality. This 30-inch model is an excellent choice for smaller kitchens. Despite its compact size, it includes four versatile burners and a spacious oven that is built to accommodate multiple dishes at once, thanks to its intelligent design.

All models in the KDRS series are equipped with the advanced KitchenAid technology that includes EasyConvect conversion, Smart Oven controls, and a self-cleaning function, keeping maintenance seamless. In addition, their sleek stainless steel finishes and professional-grade looks add an aesthetic appeal that fits beautifully into any modern kitchen.

In conclusion, whether you opt for the robust KDRS483 or the more compact KDRS407, each KitchenAid range in this series provides the perfect blend of culinary power, style, and innovative features, redefining the cooking experience and elevating every meal.