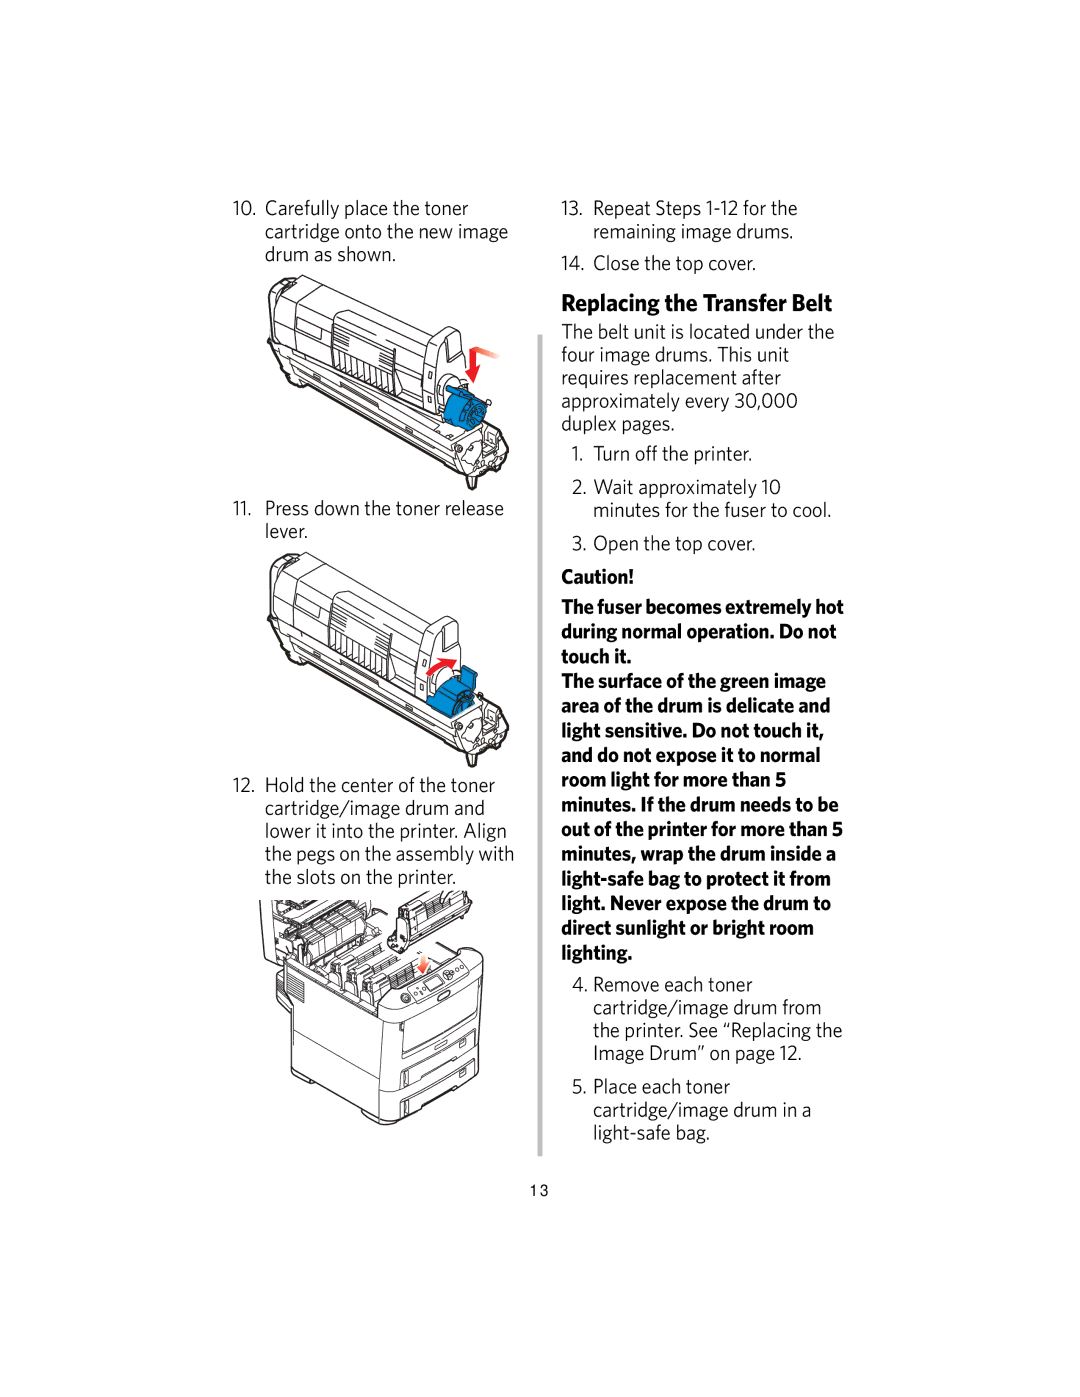
10.Carefully place the toner cartridge onto the new image drum as shown.
11.Press down the toner release lever.
12.Hold the center of the toner cartridge/image drum and lower it into the printer. Align the pegs on the assembly with the slots on the printer.
13.Repeat Steps
14.Close the top cover.
Replacing the Transfer Belt
The belt unit is located under the four image drums. This unit requires replacement after approximately every 30,000 duplex pages.
1.Turn off the printer.
2.Wait approximately 10 minutes for the fuser to cool.
3.Open the top cover.
Caution!
The fuser becomes extremely hot during normal operation. Do not touch it.
The surface of the green image area of the drum is delicate and light sensitive. Do not touch it, and do not expose it to normal room light for more than 5 minutes. If the drum needs to be out of the printer for more than 5 minutes, wrap the drum inside a
4.Remove each toner cartridge/image drum from the printer. See “Replacing the Image Drum” on page 12.
5.Place each toner cartridge/image drum in a
13